

Daily, I talk to photographers who think there is something wrong with their new lens as their images aren’t sharp. Don’t get me wrong – a lens that has been performing well for years that all of sudden can’t create sharp images could be a problem. More than likely, the reason your photos aren’t sharp will fall into one or more of the reasons listed below.
Physics (AKA Lens Construction)
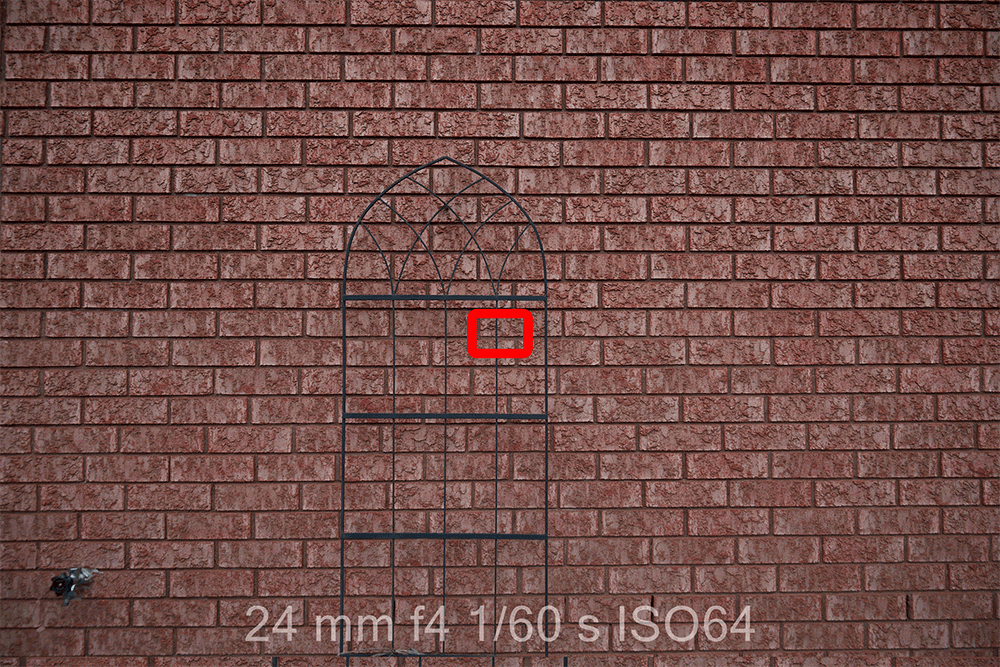
Let’s start with some realistic expectations. Zoom lenses are not sharp at all focal lengths and all apertures. Very rarely is any lens sharp from corner to corner at all apertures. Almost every lens on the market will be sharp in the middle of the frame wide open, but the corners will not be as sharp. This isn’t a defect of your lens – it’s lens construction and physics!
It might be possible to build a prime lens that is equally sharp from every corner through the middle, but it will be extremely heavy and extremely expensive. Lens manufacturers make trade-offs to construct lenses with acceptable sharpness and usable weight and size, which they all have done well for themselves.
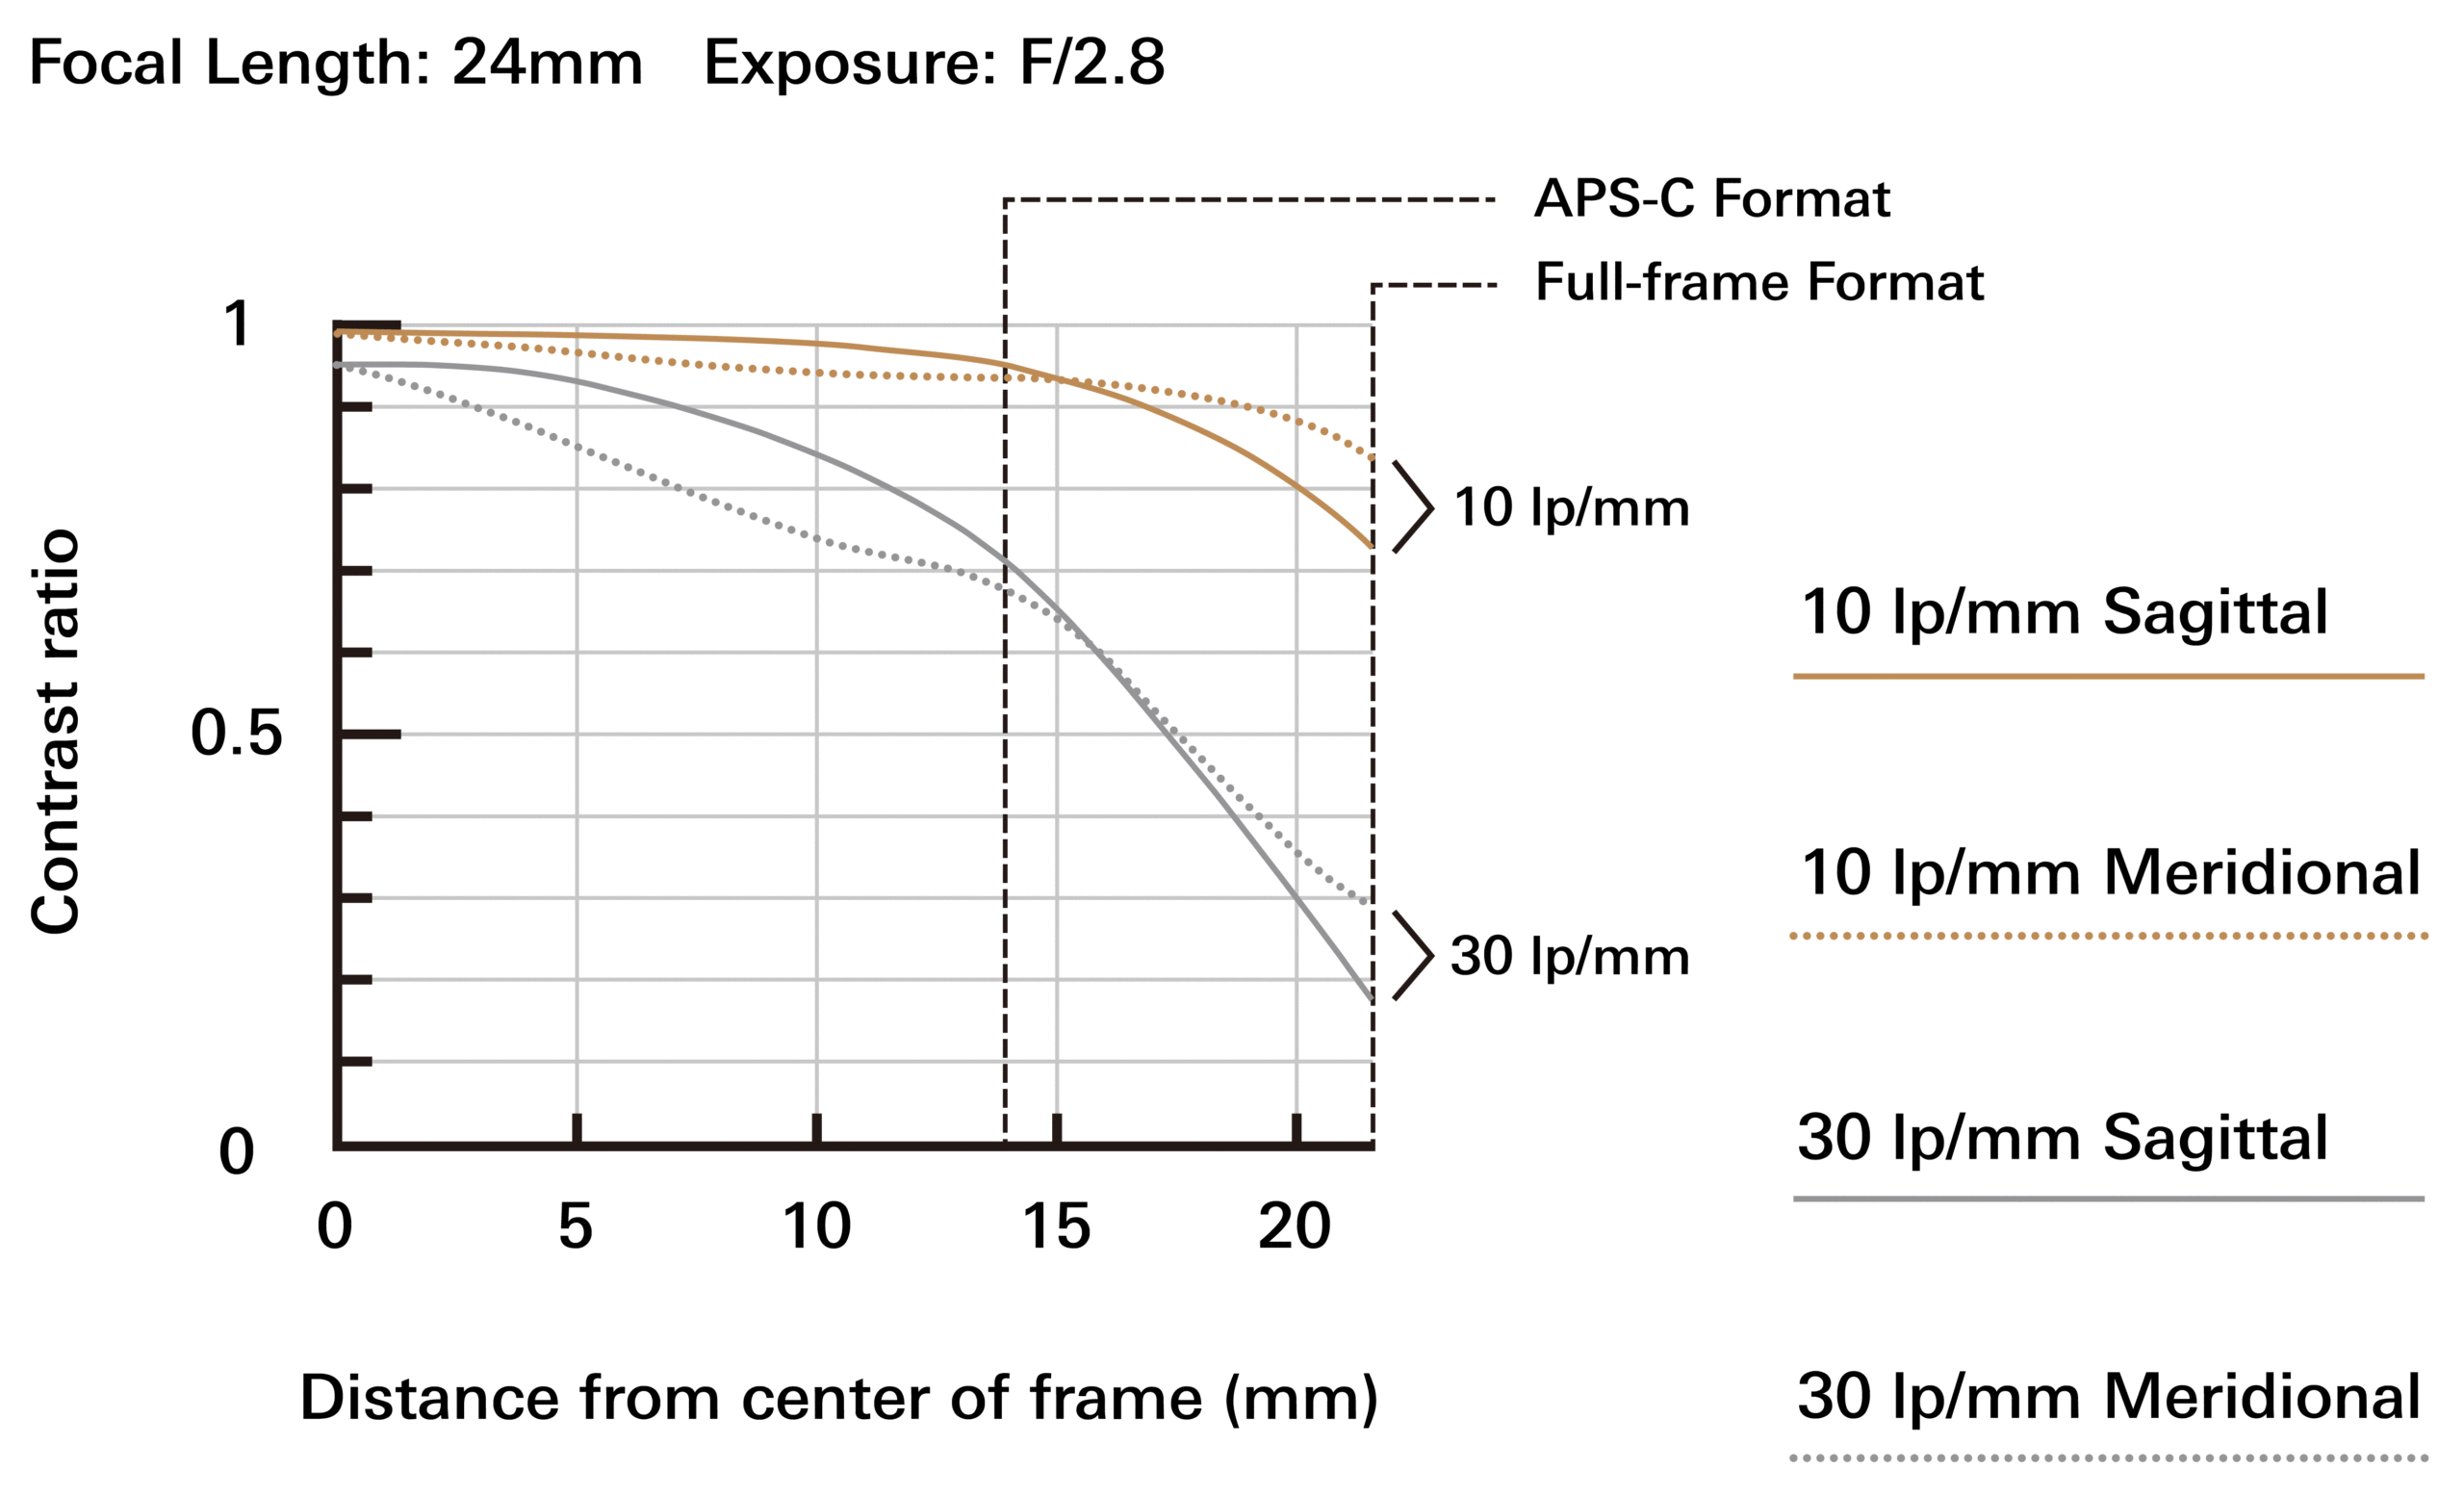
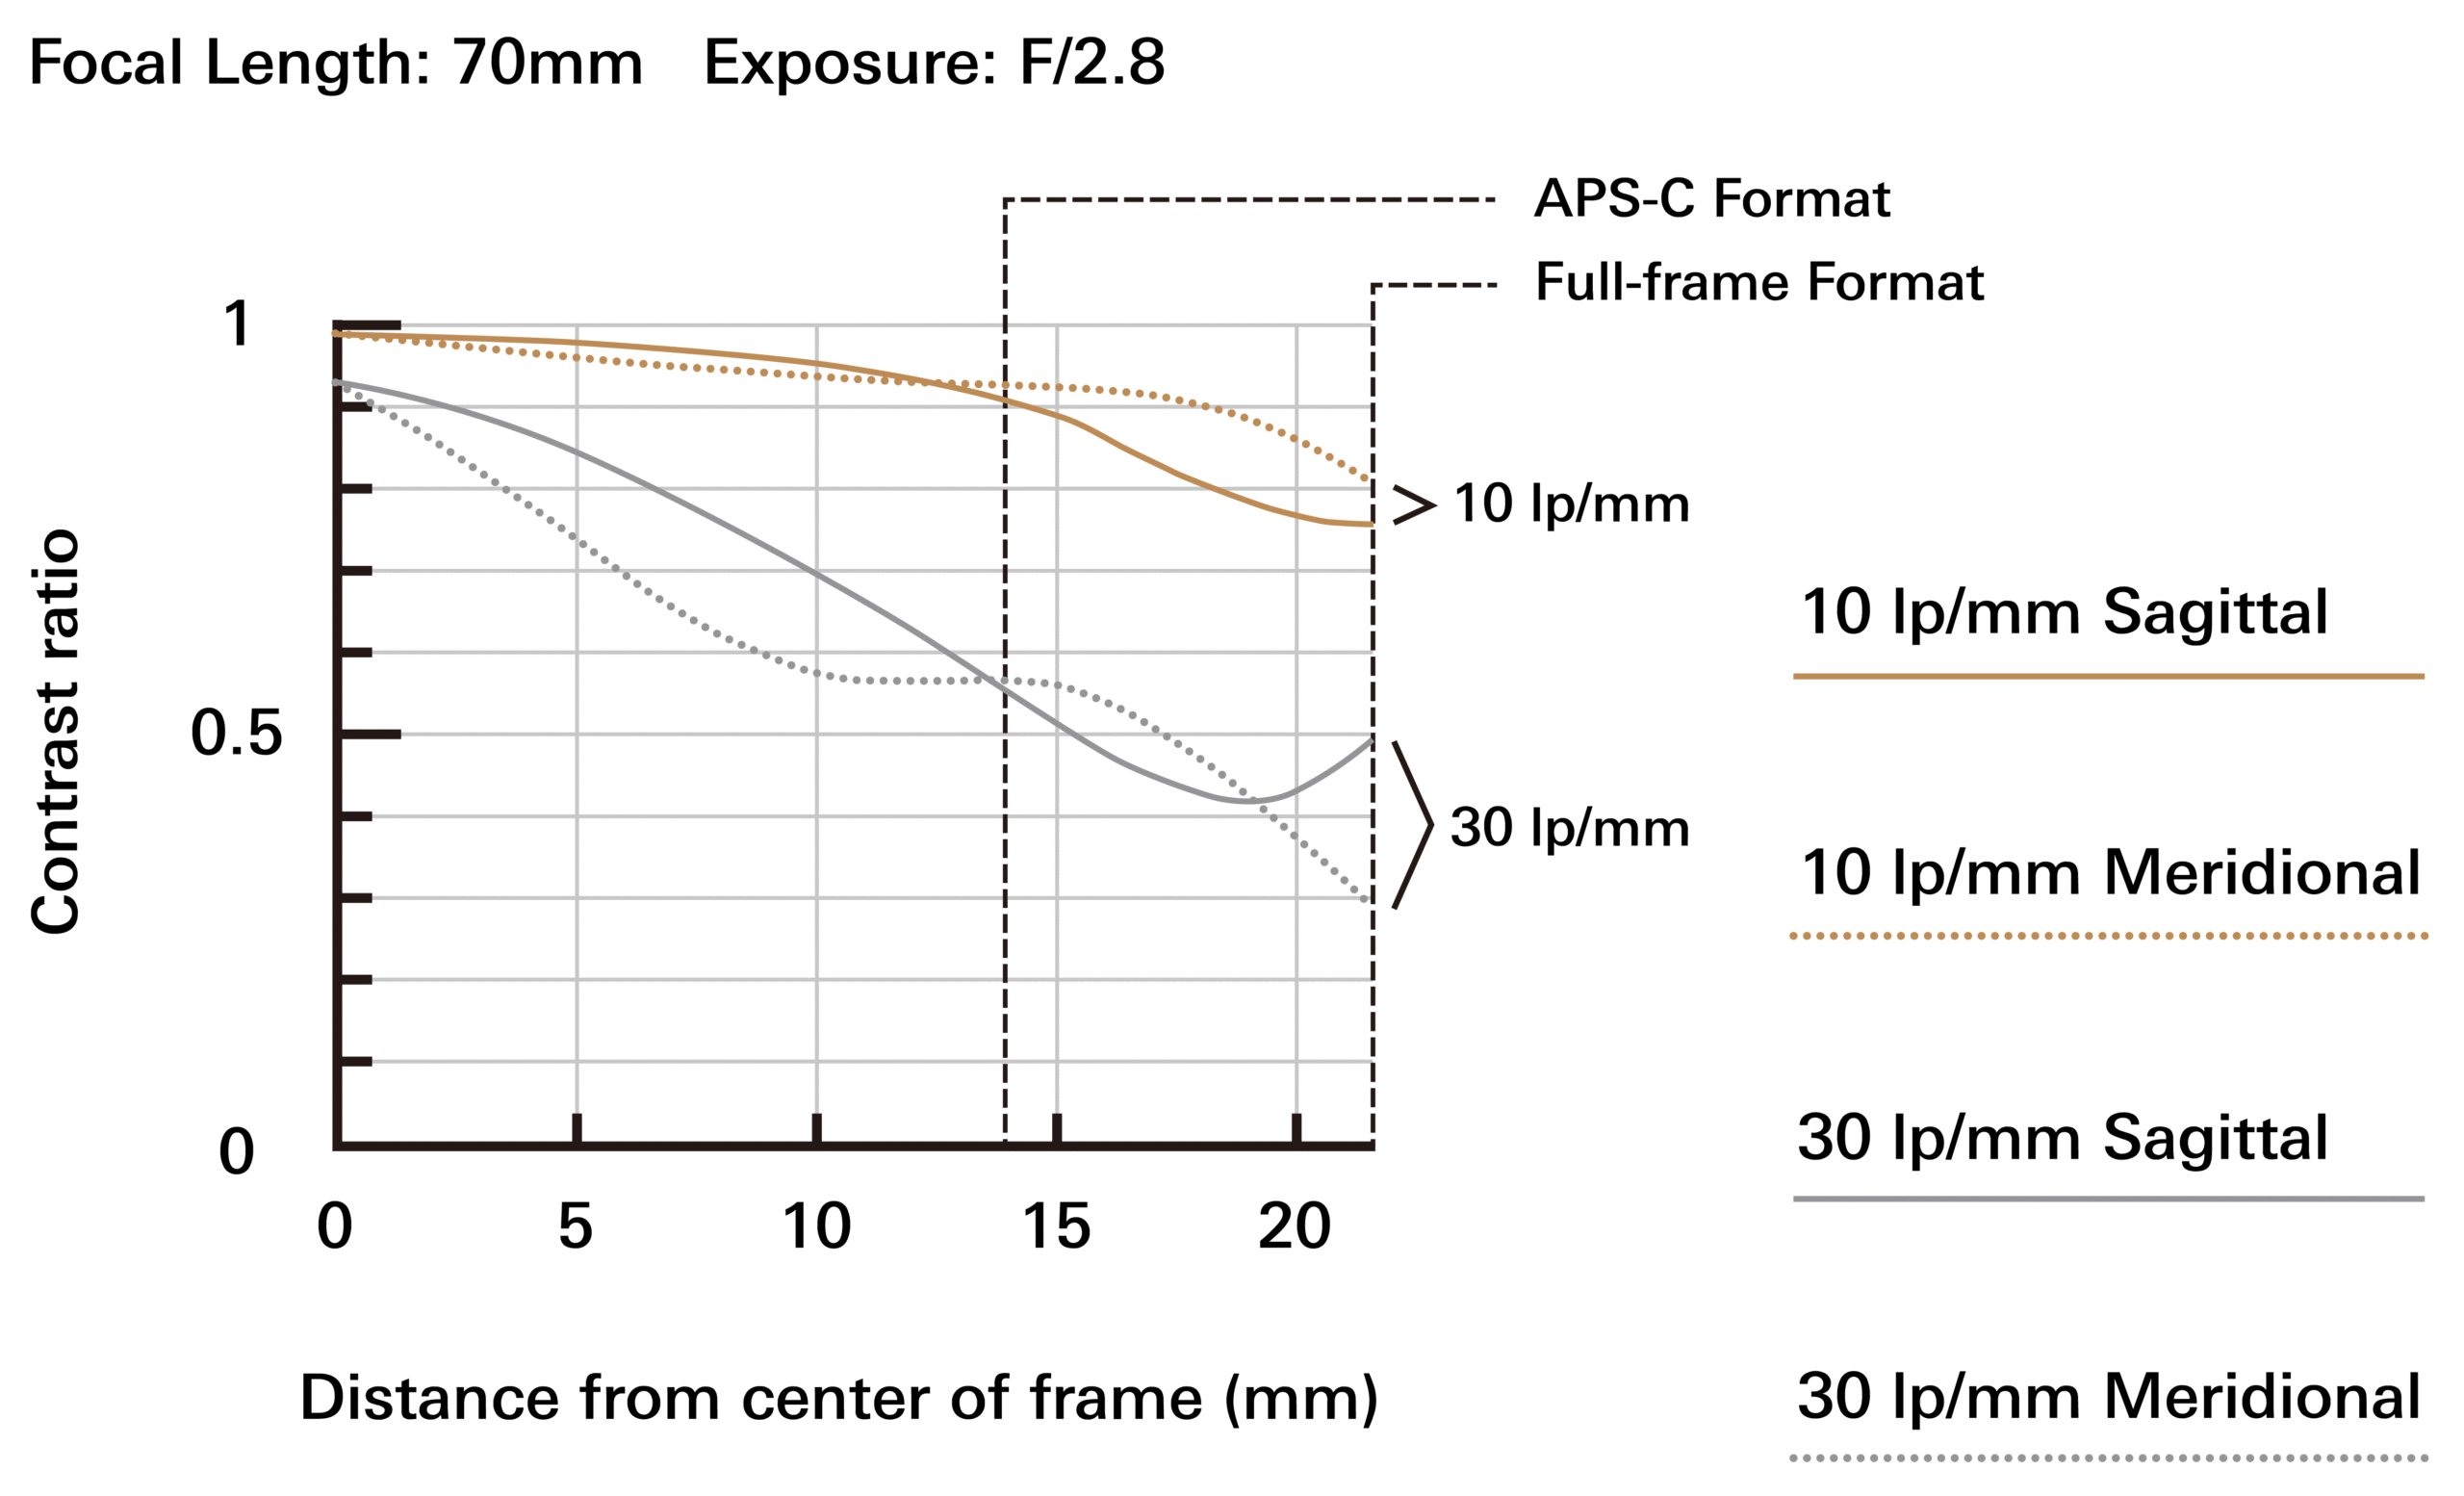
Tamron 24-70 f/2.8 G2 MTF Curve. 10 lp/mm curve shows contrast performance; 30 lp/mm shows sharpness performance
If you need an image where the corners are sharper, you can stop your lens down. There isn’t a magic formula for which aperture will be sharpest – some lenses are great at f/4 and others at f/11. To confuse things more, there is “sample variation” where a particular lens will have different performance characteristics between copies of the same lens. I’ve compared 5 copies of a single lens and found each to have different “sweet spots”. This means you have to test your own lenses out to find the sweet spot of sharpness for each.

Although edge to edge sharpness improves, centre is softer due to diffraction.
You also have to be careful stopping your lens down too far. You will eventually run into another problem that will affect your images called “lens diffraction”. In simple terms, think of lens diffraction as being a traffic jam of light entering your lens. The same light that enters your lens at f/2.8 will enter your lens at f/22, but now the aperture on your lens is 20x smaller. Depending on your lens, this lens diffraction can create really soft and muddy images as the light gets mixed up and crosses paths. As above, there is no guidebook for which apertures will lend themselves to lens diffraction – test your lenses to find out what works best.
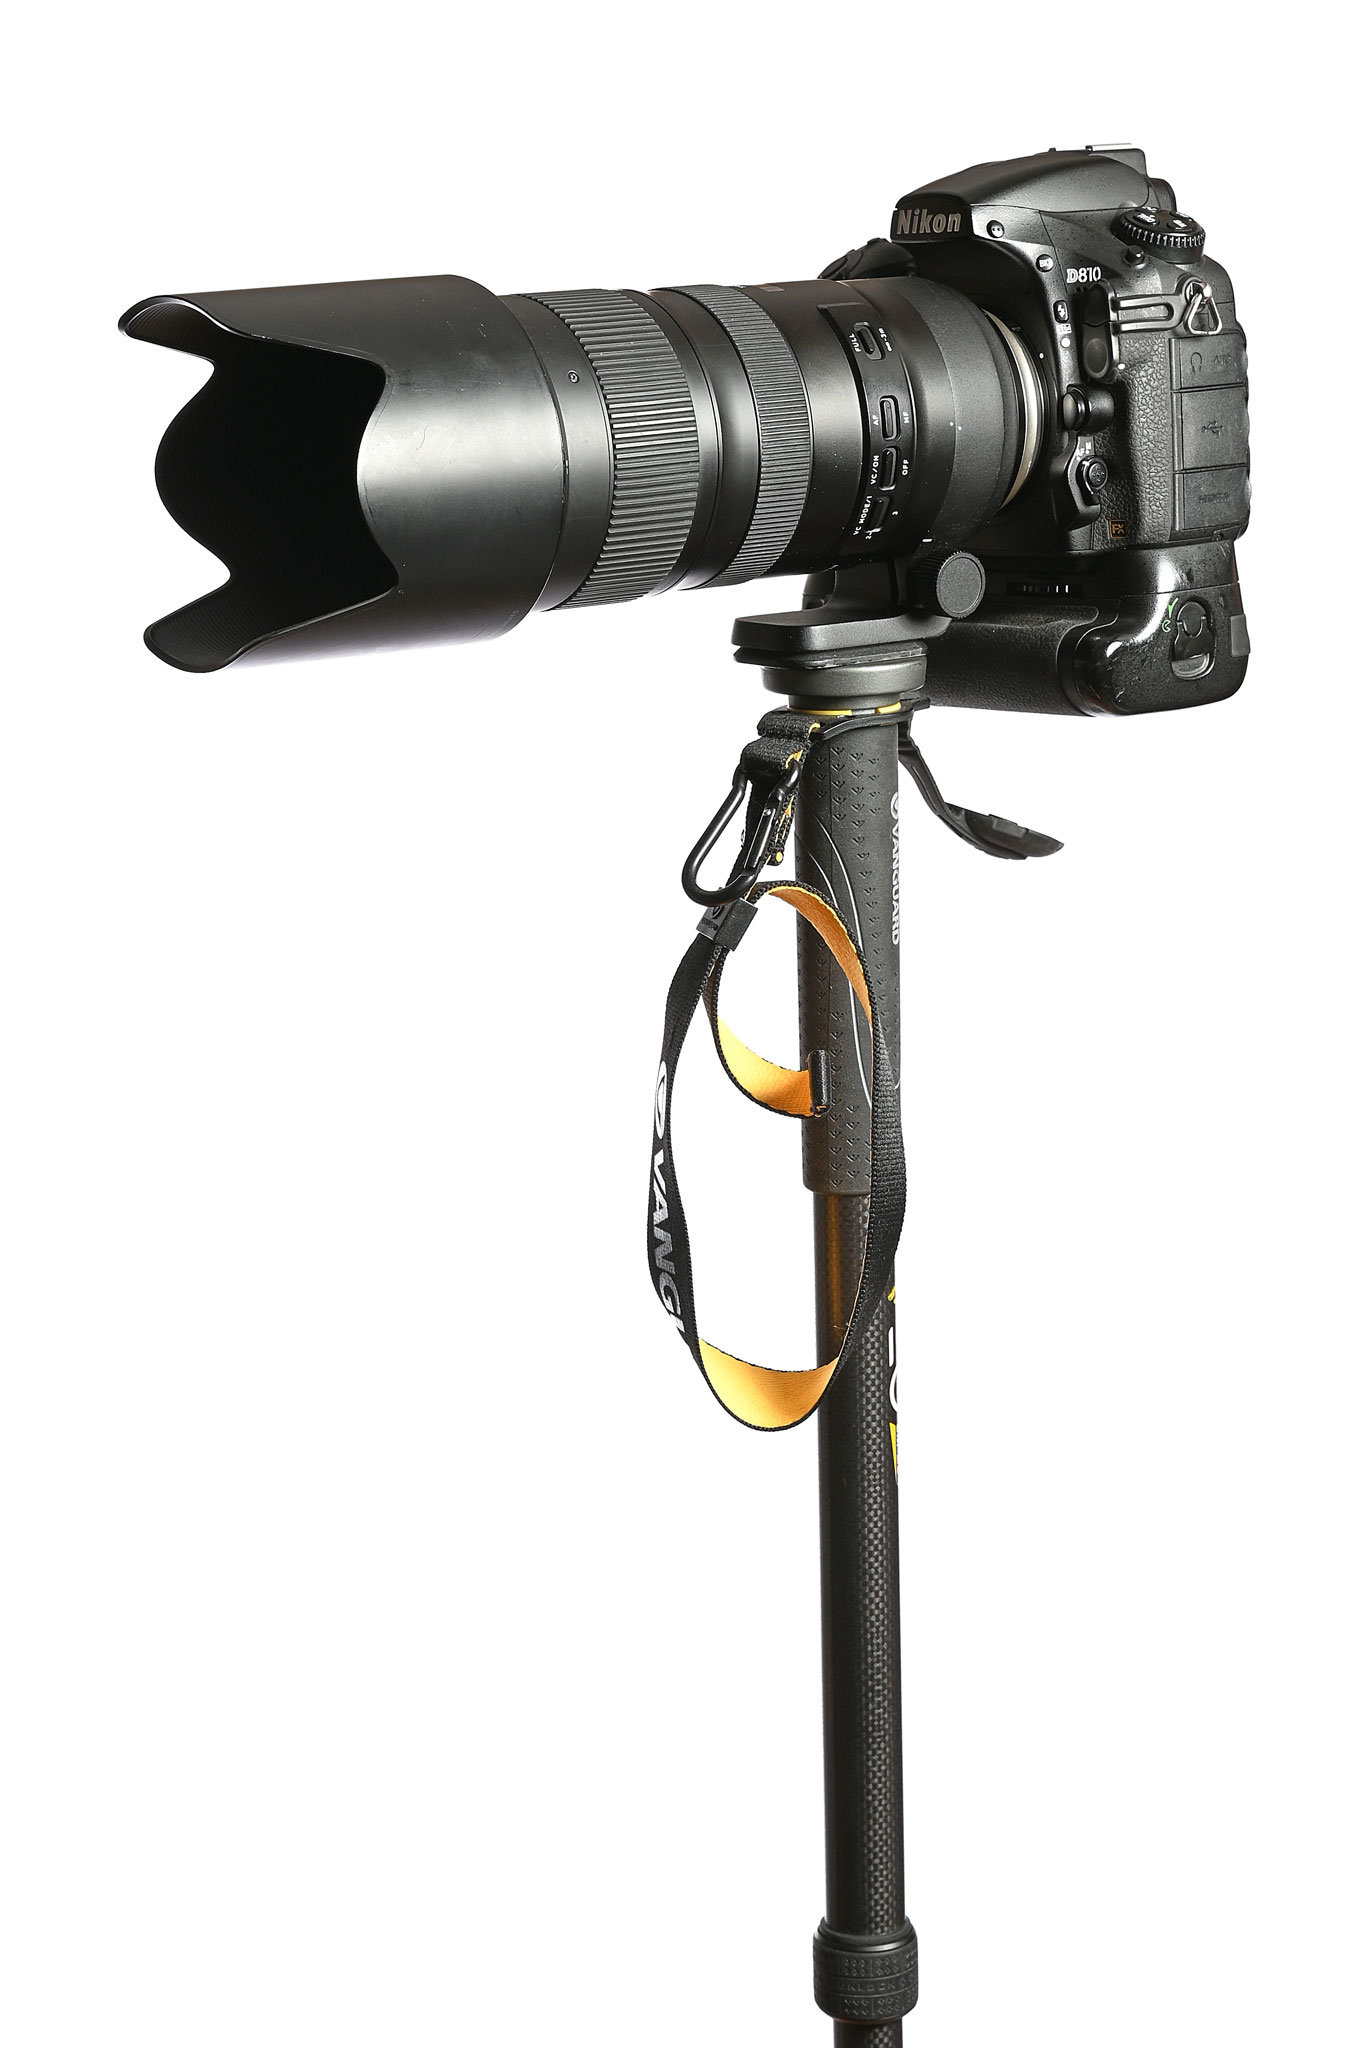
Zoom lenses add another level of complexity, which is all the moving parts to allow the lens to have a focal length range. Your zoom lens will not be equally sharp at all focal lengths, nor at all apertures. I have a 24-70 f/2.8 that’s very sharp at f/4 and 24mm but at 70mm, it’s sharpest at f/5.6 for subjects 10m away and f/4 for subjects at infinity. This is normal and why the Tamron TAP-IN software allows you to adjust your lens’ focus at different focal lengths and distances.
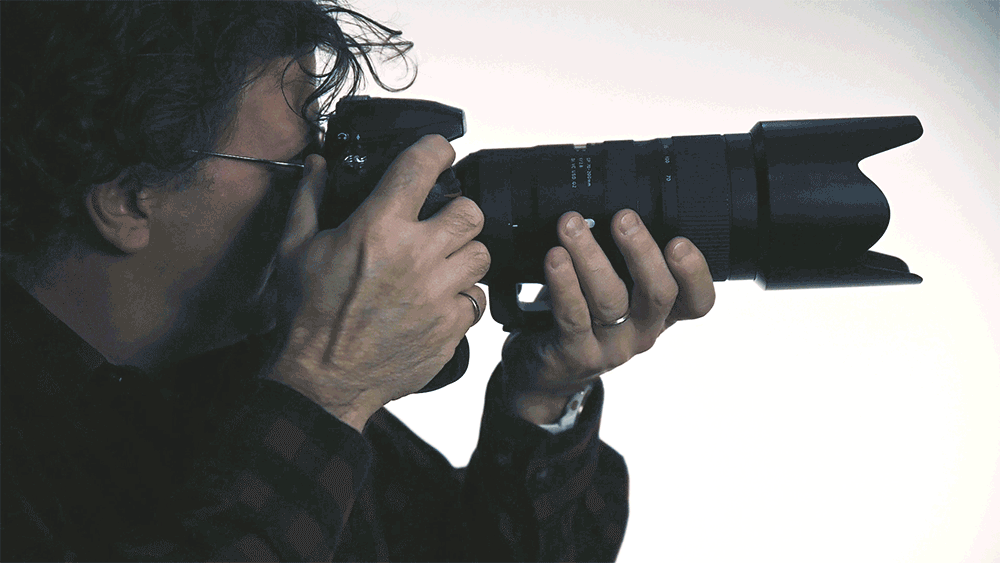
If you’re really critical about sharpness, choose a Prime lens over a zoom. Compare the below two images, one taken with a Tamron 24-70 f/2.8 G2 and the other a Tamron 45mm f/1.8. I used my broncolor Satos pack and Pulso L lamps to ensure exposure was exactly the same between the two images.

Check your Lens and Camera
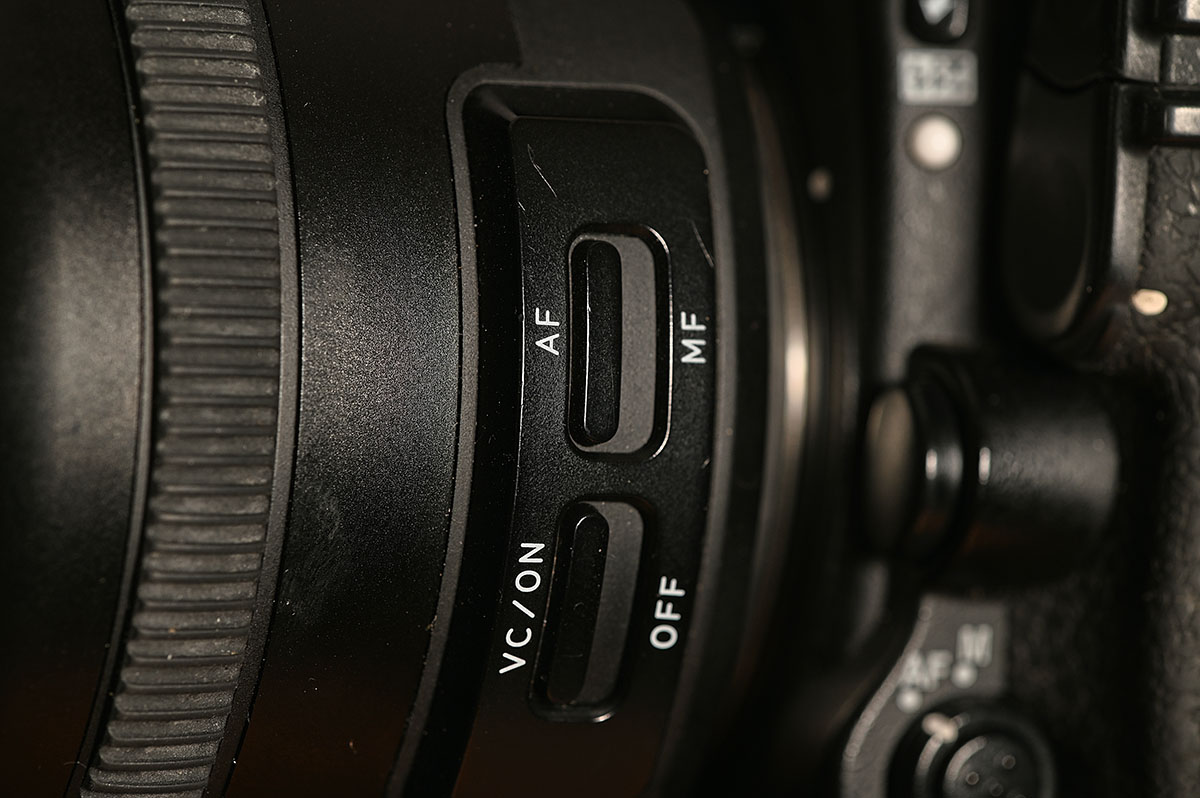
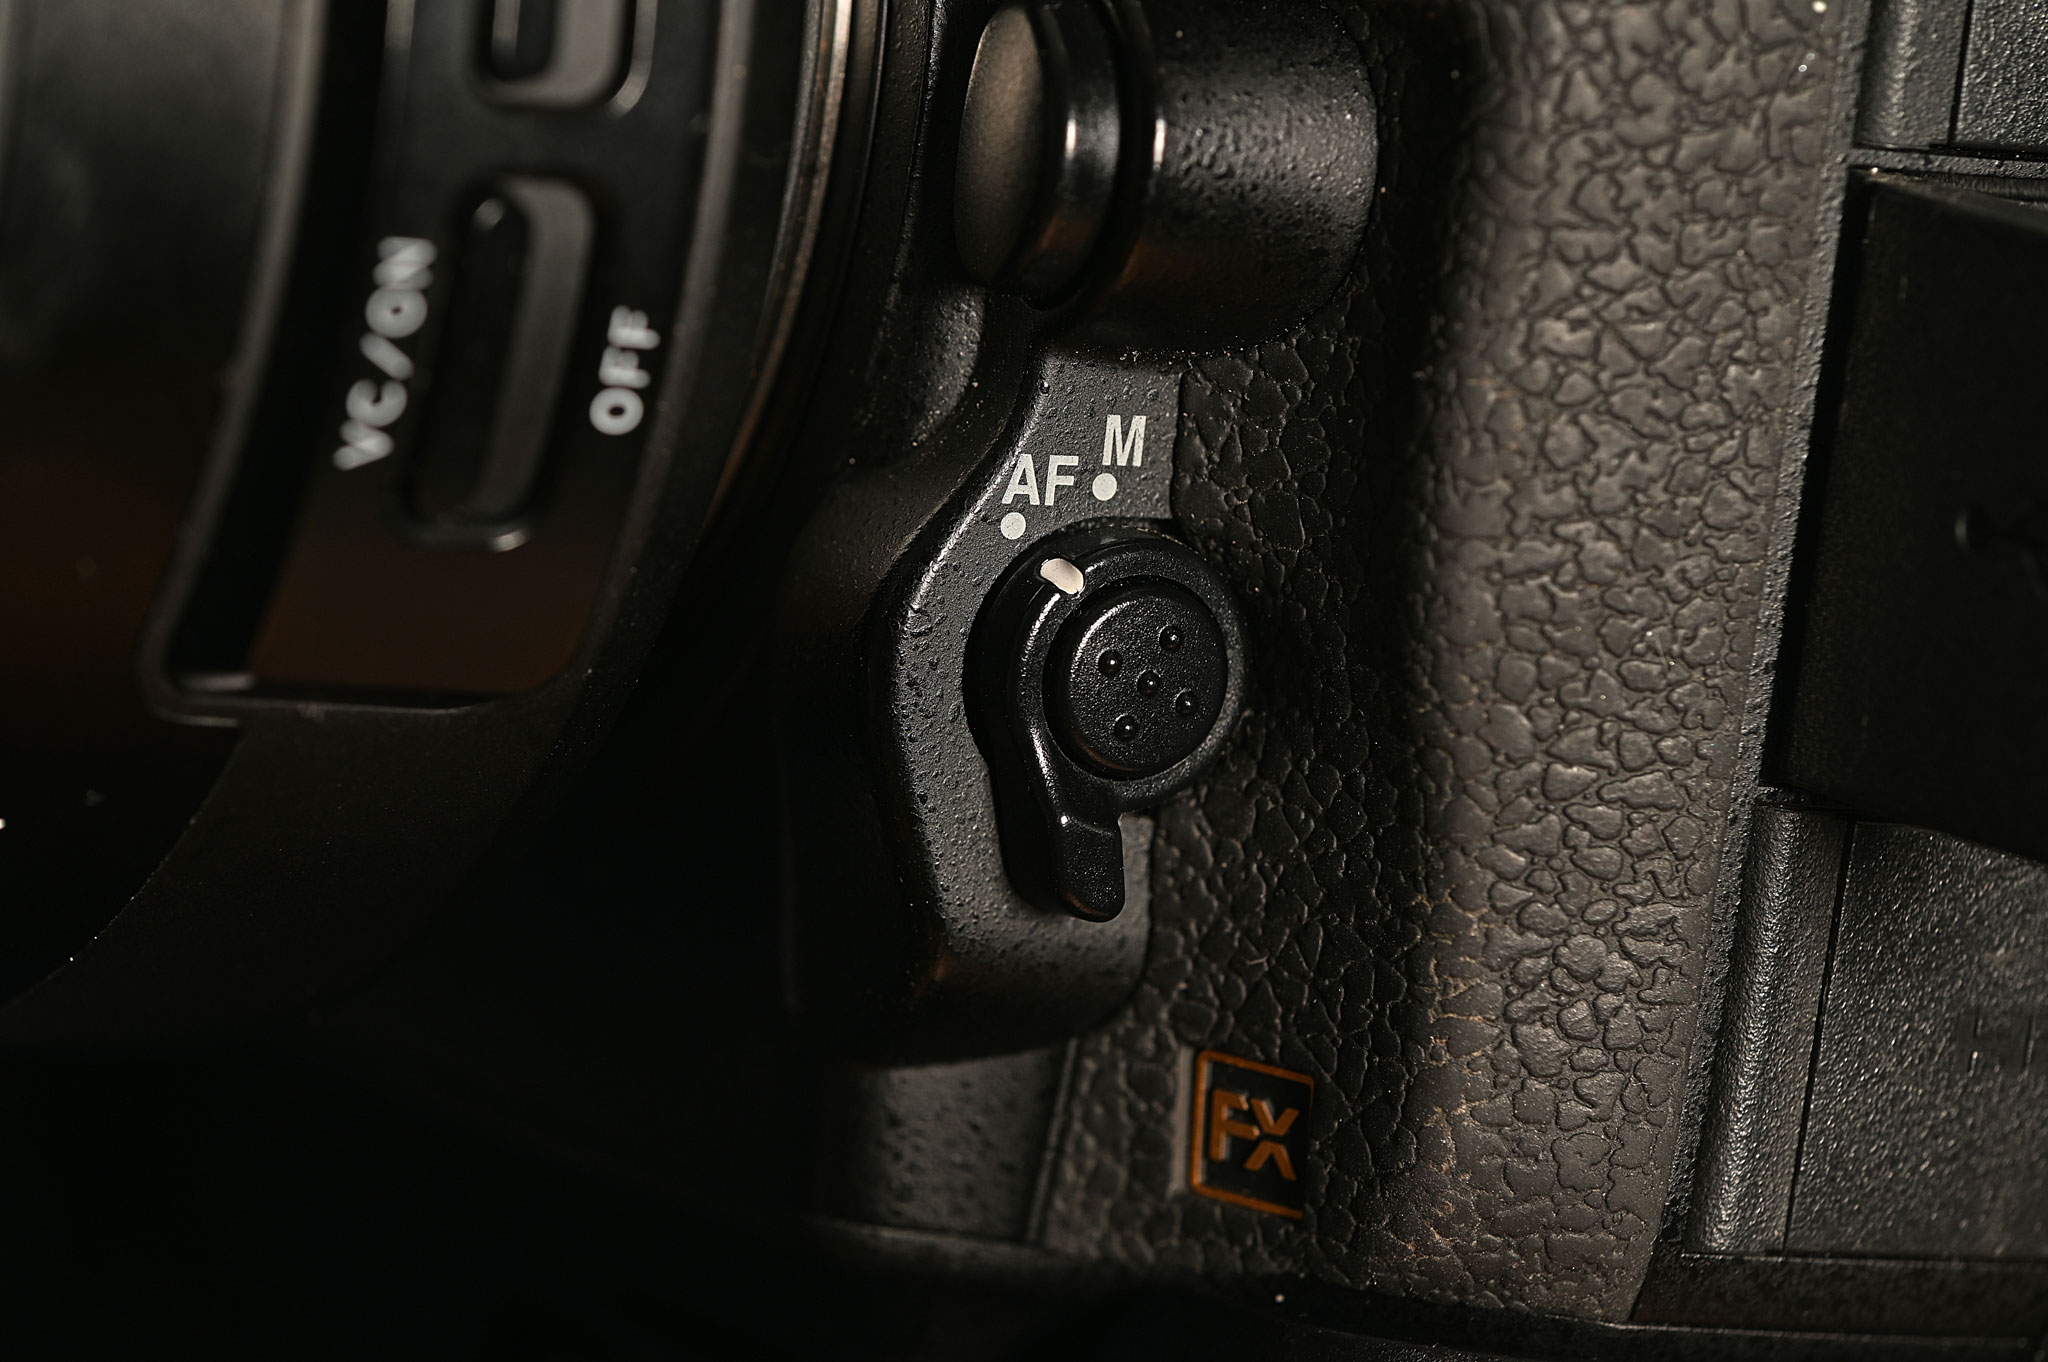
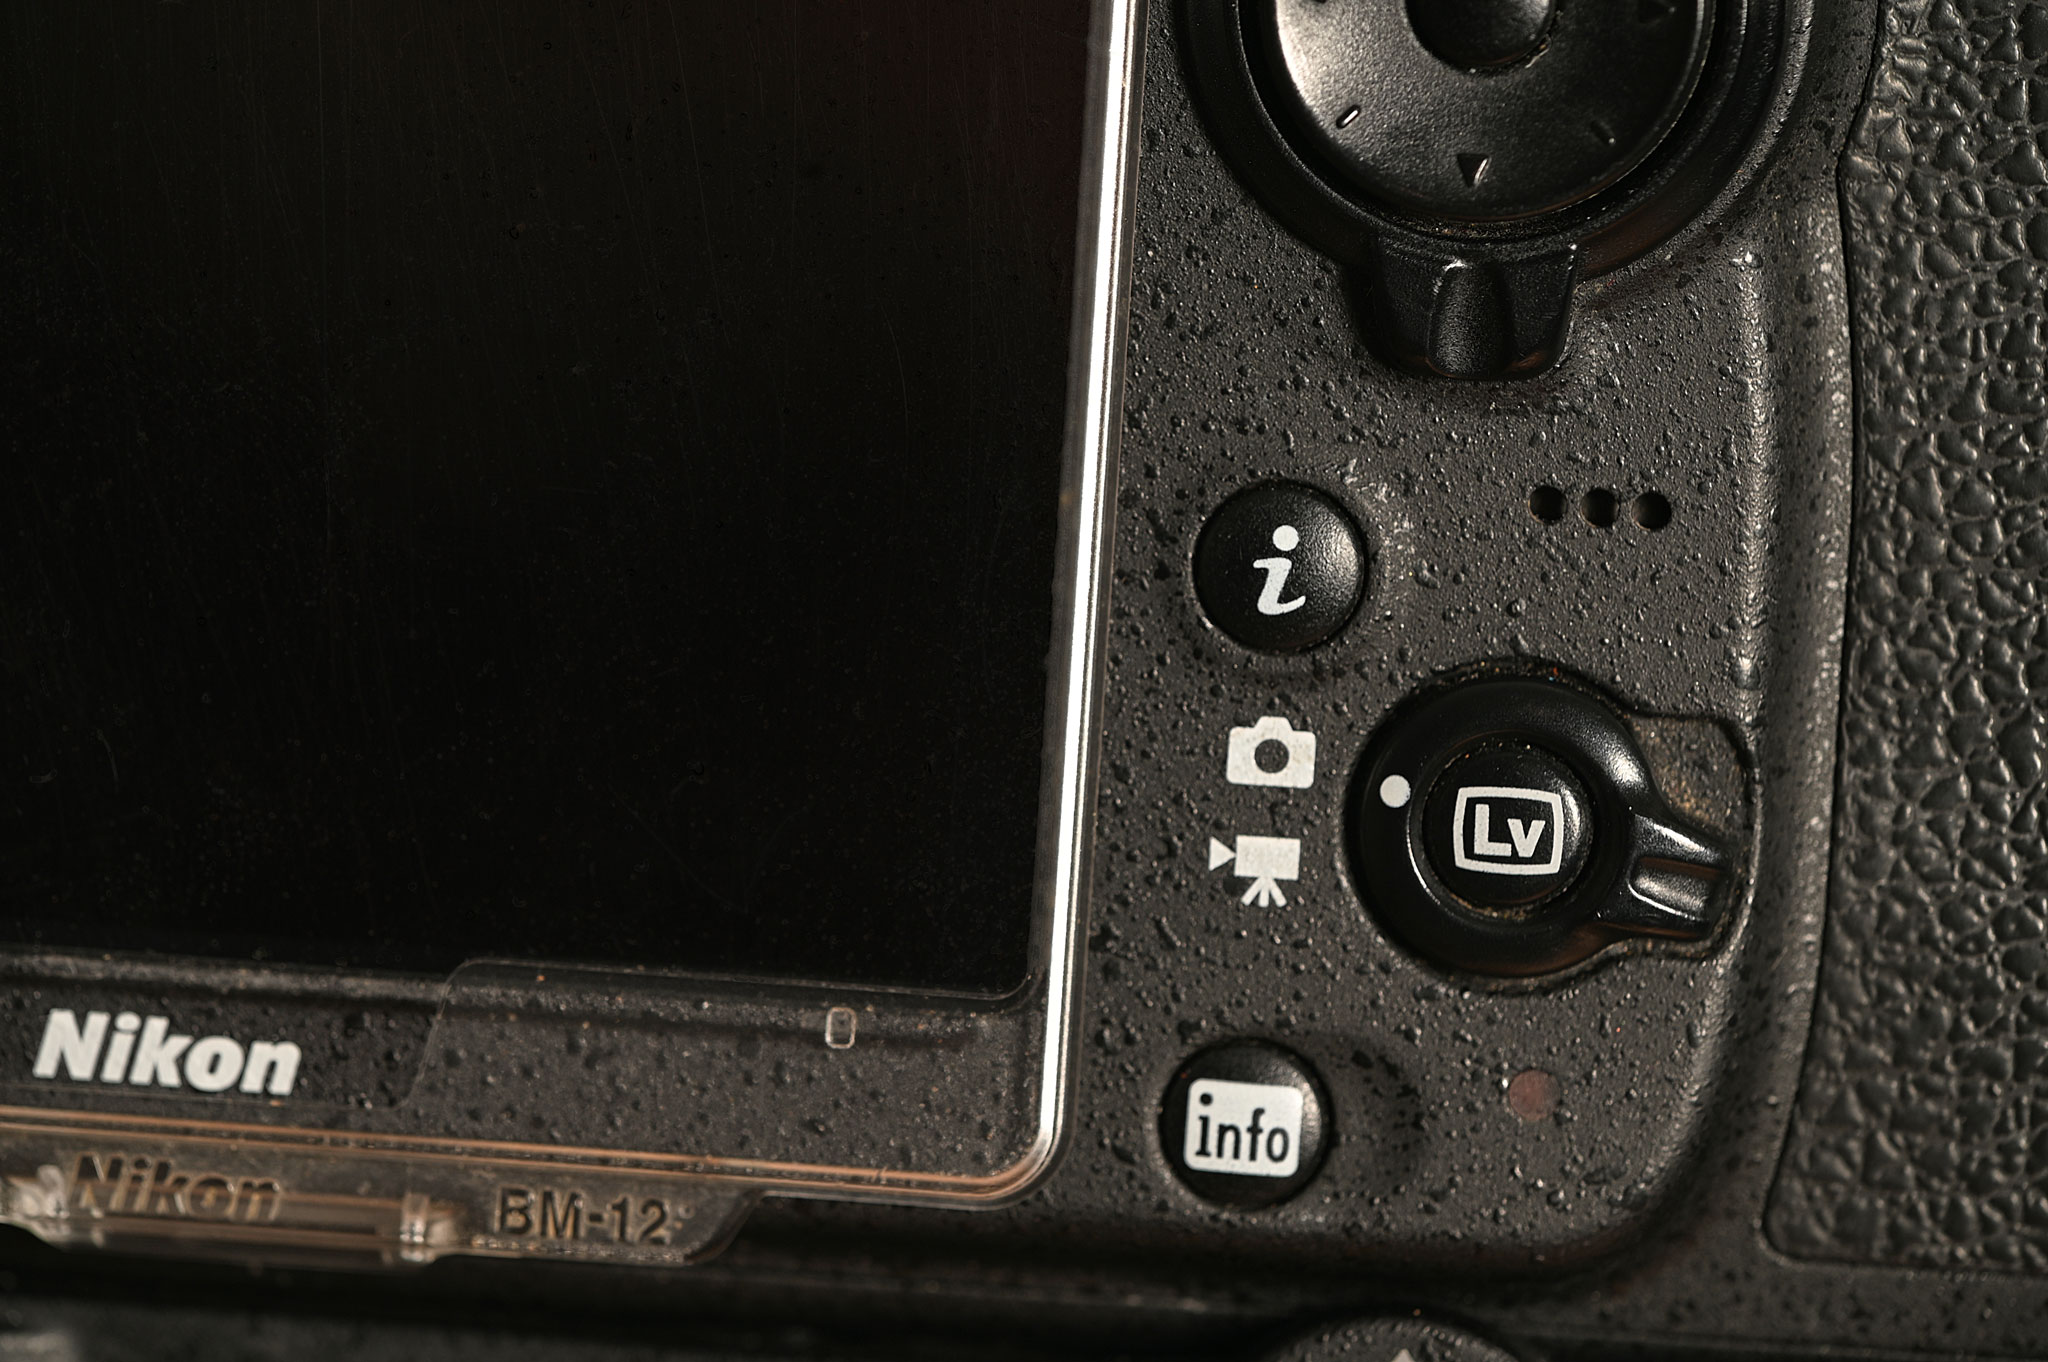
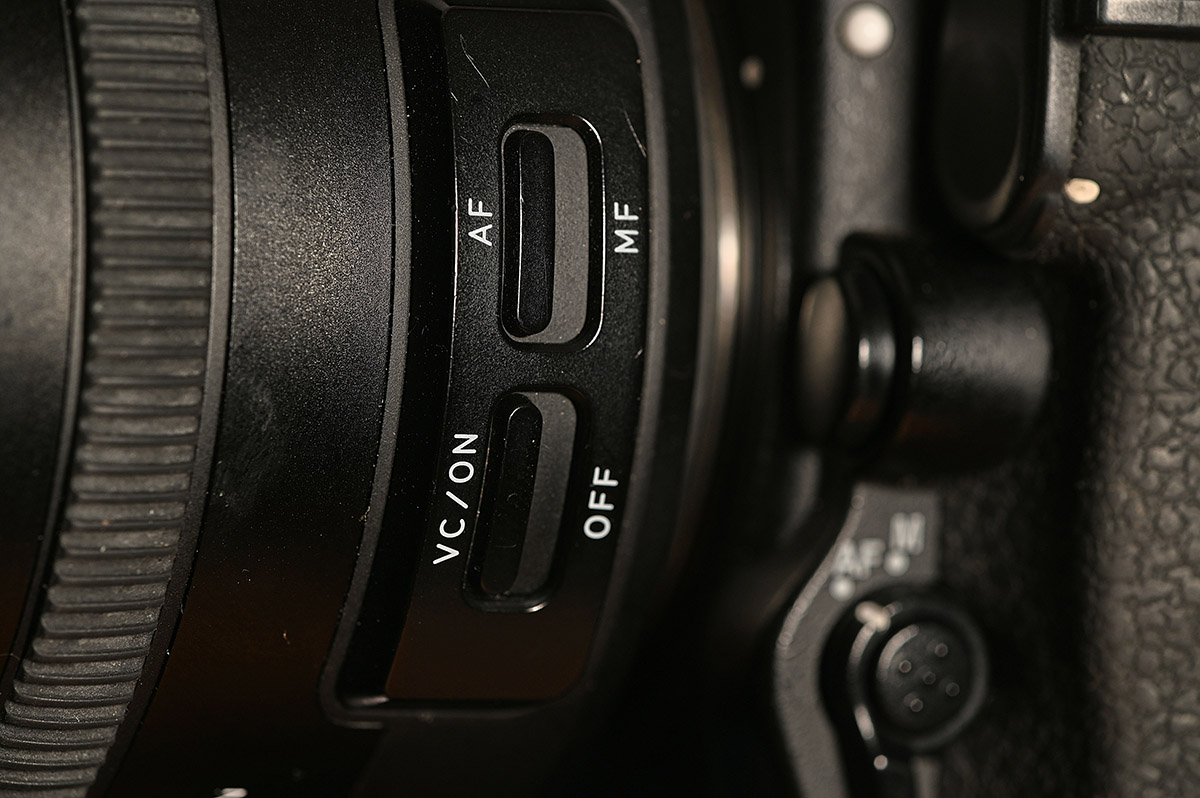
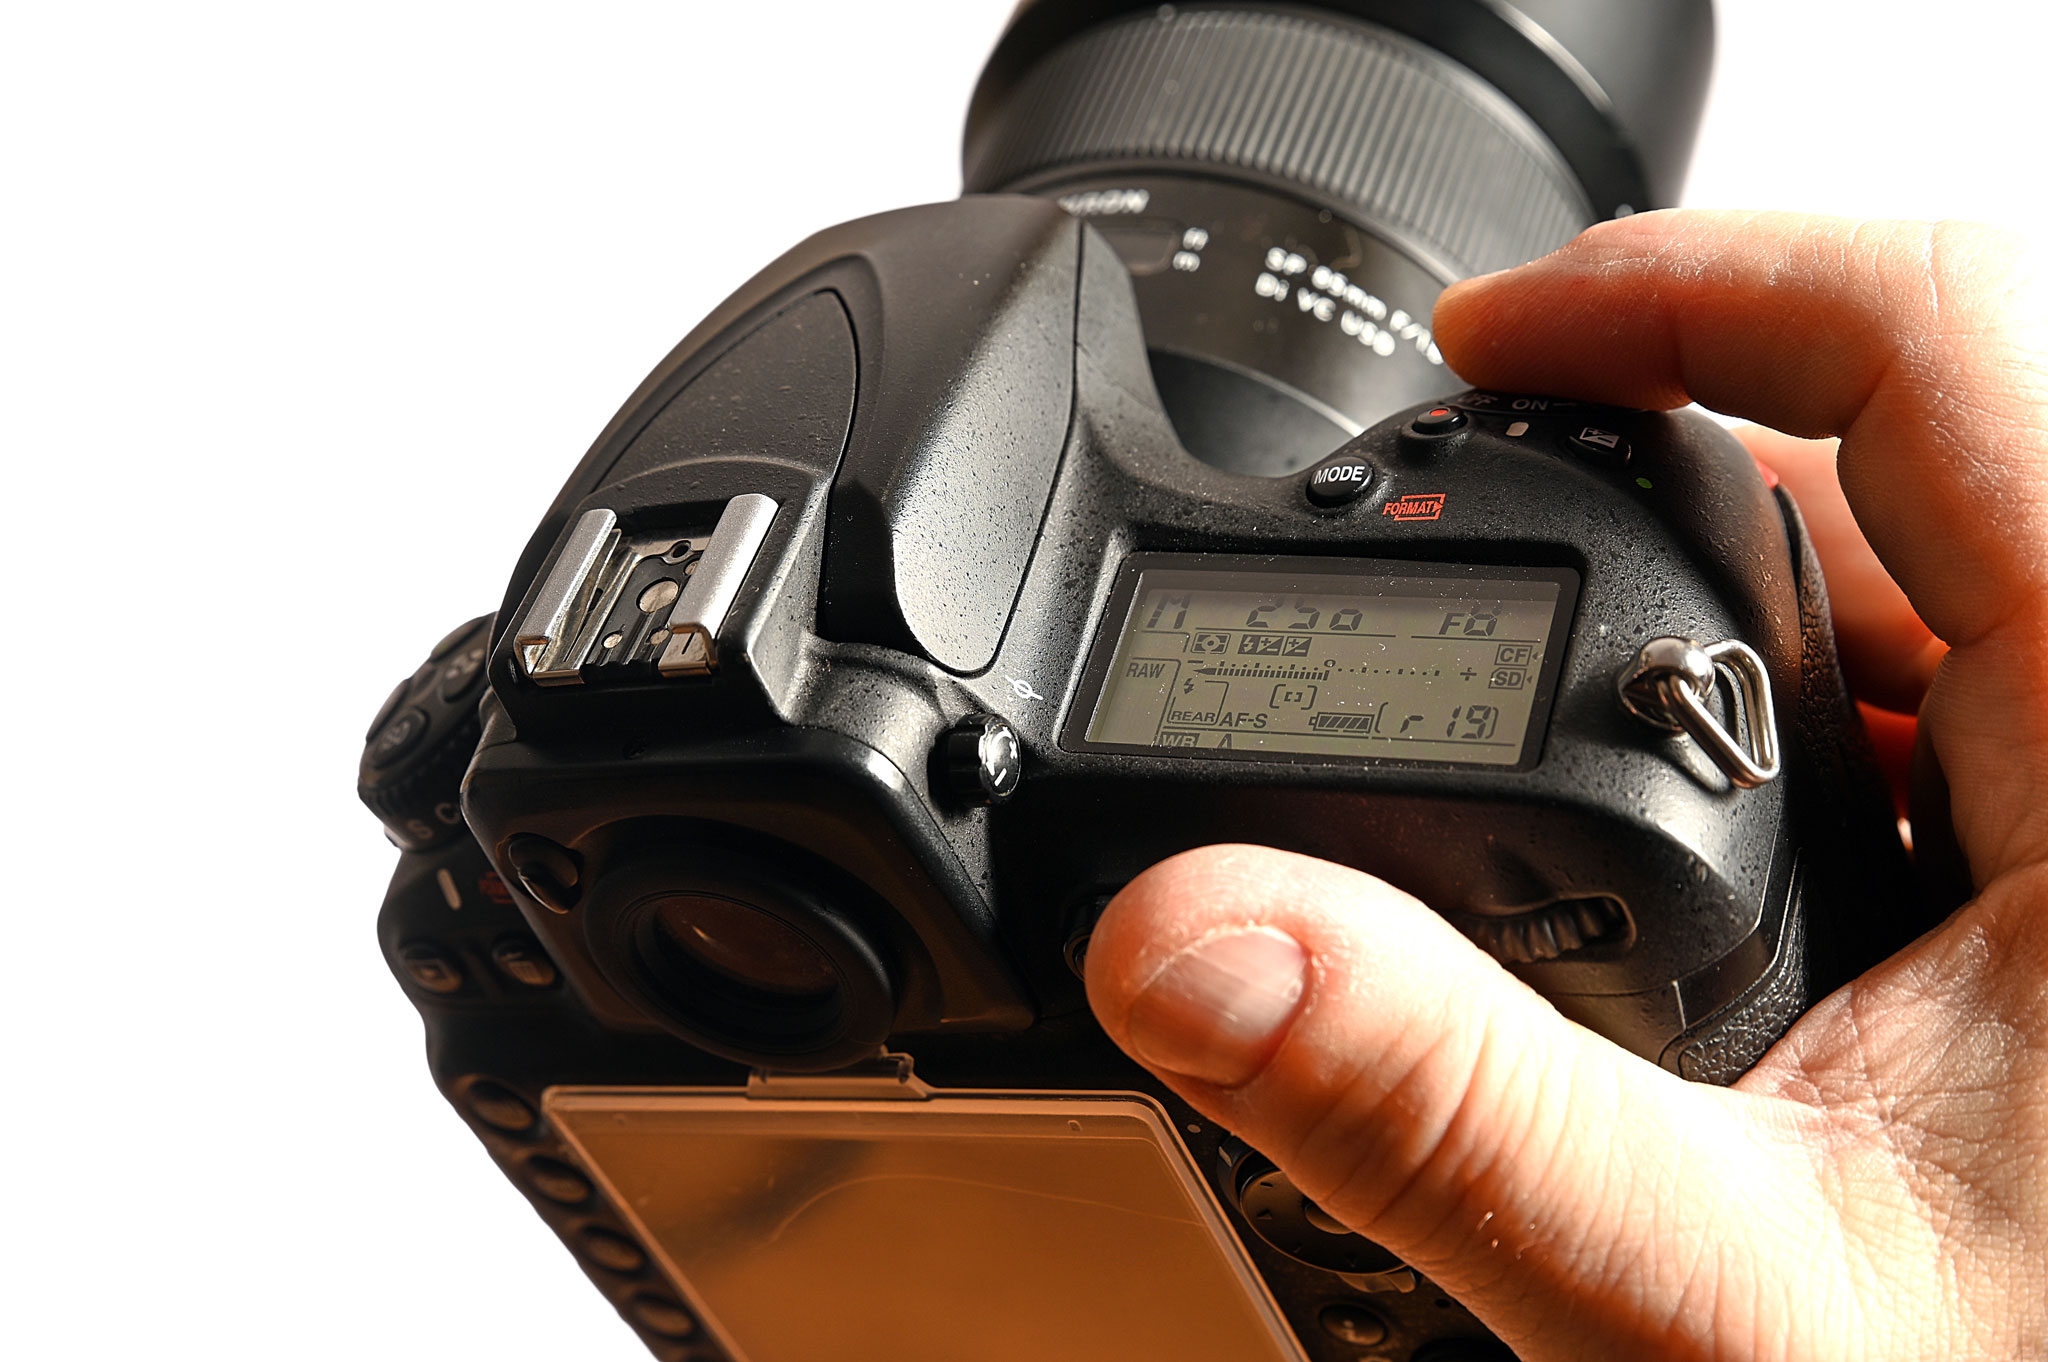
The first thing you should check is that your lens has autofocus or not. Laowa lenses, for instance, are fully manual – manual focus and manual aperture. If you have an autofocus lens, check that the lens switch is set to AF. If your camera body also has the capability, make sure any switches on the camera and menu settings are set to AF. With some cameras, you can access this from the “i” button. This is a good time to RTFM (Read The Flipping Manual). Even if the physical switch looks okay, switch it back and forth to make sure.
Using the Wrong Focus Mode
The most common error I see is that photographers choose the wrong focus area mode for their subject or how they want to take images. Most cameras default to an “Auto” area mode – this means the camera picks what should be in focus, not you the photographer. Often, your camera will grab focus on the right subject but it can also often grab focus on the wrong subject or the wrong part of the right subject. You can release your shutter button and then half-press the shutter again to grab focus on another subject but this method is a total crapshoot. As smart as your camera is, it can be easily confused and will not understand what kind of image you want to create.
Another challenge for autofocus is the amount of light in the scene. The more focus points, the more light you need. Is your camera “hunting” for focus? Your lens will move in and out looking for focus but will not grab anything. This is a good sign that you don’t have enough light for the focus mode selected.
Cameras look for areas of high contrast when auto focusing. Newer cameras with Face, Eye and even Pet detect will look for faces or eyes first, but even these systems aren’t foolproof. All these “auto” modes require a fair bit of light to work properly. Modern DSLR and mirrorless cameras can focus in low light but make sure there’s enough contrast for your camera and lens to grab focus.
I always suggest photographers switch to single point Auto Focus for images that require precise and accurate auto focus and to diagnose any potential focus issues. RTFM to find the setting in your camera. Once you’ve nailed your images in single point, then you can explore the other modes. I’ll use Group Area AF and other AF modes, especially 3D Tracking, in certain circumstances only (that’s another article).
AF-S/Single or AF-C/Servo
This setting tells your camera whether to autofocus once when you half-press the shutter button or continuously focus whilst you hold the button down. When testing your lens for AF performance, use AF-S or Single. For most images, this is the best autofocus drive mode. If you’re taking images of fast-moving objects – birds in flight or dogsleds – then use AF-C/Continuous. AF-C will use more battery power and is unnecessary for landscape and general image taking.

Doesn’t Image Stabilization Create Sharper Images?
The job of image stabilization is to help you create sharper images but it can work against you. A couple of simple rules: if you’re hand-holding your camera and lens and you’re shutter speed is below 1/1,000s, make sure your image stabilization is turned on. At faster shutter speeds, image stabilization does nothing to enhance your image but will use up battery power. Depending on your technique and equipment, image stabilization will let you handhold your camera and lens as long as 1 full second. This really comes down to how stable and smooth you are.
The one caveat to all this is when you’re using a tripod – image stabilization should be turned off. Ideally, you should be using a remote shutter release such as the Hahnel HR Pro.
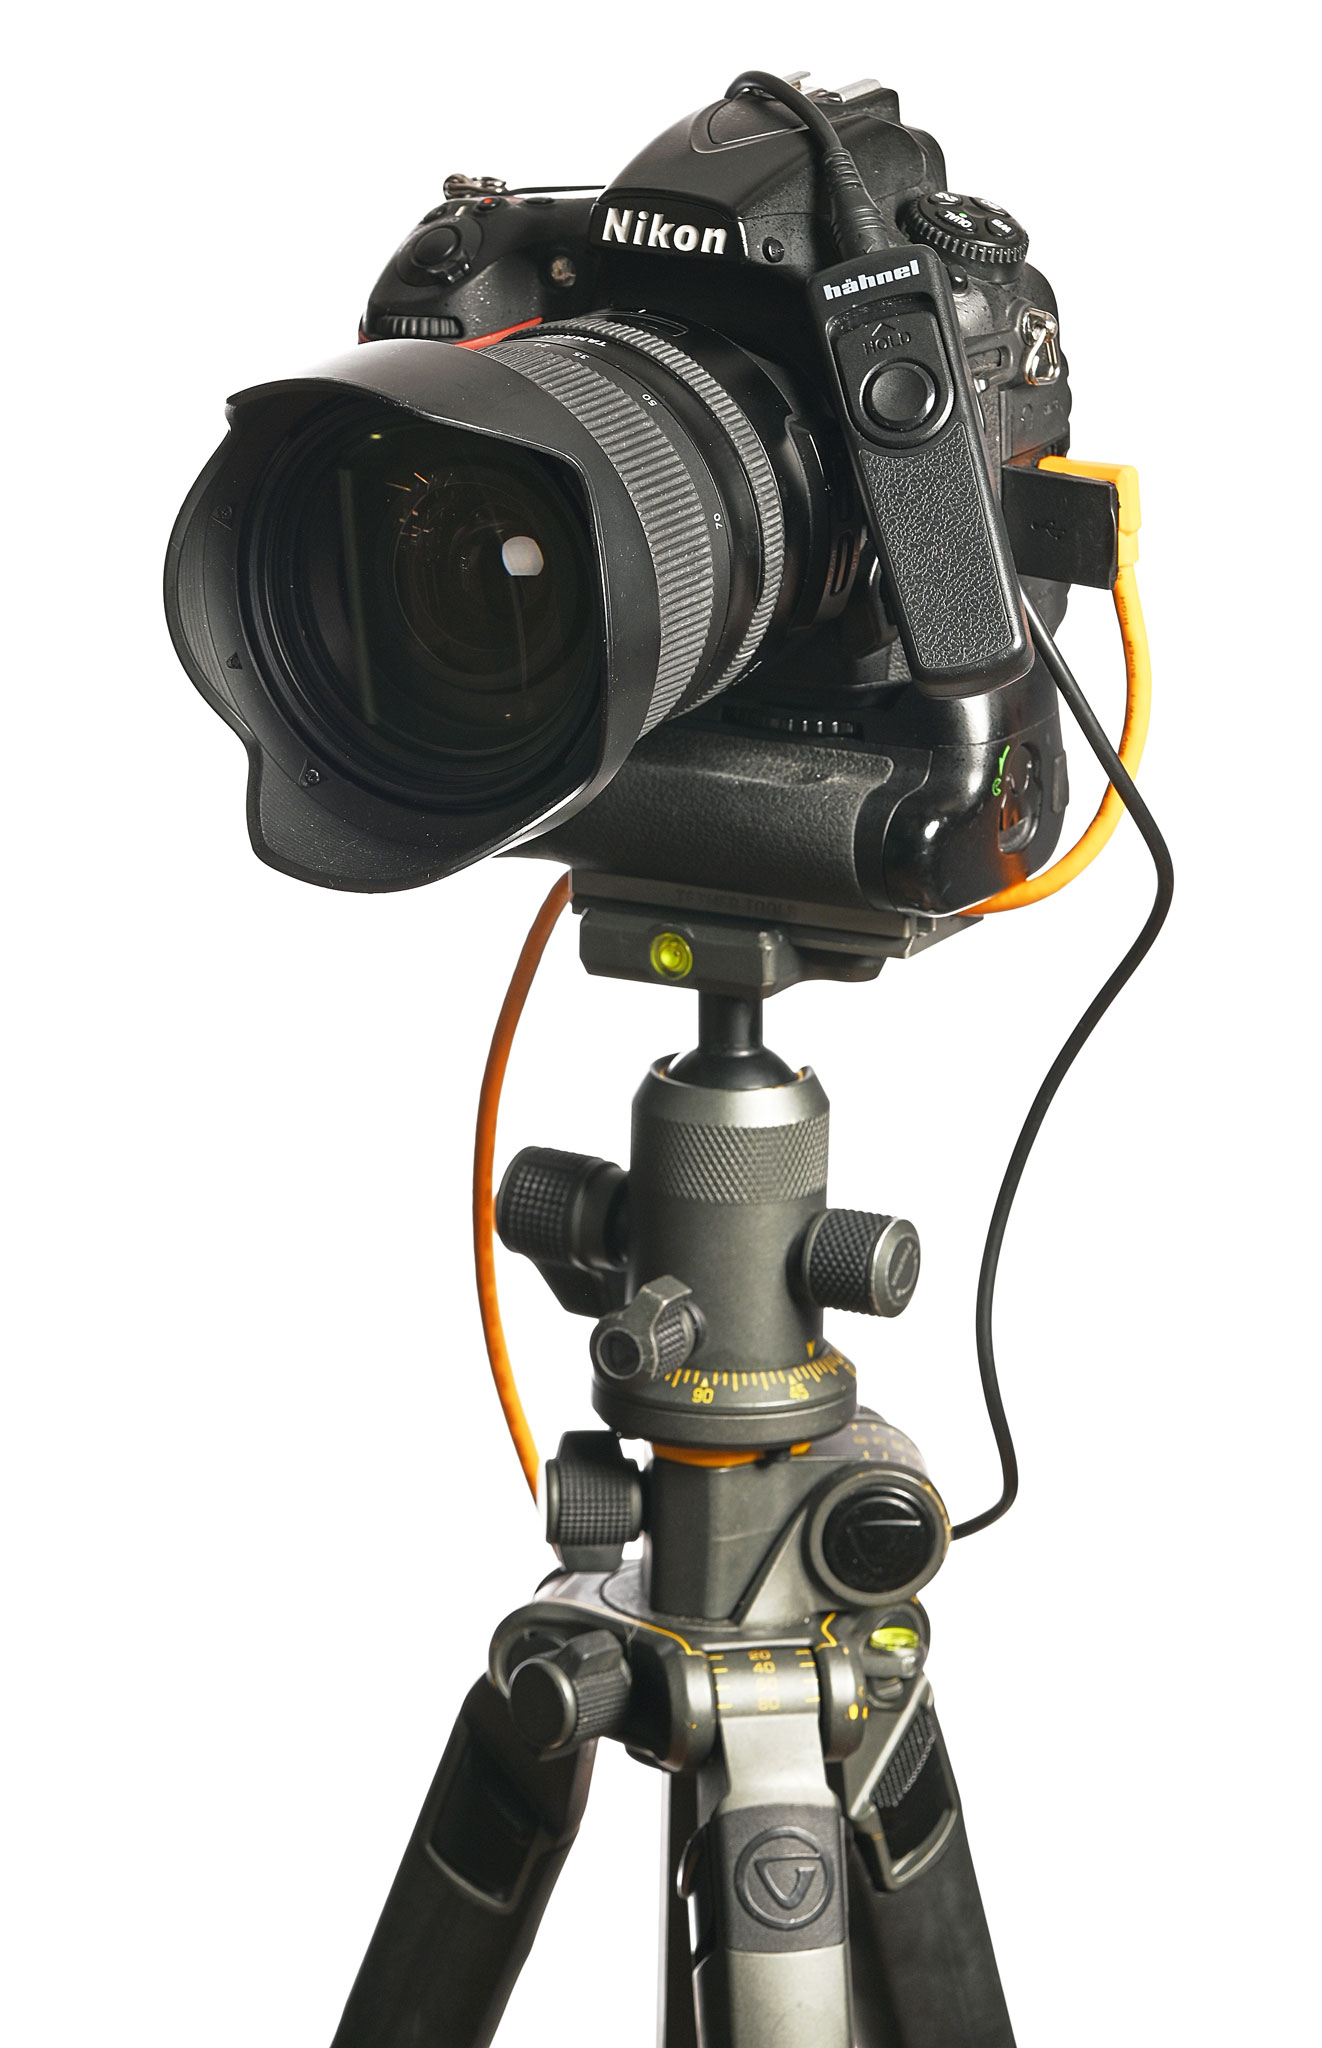
Image stabilization, when used incorrectly or not used when it should, can negatively affect your images and make them appear blurry. Unsharp images due to IS appear as motion blur. The IS mechanism automatically engages when you half-press the shutter and introduces shake/blur because it’s trying to combat something that isn’t there.

VC Blur

VC Off, Camera on Tripod
One very important note about IS/VR – it’s designed to work better on telephoto lenses. Stabilization on wide angle lenses is less important and effective as there is so much in the scene, whereas a telephoto lens has a much narrower field of view and shake will be far more apparent.

VC On

VC Off
When you’re not using IS, or have a lens that doesn’t feature IS, at slower shutter speeds (shutter speed equal to the focal length of your lens or lower) you can create motion blur in your image. This isn’t a fault of the lens. Turn on IS or increase your shutter speed until the blur is gone.
In-Body Image Stabilization – IS that is in camera, with a special mechanism on your sensor – acts very similarly to lens-based IS. Turn it on between 1 second (or whatever your longest handheld exposure time is) and 1/1,000s and turn it off any other time.
Camera Technique
Another common source of image blur I often see is motion induced by pressing the shutter button. The shutter button is on the front of the camera and photographers often press the button too firmly or jab at it, causing the lens to drop a bit when the shutter is pressed.
There are two fixes for this. The first is to use Back Button AF. Read your manual or search YouTube for your camera model and “Back button AF” to learn how to turn this feature on. This setting allows you to set a button on the back of your camera (on some cameras this button is even called “AF-ON”) to engage the Autofocus system. It also engages image stabilization if your lens has this feature. This leaves your shutter button to only one function – taking the image.
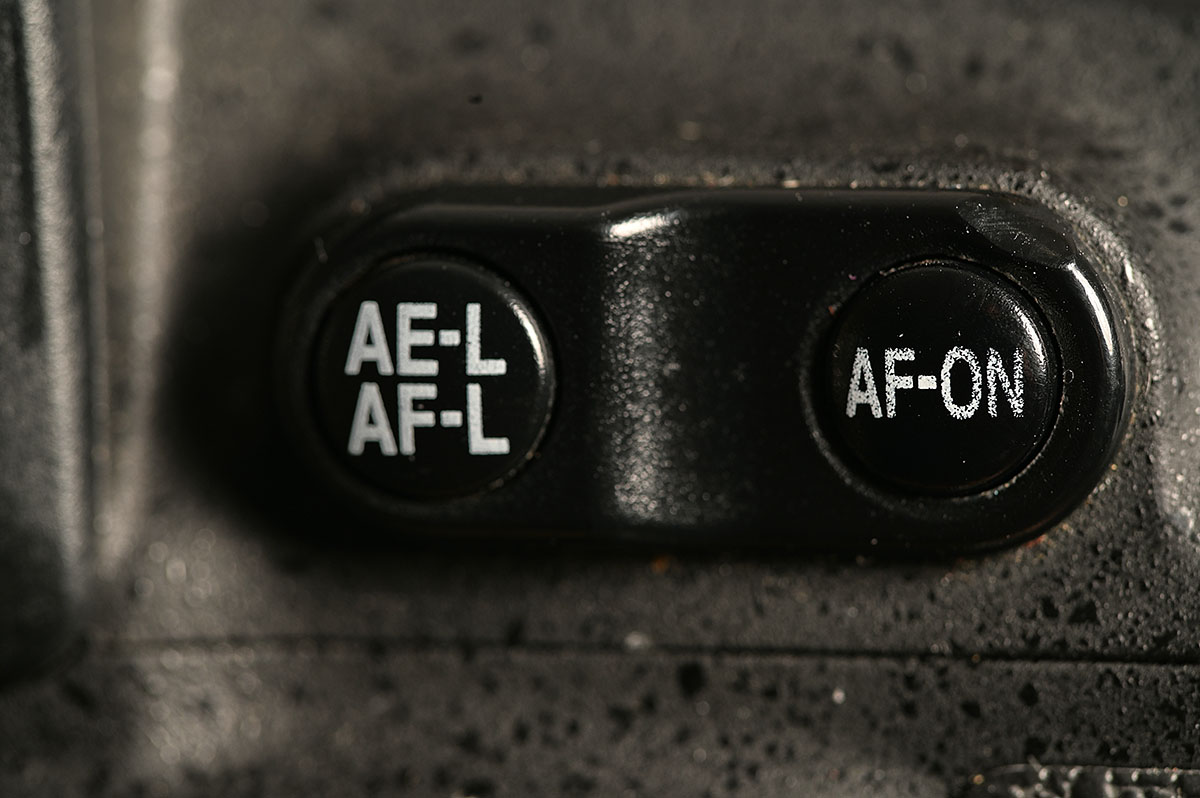
There is a further benefit to using Back Button AF – since you’re gripping your camera more firmly to engage the AF button, there is less movement when pressing your shutter button.
It’s also good practice to learn how to press your shutter button. You don’t need to press it like the buttons on your TV remote control – it only needs a firm but gentle touch. Some of the new mirrorless cameras have an extremely light shutter button. It’s a good motion to practice – nice and smooth and just enough pressure to trigger the shutter. This can greatly reduce the motion blur in your images.
While we’re talking about technque, your DSLR or mirrorless camera is NOT your cellphone. If you need stability, use the viewfinder and your nose to help stabilize your camera. Standing there with your arms outstretched and camera/lens hanging out like a flag is not going to help you create sharp images. If you’ve bought a camera without a viewfinder and you only have the screen, then you’ll have to learn how to hold your camera steady or rely even more on a monopod or tripod for stability. This is one reason I despise cameras without a viewfinder.
Other Camera Settings that can Soften Images
Modern cameras are more computer than camera. The latest models have amazing lowlight capabilities, often allowing you to capture images at ISO102,400 or more. As wonderful as this is, there are of course trade-offs. The biggest issue with raising your ISO is increased noise. Newer cameras are better at suppressing noise at higher ISOs but eventually you will get to a point where noise is too much for the computer to process.
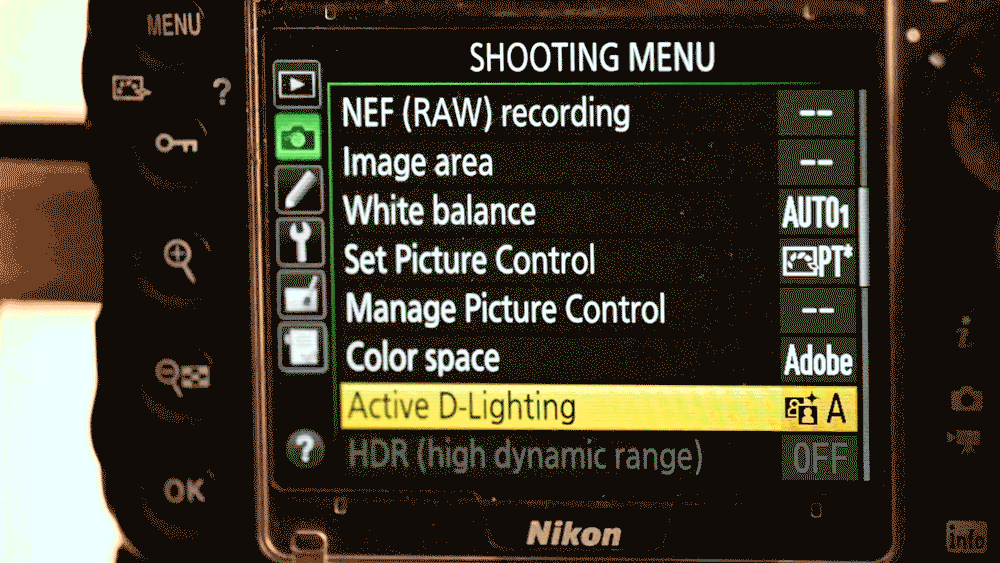
Of course, you won’t want to leave the noise in your image either and this leads to the next camera setting that will soften your images: Automatic Noise Reduction. If you shoot images in RAW, you should have this and all the other “auto” settings turned off: Lens distortion correction, vignetting and any settings for shadow and tone control. These settings only affect your thumbnails and JPG & TIFF images in camera. You have much finer control of these settings from your RAW file using Capture One, Lightroom or any other RAW processor. Turn the auto “corrects” off to save processing power. RAW processors are much more accurate when reducing noise and leave images that are sharper.
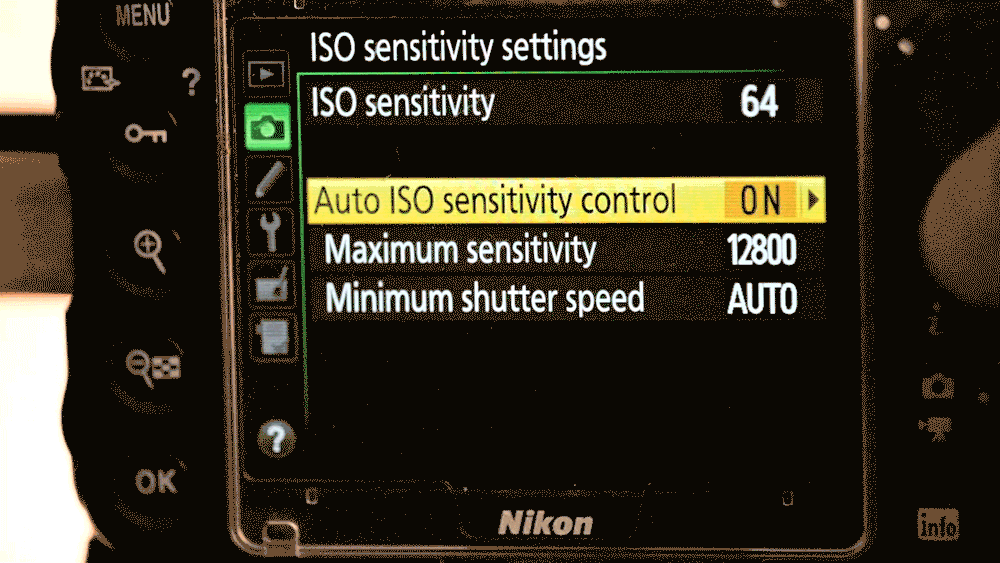
Speaking of ISO, this is another RTFM setting for you to review. Most cameras will produce images with maximum sharpness at their base ISO – the lowest ISO the camera can record a RAW file that doesn’t have “Hi” or “Lo” in its name. It’s usually ISO50, ISO64 or ISO100 but some cameras have a base ISO of ISO200 and only produce JPGs at lower ISO. Learn your base ISO and when sharpness is critical, try to keep your ISO there. This doesn’t always work with wildlife and sports images, so you’ll have to make educated decisions as to your best exposure settings.
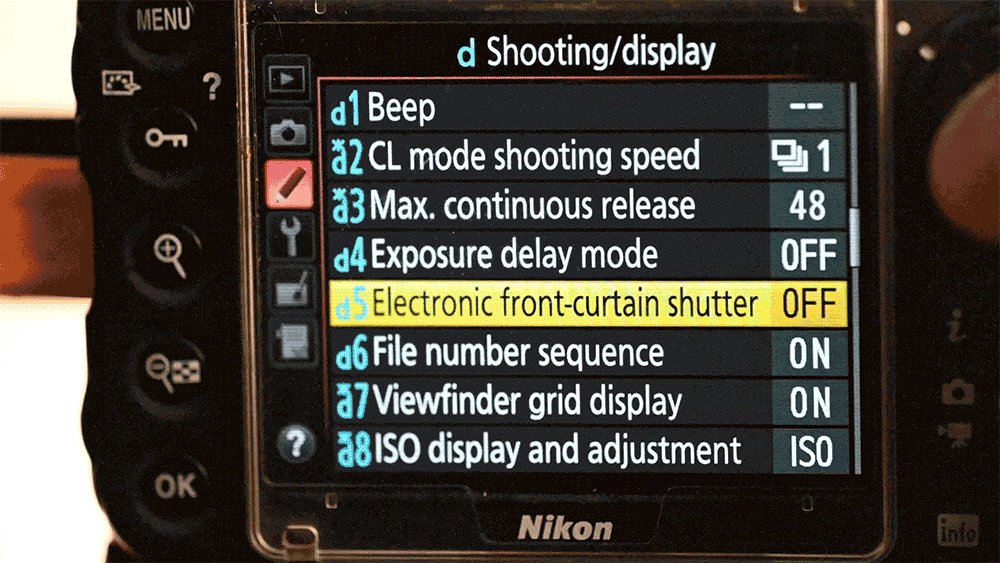
Newer cameras have the option for electronic shutters or electronic first curtain – the sensor is energized when you release the shutter button and is either read by the camera at once (electronic shutter) or the physical shutter is held open but the sensor isn’t energized until you release the button but the exposure is completed by the physical shutter mechanism closing (electronic first curtain). If you can use these settings, they will improve your chances of sharper images because the physical shutter mechanism is either not moving or moving very little at the end of the exposure, where it’s least likely to affect your image.
“I’ll Just Fix It in Post”
This may be the most hated statement in photography but can be a great tool in the right hands. There are a myriad way of sharpening images in post – Capture One, Lightroom, Photoshop and more. Specialized plugins are available and I’ve used different ones to varying levels of success – until recently. I’ve always pre-sharpened and denoised images in my RAW processing workflow using the tools in Capture One and Lightroom.
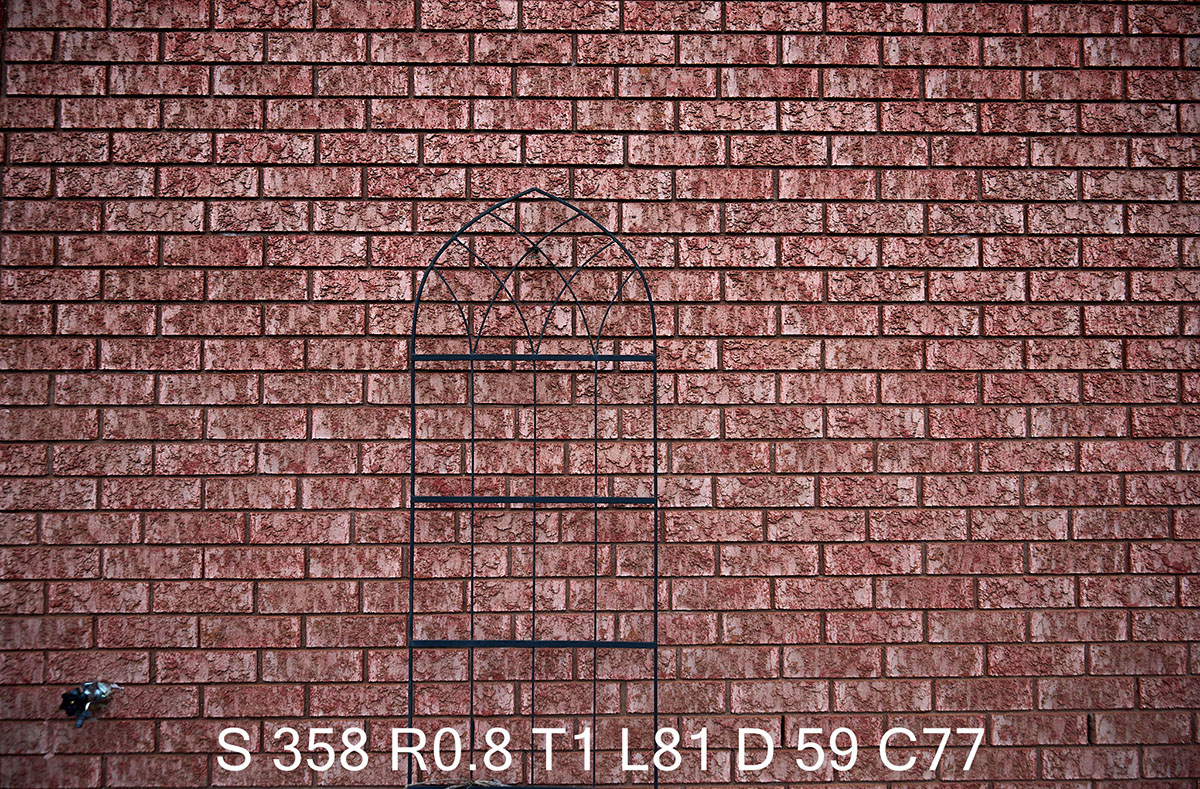
Capture One
Sharpening: Amount 358, Radius 0.8, Threshold 1, Halo Suppression 20
Noise Reduction: Luminance 81, Detail 59, Colour 77, Single Pixel 4
Lightroom Classic
Sharpening: Amount 116, Radius 0.8, Detail 59, Masking 16
Noise Reduction: Luminance 81, Detail 59, Contrast 21, Colour 77, Detail 59, Smoothness 0
Nik Software Define 6 and Presharpener 6 at Defaults/Auto
Topaz AI Sharpen
Sharpen Model: Too Soft – Very Blurry, Remove Blur 17, Suppress Noise 28
Some of you may think I’m going to say the Lightroom’s new AI Denoise tool is the answer and … you’re not completely correct. It’s a good tool and does a pretty good job compared to the old tools .. but (and you knew there was a “but”) .. but there is something much better. I’ve used the Nik Collection since version 1 – Nik Sharpen and Define (noise reduction) have always done a really good as well but I’ve recently jumped on the Topaz bandwagon – using Sharpen AI, Denoise AI and Gigapixel AI to vastly improve the sharpness and quality of some of my images. Honestly, I can’t say enough good things about this software package and how well it works. It completely blew my mind how well it handled photos taken at 320×240 pixels 25 years ago and has really opened my eyes to what can be done. I’m now processing a PILE of my old family photos taken on ancient digital cameras.

Original 320×240 image shot in 1999 on Casio QV-10

Original Image Up-Sizes in Photoshop to 1280x960px
![]()
Image up-sized in Topaz Gigapixel AI 2023 to 1280x960px
One Size Does NOT Fit All
Maximum sharpness is completely different from image to image. If you’re in studio with strobes, you can set your camera to base ISO and the sharpest aperture for your lens. If you’re at an event or capturing wildlife or sports, you will look for the shutter speed to capture the action you want and set ISO and aperture accordingly – you might also want to use a monopod for stability. For landscape images, use a tripod and remote shutter release or timer and turn off IS. If you absolutely must, you might be able to “fix it in post”. This is still a last resort. Capture your image correctly in-camera as best you can.
What are your tips for sharp images? Share your best on our Facebook and Instagram pages.
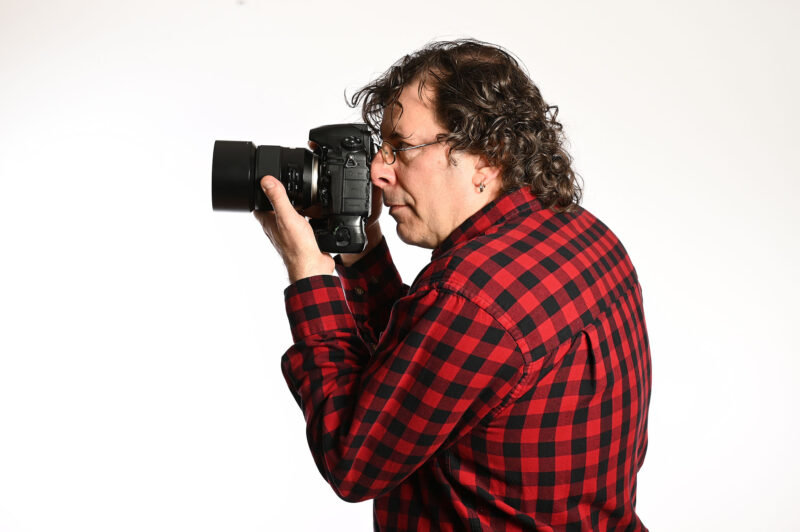
Author: Will Prentice

A portrait, fine art and commercial photographer for 30 plus years, Will Prentice is not just a contributor to PHOTONews magazine, but also host of PHOTONewsTV, owner of Captura Photography+Imaging and Technical Support/Brand Manager for Amplis Foto, Canada’s largest distributor of photographic equipment.
Will teaches photographers of all skill levels how to improve their craft – from creative photo projects to picking the right gear for their needs to flattering lighting to getting the best expressions to creating final images for screen and print. His unique style of highly detailed images with perfect tonality, wide dynamic range and stunning colour is instantly recognizable. Commercial clients rely on Will’s creative eye and mastery of lighting.
When he’s not behind the camera or in front of a class, you’ll find Will outdoors in any weather – usually on one of his bikes or enjoying time with his grandchildren.


