

It’s been more than a year now. Many of us are working from home. In-person photo clubs are no longer meeting. Despite all the challenges, photographers are meeting with their peers via Zoom and Messenger and WebEx and Teams. Instead of fighting the “new normal”, let’s look at some gear to improve your experience and make you look better. You’re a photographer, think like a photographer!
First Steps
Websites are popping up everywhere showing the pitfalls of online meetings. Don’t be that guy or girl! The first thing you should do is get dressed. You’re going to be on camera. If you’re going on a work call, dress as you would when you’re going to the office. Don’t forget pants!! Seriously. Wash your hair. Shave. Skip the deodorant … unless your housemate objects. Shoes are also optional. But pants are mandatory!!
Camera Choice
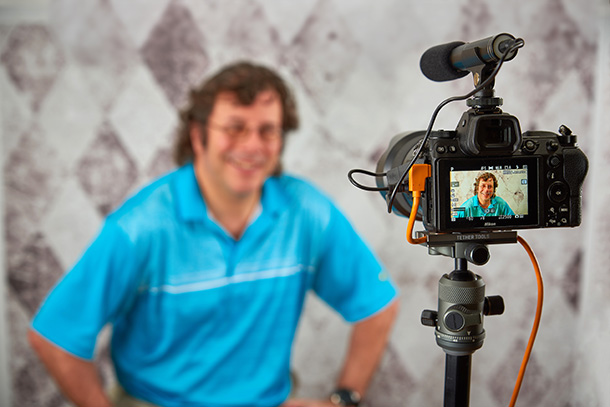
Many of us use the camera built into our laptop or phone. Did you know you can use your mirrorless or DSLR camera? That also means you can choose which lens to use! You can also pick your aperture and other settings so you look your best, instead of using a lens that distorts your features and shows too much of your surroundings.
Most mirrorless cameras can be used as a webcam with nothing more than the camera you own, your preferred lens and the software from the manufacturer. The only other thing you will need to connect your camera to your computer is a USB cable. You could use the little cable that came with your camera, but why limit yourself to 18-24” and slow transfer speeds. Pick up a Tether Tools USB cable that will support high speed data transfer and allow you to put your camera up to 15’ away (or up to 65’ with Tether Boost Pro Core Controllers).
If you don’t have a supported mirrorless camera, you’ll need a Tether Tools HDMI cable and some kind of video capture device, such as Elgato Cam Link 4K.
Don’t Distort your Face
With your camera connected, you’ll want to choose the best lens. Many webcams and integrated cameras use a wide angle lens. These distort your face and show too much of your surroundings. If you’re doing a demonstration, a wide angle lens is fine; if you’re talking from your desk, use a portrait lens to minimize distortion and distraction.
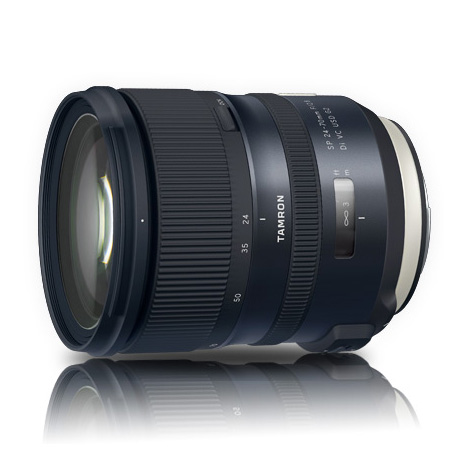
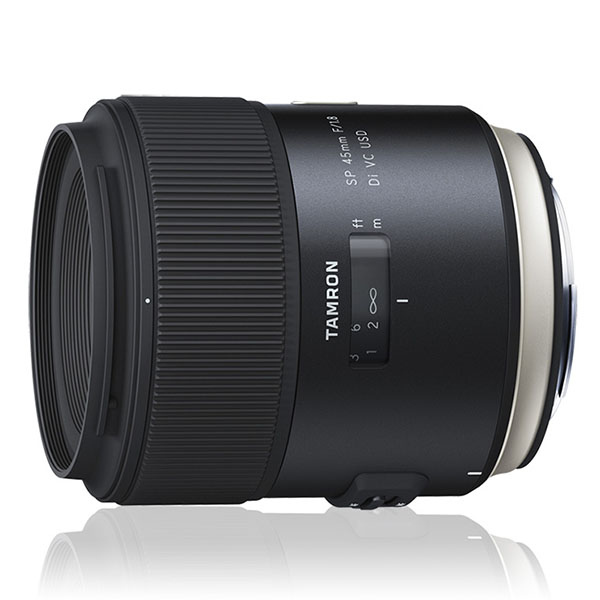
If I’m doing any kind of demonstration, I’ll use my Tamron 24-70 G2. I can adjust the zoom as I present from wide to portrait zoom and the fast aperture lets in a lot of light while blurring my background. For sitting at my desk, I like to use my Tamron 45mm f/1.8 or 85mm f/1.8.
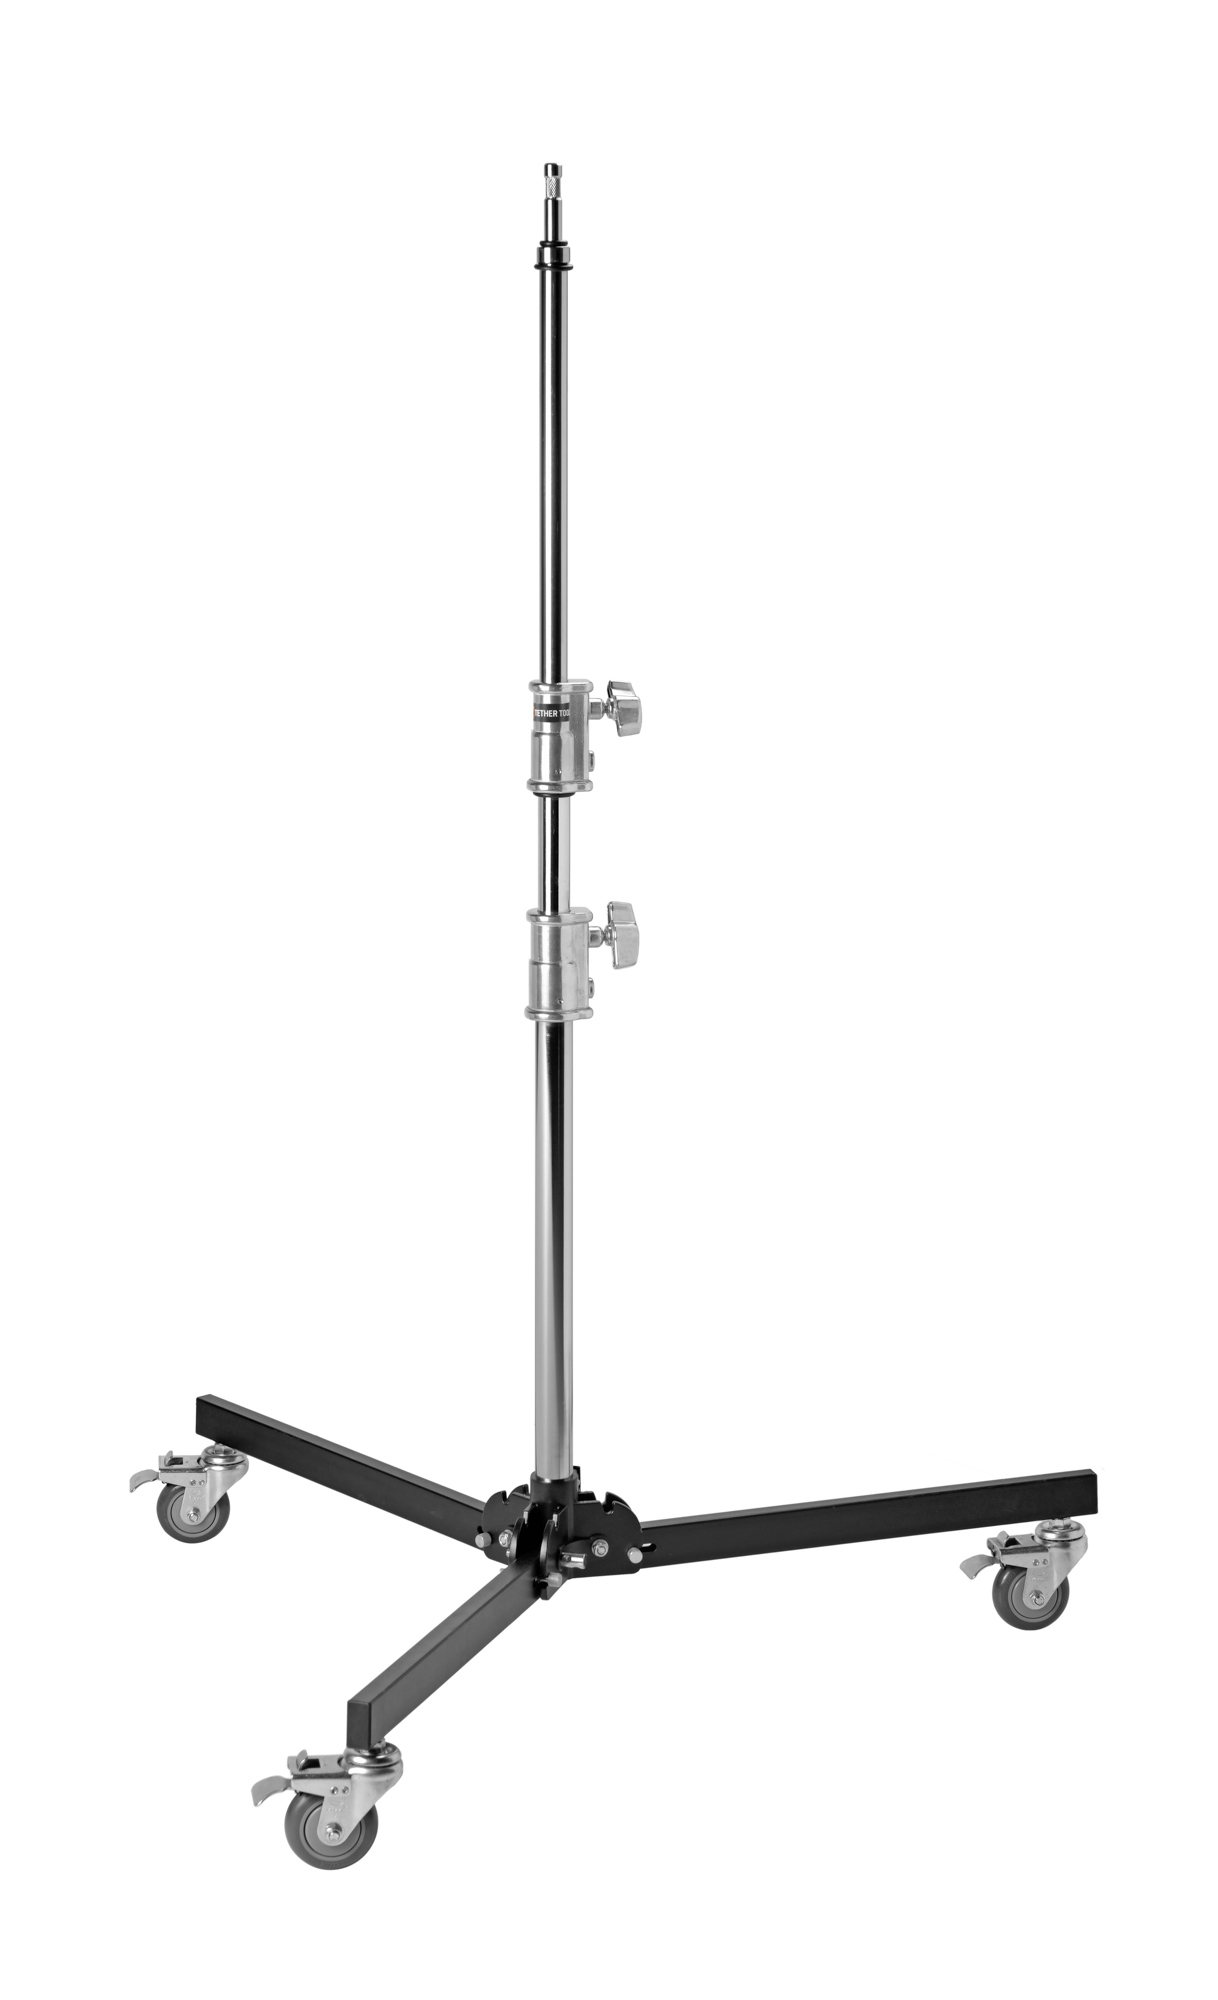
Support your Camera
You’ll need a stable tripod to hold your camera. Vanguard VEO 2 GO 265HAB is a really sturdy, easy-to-setup tripod with 5 section legs. The height is adjustable from 22cm all the way to 164cm – you can set your camera at seated height or standing height – whatever is most comfortable for you. This tripod doubles as a great travel tripod – for when we can travel again.

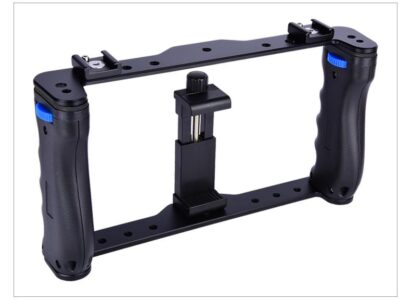
Keep it Cell Simple
There are times where your cellphone will be perfect solution for your meeting time. For those instances, I use a Yelangu Cellphone Rig to hold my phone, mic and LED light. Put your tripod quick release plate on the bottom and mount it to your tripod for a stable solution to hold your phone.
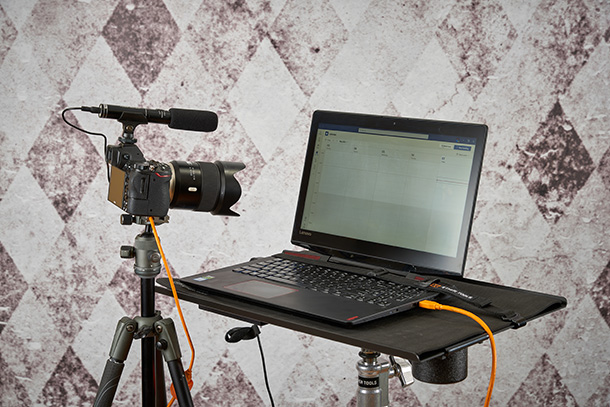
But I need my Laptop!
There are times where you need to keep your computer handy. When I’m doing a live presentation with camera capture, I need access Capture One, Lightroom and Smartshooter. I use my Tether Table Aero on a Rock Solid Low Boy Roller to keep my laptop handy and mobile.
Light Like a Pro!
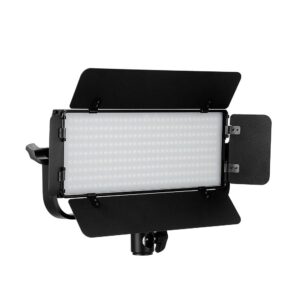
Photographers understand light. For meetings, you have to light yourself now. LED lights with AC adapters are ideal – there are no batteries to replace. Cambee VL-30B is a powerful single light that you can mount on your camera or a light stand. Barndoors let you direct the light where you want it. Colour temperature and power are both adjustable. It also comes with two batteries so you can use it away from the office.
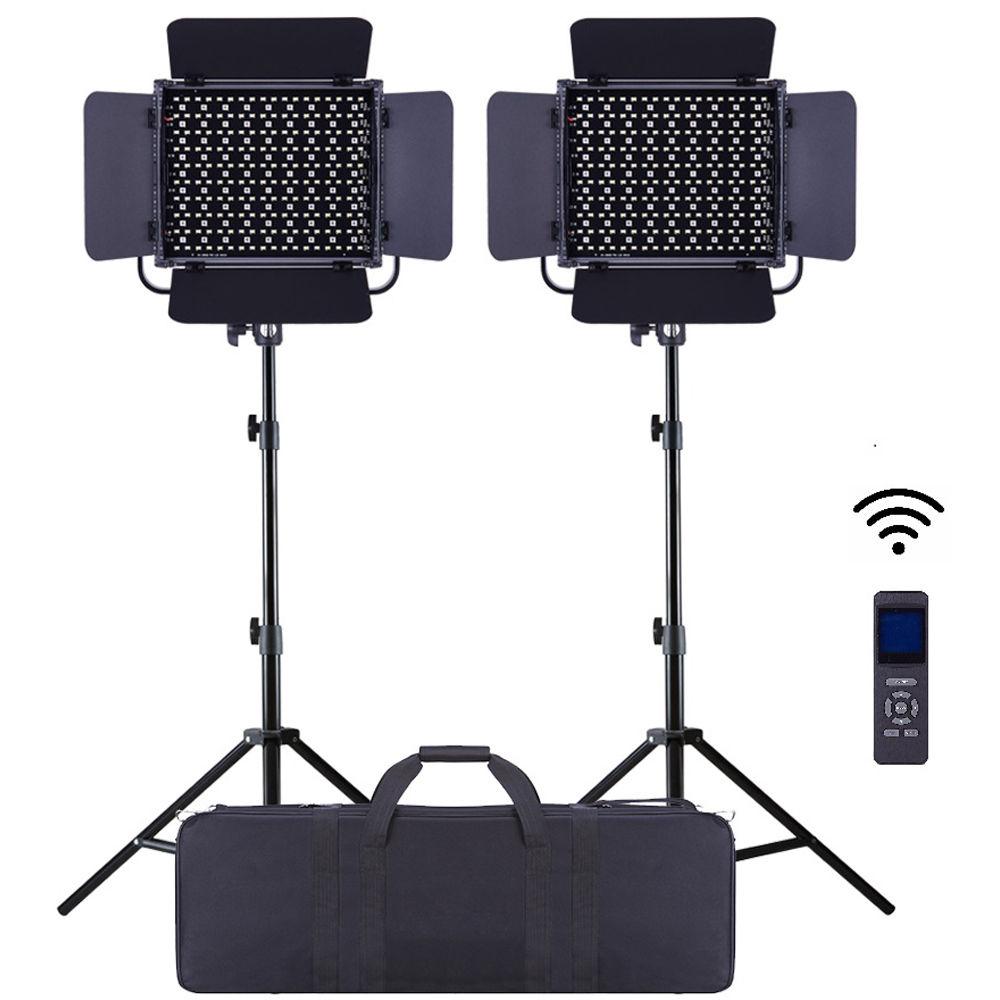
If you need more than one light, Cambee VL36RGB Professional Kit is your best choice. This kit includes 2 LED lights with barn doors and AC adapters, two stands and a carry case to take it on the road. This kit is perfect for lighting larger spaces, especially if you have to do a demonstration or move around. You can even change the colour of the light for creative effects.
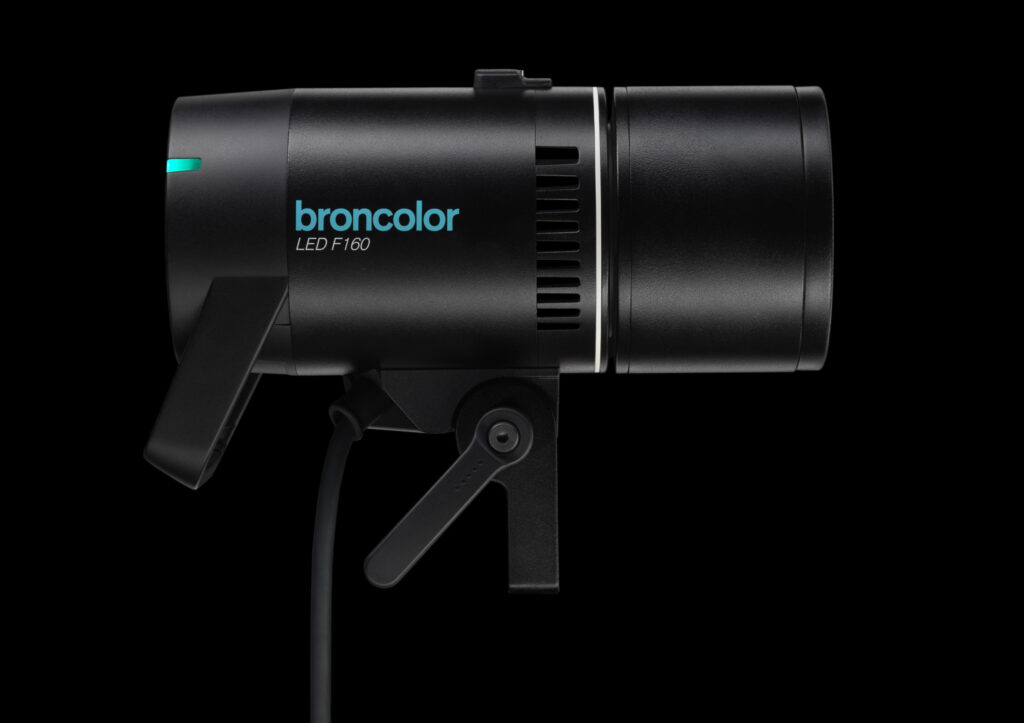
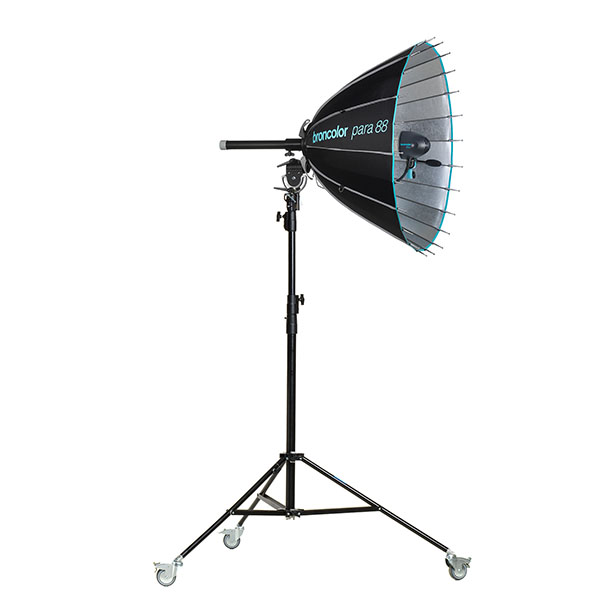
My preferred lighting choice is my broncolor LED F160. These powerful point-source LEDs let me use any broncolor light shaper, such as para 88, to light for any scenario. I can dial in the colour temperature to match all my light sources.
Let your Voice be Heard
If you’ve got to present or talk during your meetings, people will want to hear you. You can use the tiny mics integrated into your camera, but why limit yourself to standing a couple of feet from your camera. The Yelangu Boom Mic will pick up your voice from 10-12 feet away. Just plug it into the mic input on your camera and slide it into the hotshoe.

About the Author – Will Prentice (www.capturaphoto.ca) is a professional photographer based out of Whitby, Ontario and Brand Specialist – Lighting for Amplis.


