

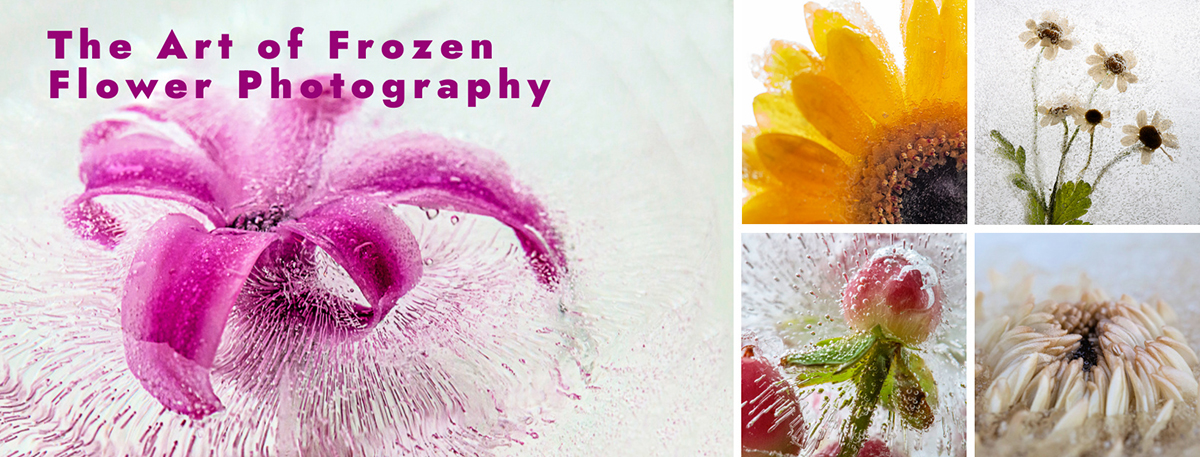
During the dreary days of winter, I indulge in a project that brings vibrancy to the season. This winter marked my second foray into the captivating realm of “Frozen Flowers.” While a bit tricky and highly experimental, achieving the perfect combination of flowers and the freezing process transforms this endeavor into a distinctive form of photographic art.
I started buying flowers off the 50% off clearance rack at a local food store. These flowers were in their prime but won’t have lasted much longer – perfect for freezing. Secondly, select an appropriate container. I experimented with glass and plastic containers, discovering no discernible difference, since I knew I wouldn’t be photographing through the container’s sides. Give it a try – it’s a lot of fun!
Materials Required:
- Flowers
- Freezer space
- Distilled Water
- Container
- Camera with Macro lens helps
Anchoring your flowers
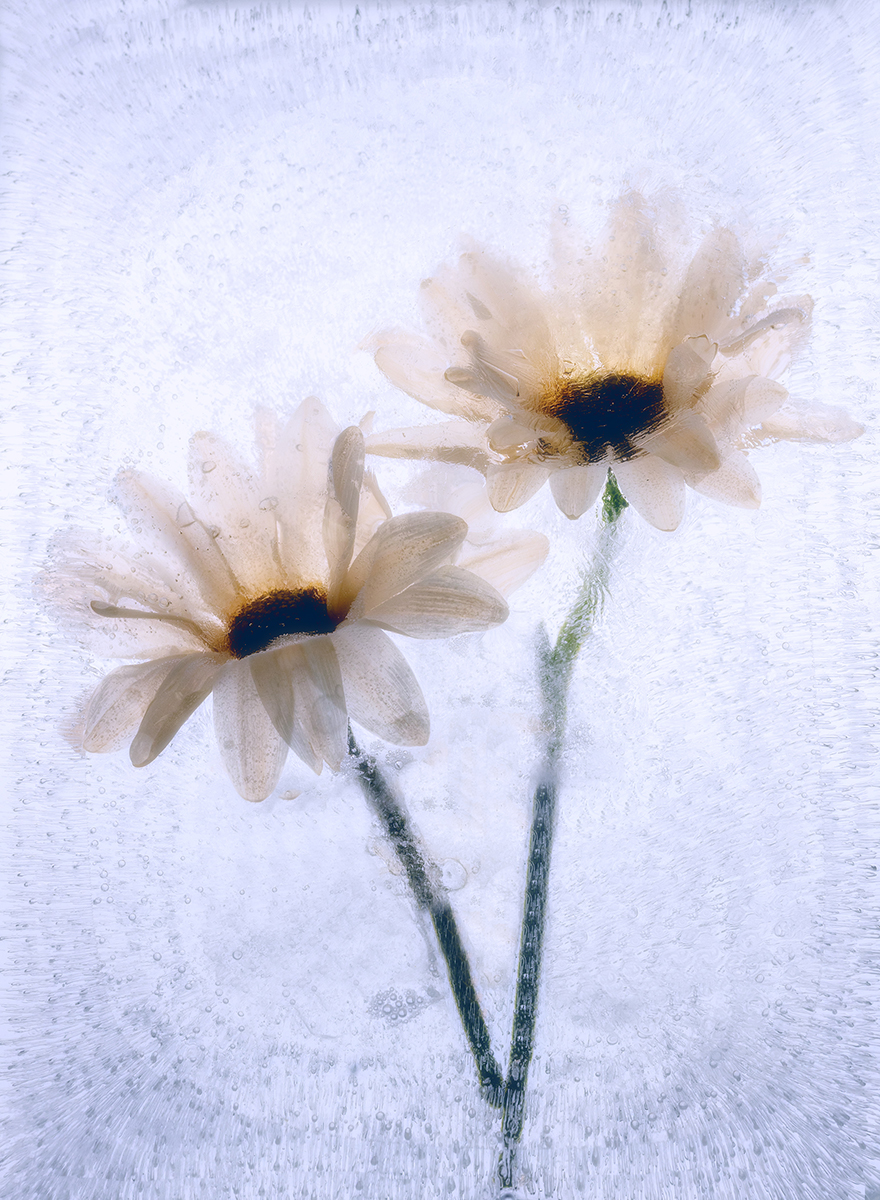
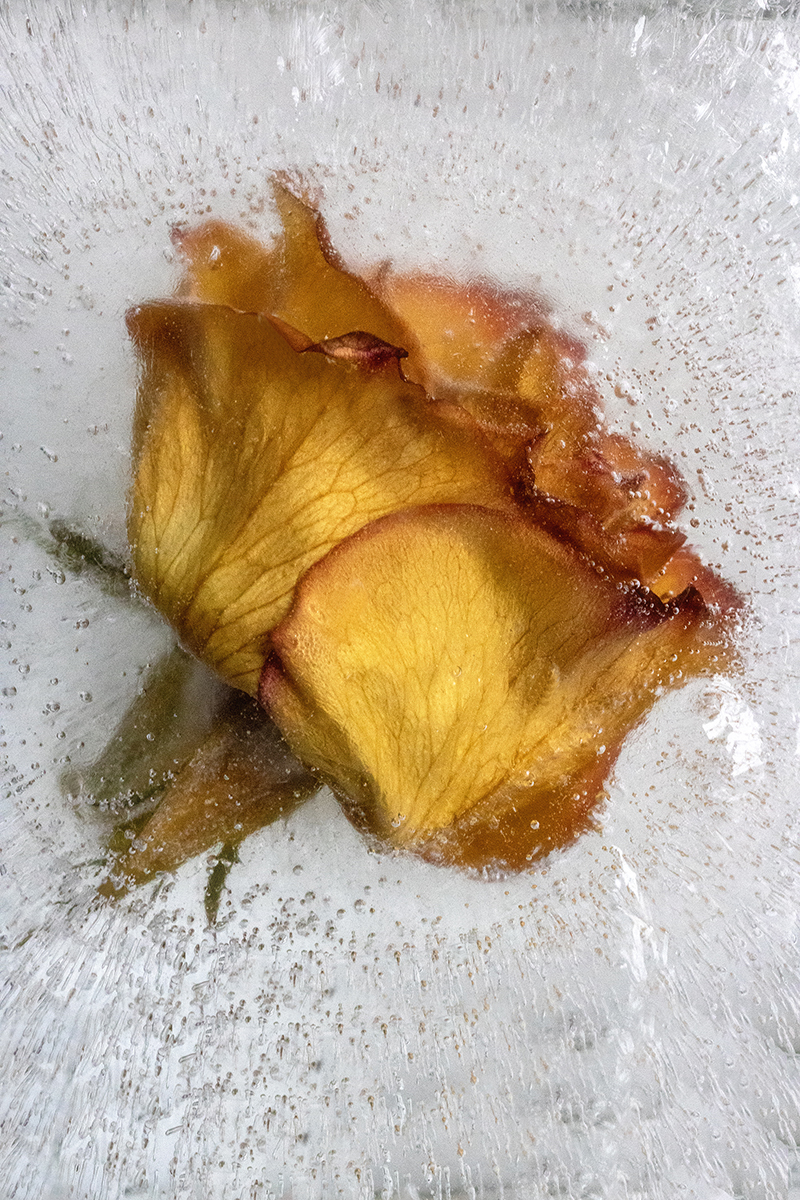
Once you have your chosen container, fill it with a few inches of water. If you opt for regular tap water, you’ll achieve a cloudy appearance. For those desiring perfectly clear ice flowers, it is recommended to use distilled water. Many of the captivating bubbles visible in ice flower photography result from the compression of the flower within the ice. This process creates beautiful bubble trails that have escaped from the flower, becoming frozen within the ice itself.
Position the flowers in the container and add a small amount of water. You can arrange them with the blossoms facing up, stems up, or even sideways. Be cautious not to add too much water, as the flowers may float. The goal is to add just enough water for the flowers to adhere and cease any initial movement. Monitor the progress after a couple of hours and add additional water as needed until you cover the flower. It is advisable to add frequent small amounts of water at a time until the flowers are fully covered. Sometimes leaving a few petals above the frozen water may provide a beautiful effect.
Photographing your frozen flowers
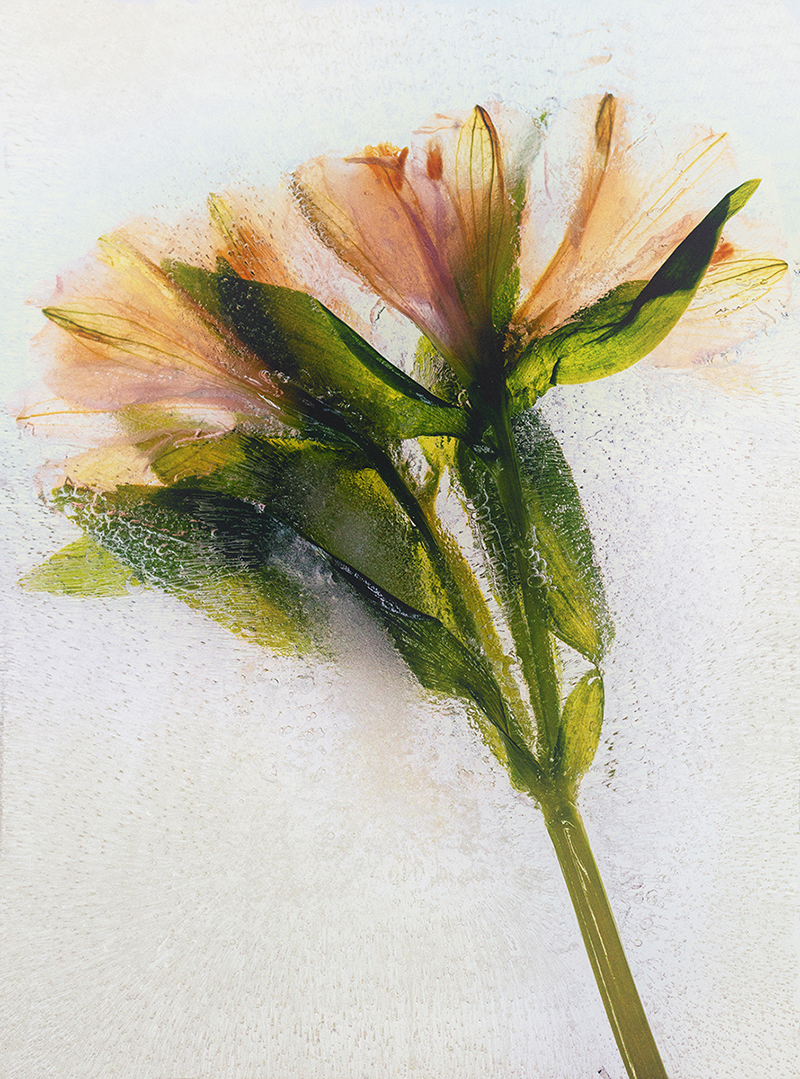
It’s always a bit of a surprise when the flowers are frozen, you never know what you’ll end up with! The freezing process always brings an element of surprise; one never knows exactly what the outcome will be with frozen flowers—it’s a delightful uncertainty! Begin the photographic journey by capturing the frozen flowers in the container. Move them to a location with natural light, such as a window, and shoot from a straight-down perspective. I opt for an aperture setting between f/11 and f/16, and experiment a lot by moving the focus to different areas of the flower.
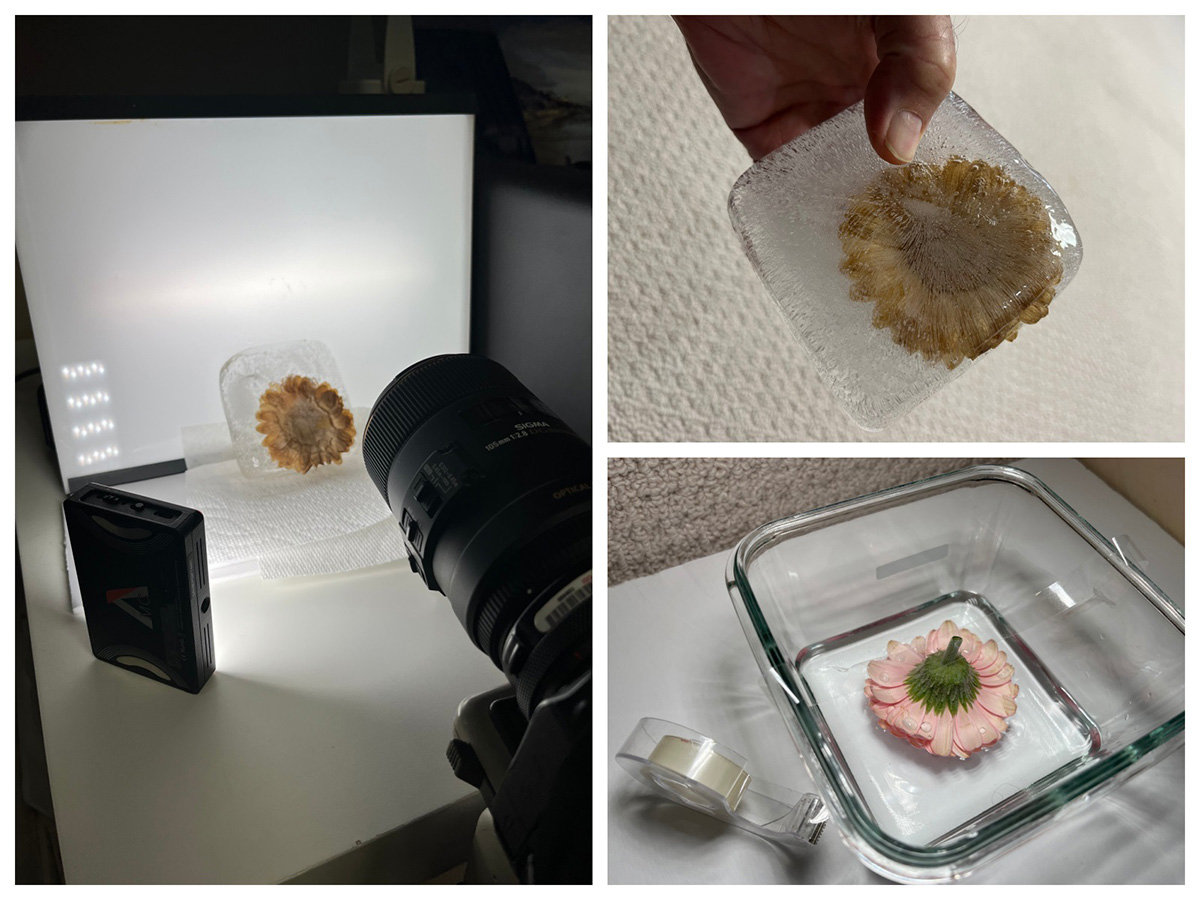
After capturing satisfactory photos shooting straight down at the flowers, I put the container in a warmer environment to loosen the ice. As the frozen flower slab begins to melt, continue to photograph the results, you may be surprised at the varying results you get. Another option is to take the flower ice slab to the kitchen sink, placing it on a sheet of white opaque plastic over the sink. The stainless kitchen sink acts as a perfect reflector when a light is positioned underneath the opaque plastic sheet. Additionally, using a lightbox can be very useful for backlighting or side lighting effects.
Occasionally, certain flowers may exhibit browning after the freezing process. If this is undesirable, consider converting the image to black and white or adding a colour tint to mitigate the impact of the discoloration.
Conclusion
Now that you’ve grasped some basic techniques, feel free to experiment with various combinations of flowers, containers, backgrounds, and more. With just a few simple utensils from the kitchen, you can quickly start crafting beautiful works of art. Let your creativity flow and enjoy the process!
The Finishing Touch
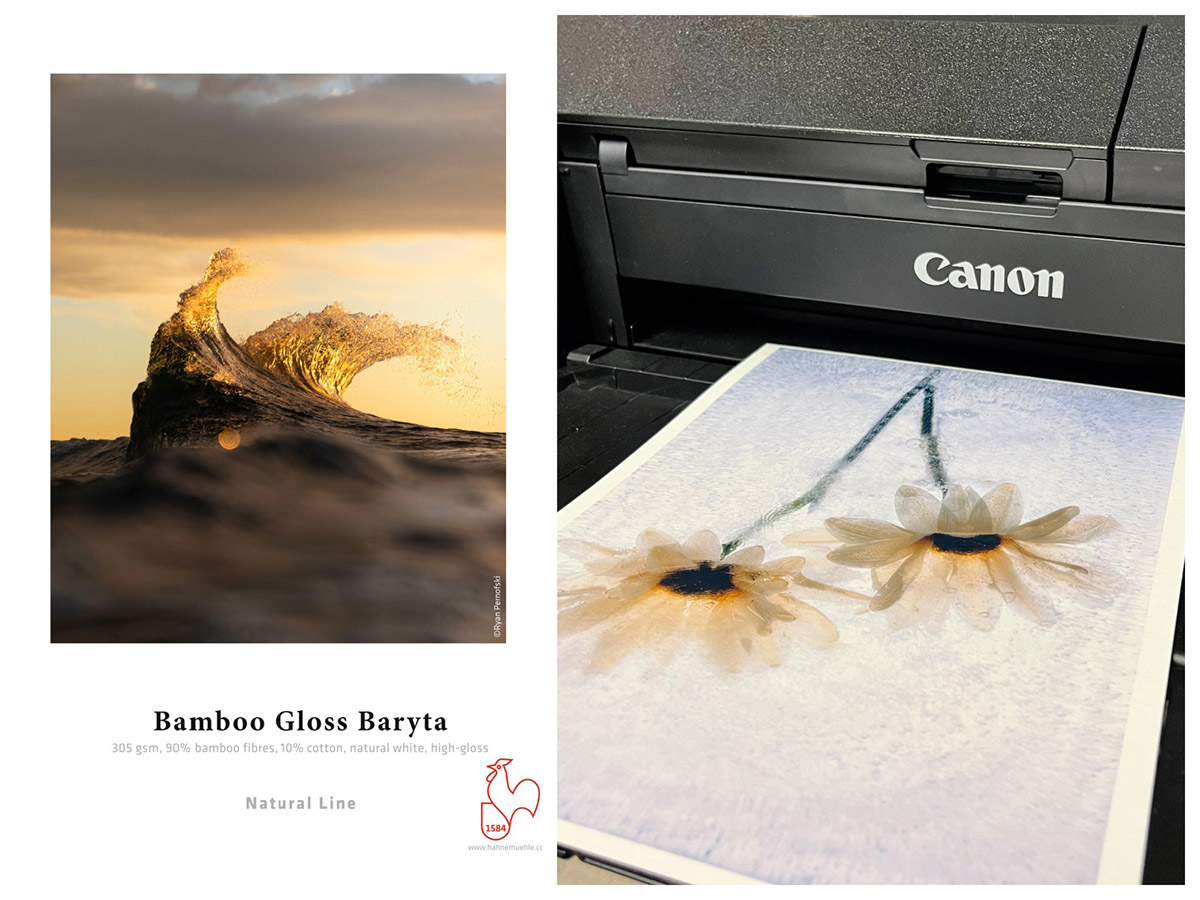
For this frozen flower collection, I wanted something totally unique, so I opted for the brand-new Bamboo Gloss Baryta. The Hahnemühle Bamboo Gloss Baryta is a 90% Bamboo Fiber & 10% Cotton Base that produces a high contrast, vibrant print. The paper is acid-free and compatible with pigment and dye inkjet printers, perfect for this frozen flower collection. Other Hahnemühle medias you may want to check out this month is the Photo Rag® Metallic. Photo Rag® Metallic and many other Hahnemühle medias and Photo Cards are on a spring special sale.
Happy Shooting and printing!
Discussed Items
ABOUT THE AUTHOR

Peter Dulis is a Canadian photographer and visual storyteller living in Toronto, Ontario. His work has been published in a number of magazines such as Graphic Arts Magazine, Visual Wilderness, Luminous Landscape, Photo News and has been recognized for photography excellence. Peter offers photo workshops in southern Ontario and can be reached at info@photographyAdventures.ca
Peter shares many of his tips and techniques in his monthly newsletter – PhotographyAdventures.ca and PeterDulisPhotography.com


Fantastic idea!
Thanks Vincent for your feed back – I’ve had a lot of people try it and say it’s a lot of fun – very experimental – but lots of fun – the tips we shared should really help out