

Photography is a wonderful world full of gadgets and toys, with a million and one ways to photograph anything and everything. It’s one of the best hobbies as the options and opportunities are endless.
PHOTONews has a focus in Macro photography this spring. Your thoughts quickly go to macro lenses, but there’s a growing trend in Wedding photography where macro lenses are being left at home in favour of Extension Tubes.
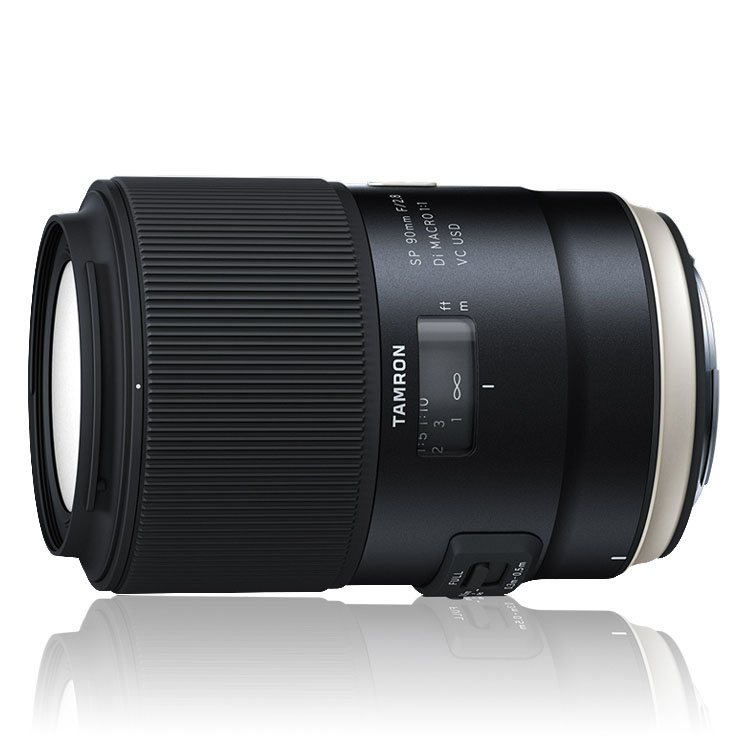
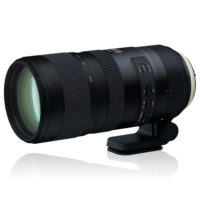
In this article, I’m going to compare the results of using Kenko Extension Tubes with the Tamron SP 70-200mm f/2.8 Di VC G2 lens to using the Tamron SP 90mm f/2.8 Macro lens. For fun, I also put the extension tubes on the macro. Comparison images are attached so you can make an informed decision.
What are Extension Tubes?
First, a quick explanation of how lenses focus. Lenses are designed to focus on your sensor plane – a lens will focus the light onto your sensor from any point between two set distances. This range is usually displayed on your lens. For the Tamron 70-200, the focus range is from about 3 feet/1 meter to infinity.
Extension tubes are a spacer that fits between your lens and your camera. There is no glass in extension tubes, so image quality and sharpness are NOT affected. They move the available focus range closer to your sensor. As soon as you add an extension tube, your lens will not focus to infinity. The bonus is that you can focus closer! It’s almost like a macro lens, but as you’ll see – not quite. It’s up to you to decide if it will work for your needs.
Like anything else in photography, there are a lot of options for extension tubes. They are camera mount specific – if you shoot Nikon, you need Nikon mount tubes. While you can find cheap, plastic extension tubes online, many of these don’t allow any electronic communication between lens and camera. This can make exposure a significantly more difficult.
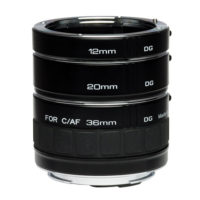
Kenko DG AF Extension Tubes are robustly constructed, which I feel is safer for my expensive camera and lenses, and they have the essential electronic contacts that allow Aperture, Auto Focus and Vibration Compensation, or Image Stabilization, to function as normal.
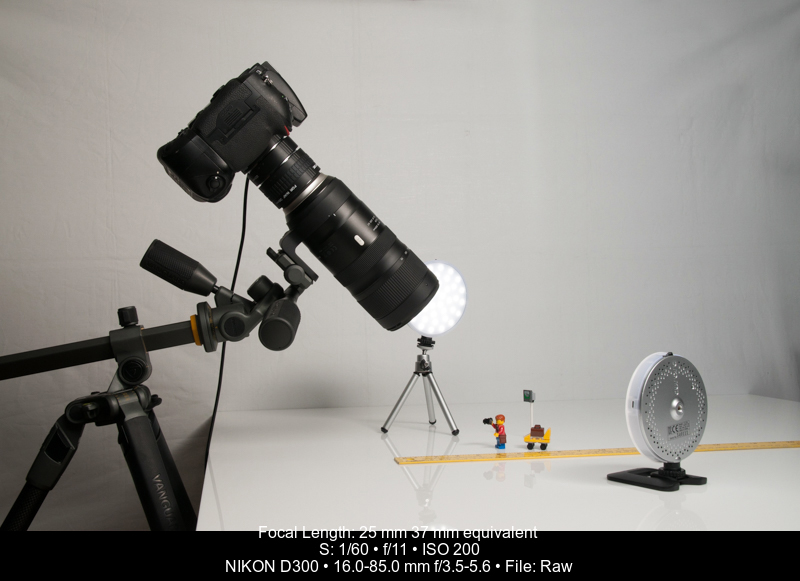
For my comparison, I used two Aurora Lite Bank C-LUX LED lights. These are new to market and very useful for macro work. The light output is consistent and they stay in place.
A Vanguard Alta Pro 2+ Carbon tripod and Alta PH-32 pan head supported my Nikon D810. My favourite feature of the Alta Pro 2+ is the adjustable centre column – I could flip the column to horizontal and slide it fore and aft as I added extension tubes instead of moving my tripod or the set. There is still some movement in the photos as it’s difficult to keep everything perfectly aligned at these working distances and adding/removing equipment.
My methodology was as follows: Camera in Aperture priority at maximum aperture, ISO locked at 64 and Shutter speed variable. I had a ruler laid down to measure differences in Minimum Focus Distance (MFD).
This chart shows all the technical details, which is part of the story.
| Lens | Extension tube | Total focus adjustment | MDF | Max aperture | Shutter | Exposure difference from zero |
|---|---|---|---|---|---|---|
| 70-200m | No tube | 0mm | 37" | 2.8 | 1/60s | 0 |
| 12mm | 12mm | 14" | 2.8 | 1/50s | 0.3 | |
| 20mm | 20mm | 11.5" | 2.8 | 1/50s | 0.3 | |
| 36mm | 36mm | 7.5" | 2.8 | 1/30s | 1 | |
| 12mm+20mm | 32mm | 8" | 2.8 | 1/40s | 0.6 | |
| 12mm+36mm | 48mm | 5.5" | 2.8 | 1/20s | 1.6 | |
| 20mm+36mm | 56mm | 5" | 2.8 | 1/20s | 1.6 | |
| 12mm+20mm+36mm | 68mm | 3.5" | 2.8 | 1/15s | 2 | |
| 90mm | No tube | 0mm | 5" | 5.6 | 1/20s | 0 |
| 12mm | 12mm | 4.5" | 5.6 | 1/13s | 0.6 | |
| 20mm | 20mm | 4.25" | 5.6 | 1/10s | 1 | |
| 36mm | 36mm | 4" | 5.6 | 1/4s | 2.1 | |
| 12mm+20mm | 32mm | 4.25" | 5.6 | 1/5s | 2 | |
| 12mm+36mm | 48mm | 4" | 5.6 | 1/3s | 2.2 | |
| 20mm+36mm | 56mm | 3.75" | 5.6 | 1/2.5s | 3 | |
| 12mm+20mm+36mm | 68mm | 3.5" | 5.6 | 1s | 3.1 | |
| 70-20@90 | 12mm+20mm+36mm | 68mm | 0.5" | 2.8 | 1/10s |
The takeaway here is you can change your MFD with the Tamron 70-200 from 24” down to 3.5” with a full stack of extension tubes. With the Tamron 90 macro, you can focus as close as 3.5” as well, but the gains in magnification are more significant as your’re starting off at 5” MFD.
Let’s look at some photos to compare!
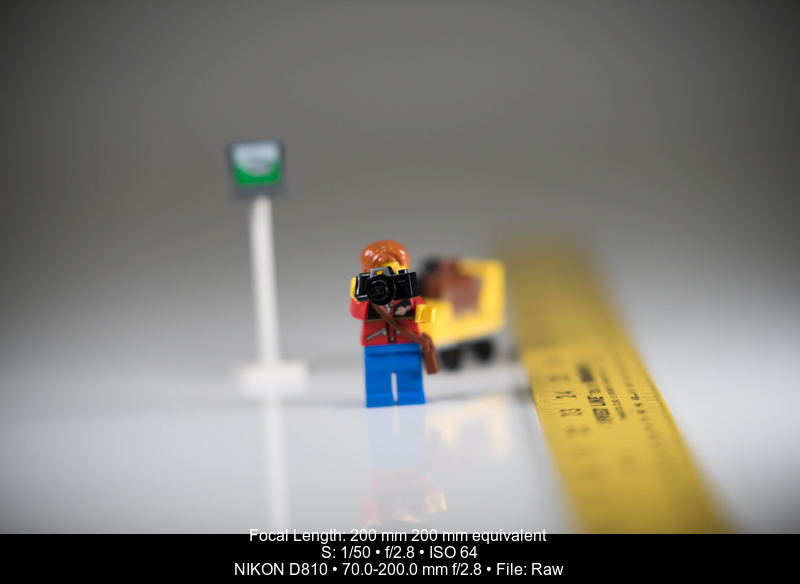
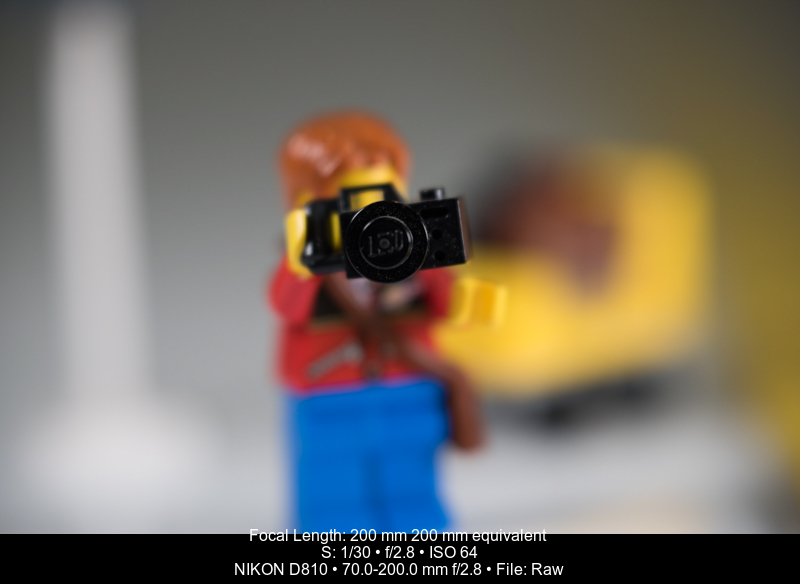
Side-by-side comparisons of my LEGO photographer: 90mm on left and 70-200mm on the right:
| Extension Tube | Tamron SP 90mm Marco | Tamron 70-200mm G2 |
| No tube | 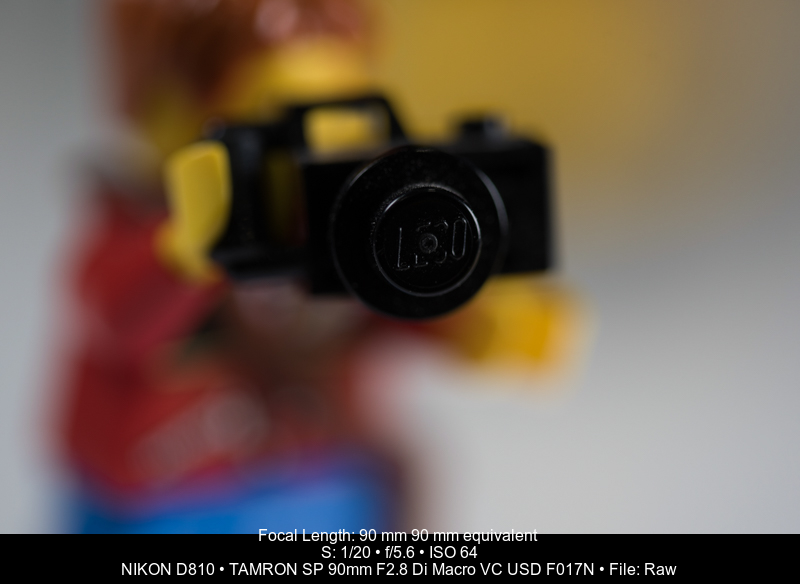 |
 |
| 12mm | 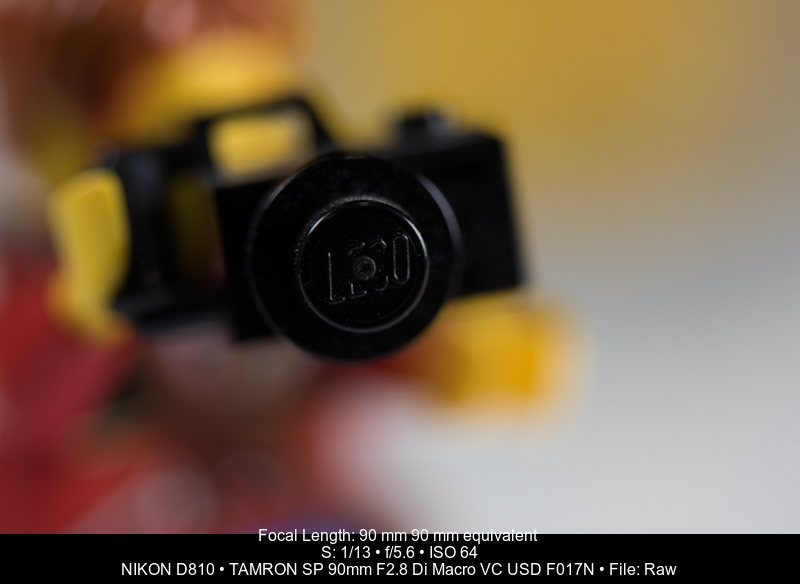 |
 |
| 20mm | 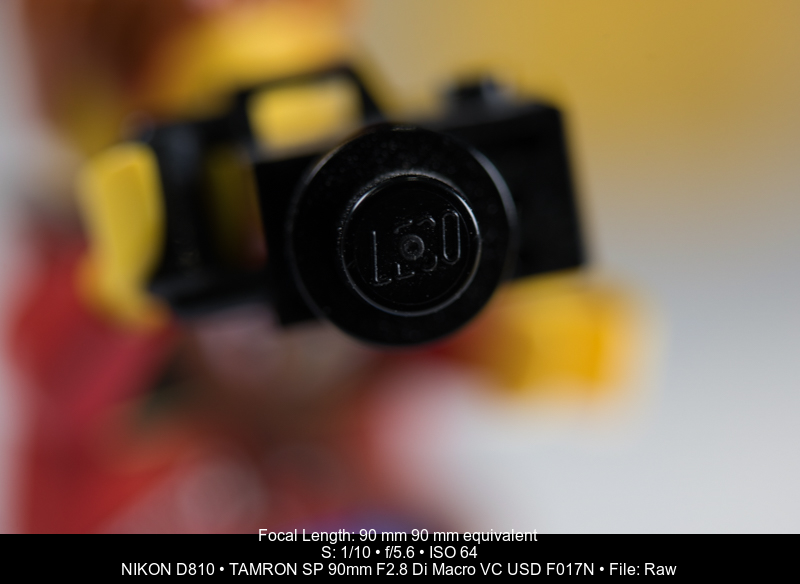 |
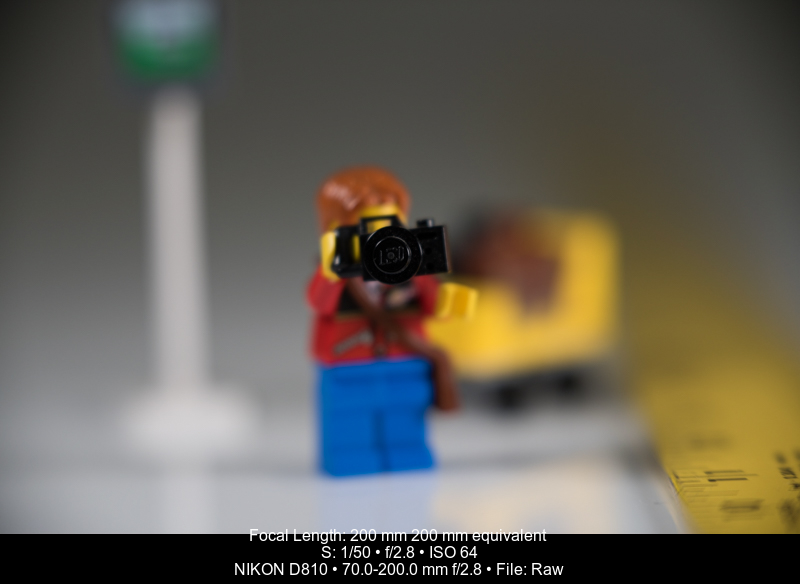 |
| 36mm | 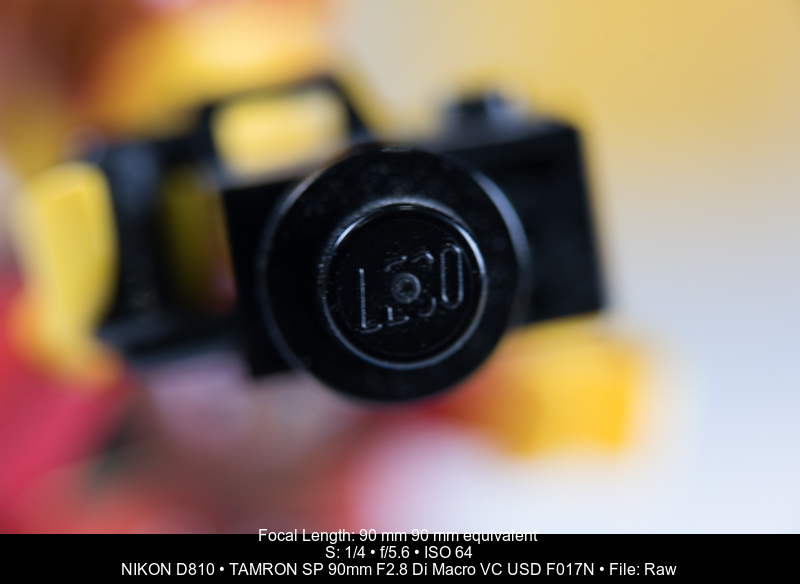 |
 |
| 12+20mm | 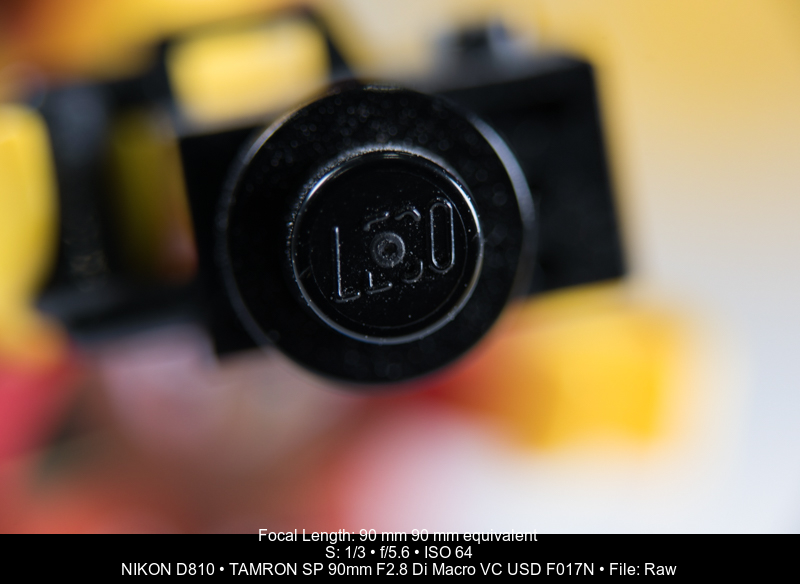 |
 |
| 12+36mm | 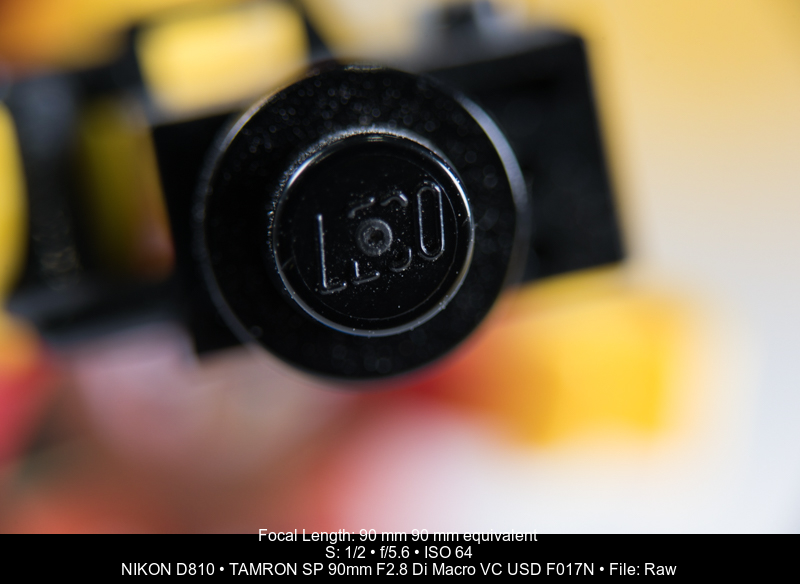 |
 |
| 20+36mm | |
 |
| 12+20+36mm | 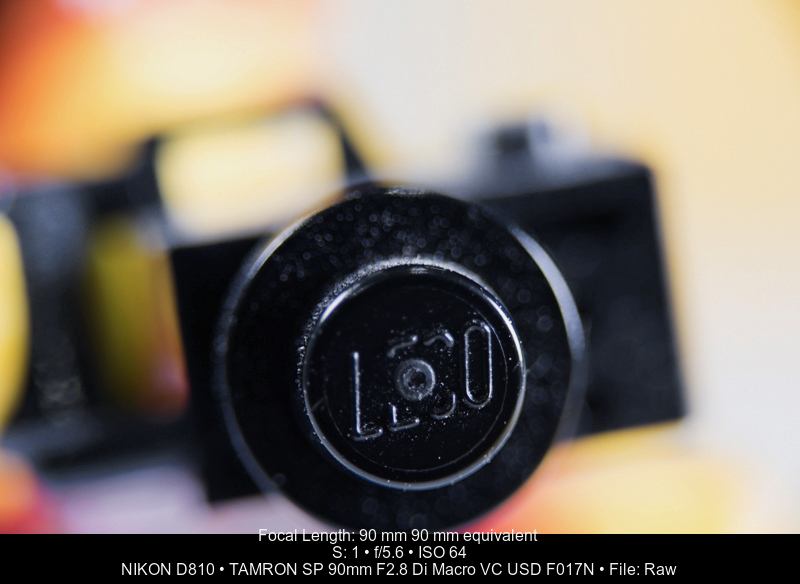 |
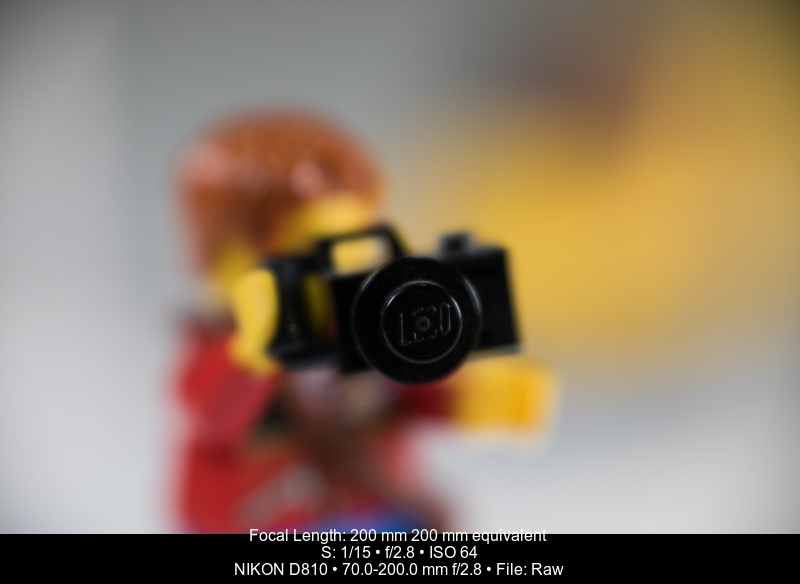 |
The first thing I notice is that at 200mm, adding extension tubes drastically reduces the MFD (from 37 inches down to 3.5 inches) whilst noticeably increasing the image projected on the sensor. These Kenko Extension Tubes are giving new life and function to an already spectacular lens!
The MFD changes and magnification with macro lens are less apparent, unless we compare the full stack of tubes to the image without. Instead of 1:1, magnification is 2.5 times life-size! That’s pretty impressive!
The other thing we notice is change in exposure as we add extension tubes. With the 70-200, we’re losing 1/3 stop with every 12-15mm extension, with a total of 2 stops light loss between no tubes and all the tubes. With the 90mm macro, the light loss for every 12-15mm of extension is closer to 2/3 stop, with total light loss at 3 1/3 stops.
You’ll also notice the 70-200mm records maximum aperture at f/2.8 – the lens and camera aren’t programmed to compensate for the actual aperture at minimum focus distance. The true aperture is closer to f/5.6. This is the value the Tamron 90 macro records, even though it has a maximum aperture of f/2.8. The technical reasons for this will be saved for a future issue – just be aware that maximum aperture changes as your subject distance decreases into the macro realm.
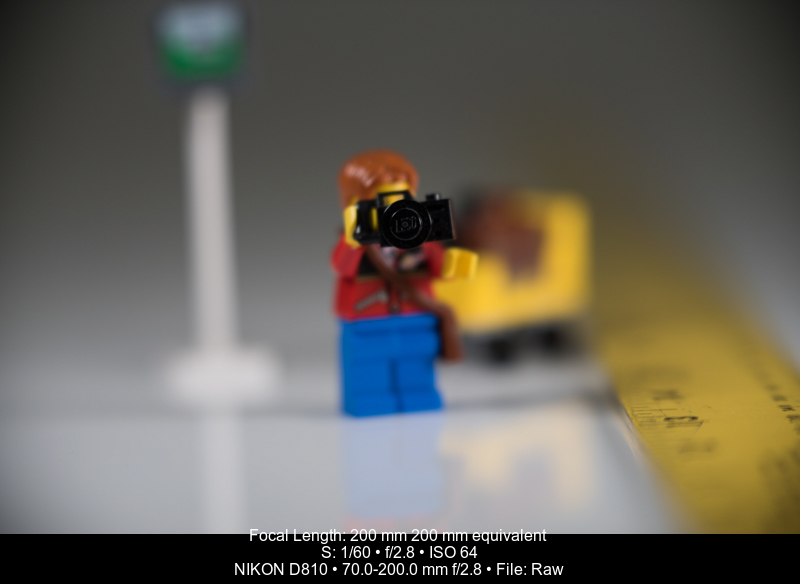
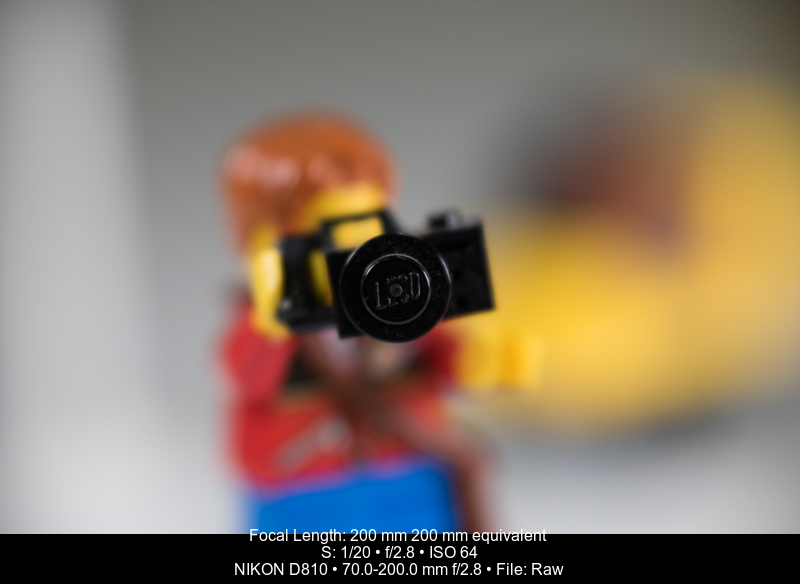
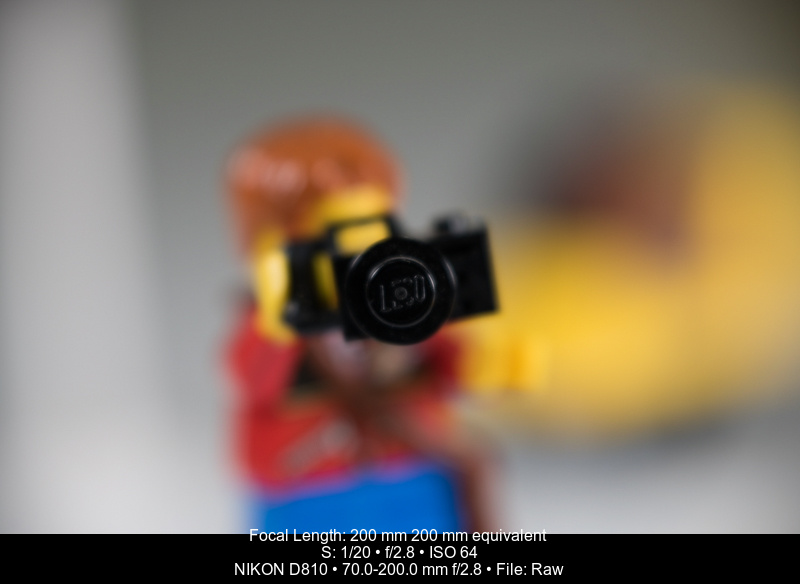
The last thing I wanted to compare was the 70-200 with all 68mm extension tubes at 90mm to the 90mm macro without tubes, as this scenario is the trend for photographers looking to travel a little lighter. It’s now obvious that adding extension tubes to your lens will allow you focus closer, but is it the same as carrying a macro lens?
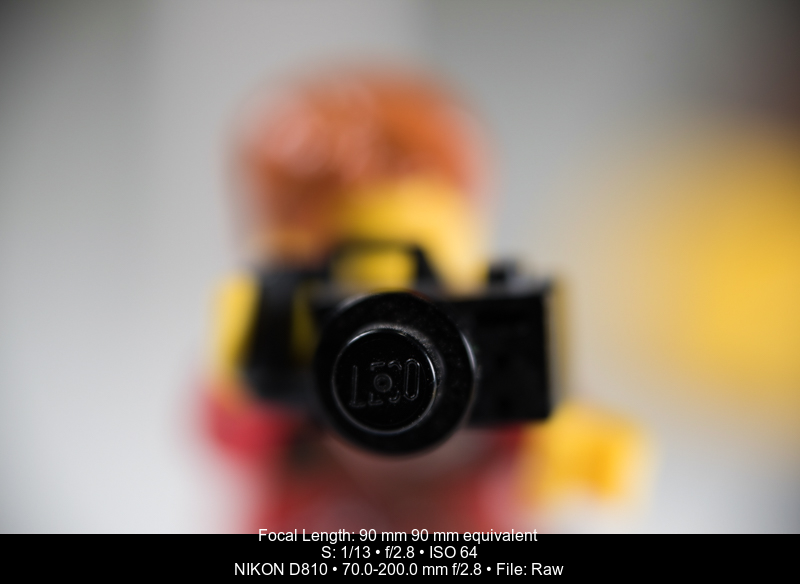
The answer is, it’s close! Subject magnification looks pretty close – the true macro lens has a slight advantage here. Exposure time also goes to the macro – you can shoot with a slightly faster shutter speed, which means a sharper image should result. Minimum focus distance does become an issue however – working at ½ inch from your subject introduces new challenges! Everything else is a wash.
Should you carry a macro lens or bring your extension tubes? That really depends on you. You can get results close to a macro lens by adding extension tubes to your 70-200mm. However, you may also want to maximize the magnification from your macro lens for even more creative opportunities. Either way, you can’t go wrong with extension tubes in your kit!
Feel free to share your macro images taken with extension tubes on our Facebook page. Use hashtag #pnextensiontubemacro and show off your work!

About the Author – Will Prentice (www.capturaphoto.ca) is a professional photographer based out of Whitby, Ontario and Brand Specialist – Lighting for Amplis.


Thanks for this. I will explore the options of my new Kenko tubes.
Perfect timing for good article.
Will try on my Tamron 17-50 -2.8 and Nikon 80-400 -4/5.6
Question. A lot of photographers are using 70-200-2.8. Whet is the advantage over what I have?
Thank you . Hal McGray
Hi Hal,
Thanks for the comment. I think you’ll be pleasantly surprised at how close you can focus your lenses, especially at the wider focal lengths.
The 70-200 f/2.8 will be a noticeable step up from your 80-400 – especially if you have the first version. The Tamron 70-200 G2 is lighter, focuses faster, is much sharper and is 2-3 stops brighter. The VC, same as your VR, is more stable as well, for less shake.
You can also add a 1.4x teleconverter to get 135-400 f/4. This combination is very versatile.
Hope this helps,
Will