In the cold winter months we enjoy in Canada, many photographers decide not to shoot as much. Facebook and Flickr groups seem to get a little quieter, with the southern-based snowbirds being the odd exception. Natural light photographers are too dependant on the weather; cold and dreary days don’t lend themselves to great natural light images. What is a photographer to do? Turn on the fireplace and setup a home studio, that’s what!
Many photographers assume that home studio gear is expensive. It can be, but this week I’m going to share a cost-effective solution and tips for getting the most use out of each.
Metz makes a great home studio strobe kit – the BL-400 SB-Kit II. For under $900, you get a complete home studio setup in a box. The BL-400 kit comes complete with two 400ws strobes, stands, softboxes, power and sync cords, and a case to store/transport the kit. If you want the advantages of strobe and a little less power, Metz offers the BL-200 SB/UM kit. The difference is the strobes are 200ws each and there’s one softbox and one umbrella with reflector. The BL-200 kit is a cost-effective way to create a four-light home studio setup that offers lots of options.
Metz also offers a variety of light modifiers, including a beauty dish and snoot to provide more control of your light. Also, there are different softboxes and octaboxes. One of my favourite accessories is their DH-173 Reflector Light Stand holder which I use on a LS-200 stand to hold my 5-in-1 reflector, such as the DS80-80.

Setting Up Your Home Studio
The Metz kits assemble easily and quickly. One of the key advantages of strobe kits is they work on manual power settings – No TTL – so the light stays the same image-to-image. TTL can and will change the exposure between pictures if there is any slight change in the scene.
Once you have your kit setup, you need to trigger the strobes. If you’re also going to use speedlights, or want a wireless trigger solution, I suggest the Cactus V6 Duo kit that comes with two V6 units and the cables to attach to one strobe. I put one Cactus V6 on camera and the other on one strobe. The other strobe(s) are triggered by enabling “Servo” or Optical slave mode. They will sense the flash from the strobe with the Cactus and trigger simultaneously.
There are two other options for triggering your strobes. You could enable Servo on all of them and use your camera’s pop-up flash or a speedlight. This method works, but the additional light may affect your exposure. The other option is to use the long sync cable that comes with the kit to trigger your master strobe. This cable has a headphone jack on one end to plug into the strobe and a PC sync jack on the other end. If your camera doesn’t have a PC sync port, you can use one of the inexpensive Metz TSC hotshoe adapters.
If you’re going to photograph pets or kids, I strongly suggest you get a few sandbags to keep your lights “stand side down”. The Metz SDB-100 a great option. I like to put the sand in a Ziploc bag first, then tape the bag flap and then put that into the sandbag. This prevents sand from spilling on your floor. Put the sandbag on the leg supports of each light stand.
Shooting in your Home Studio
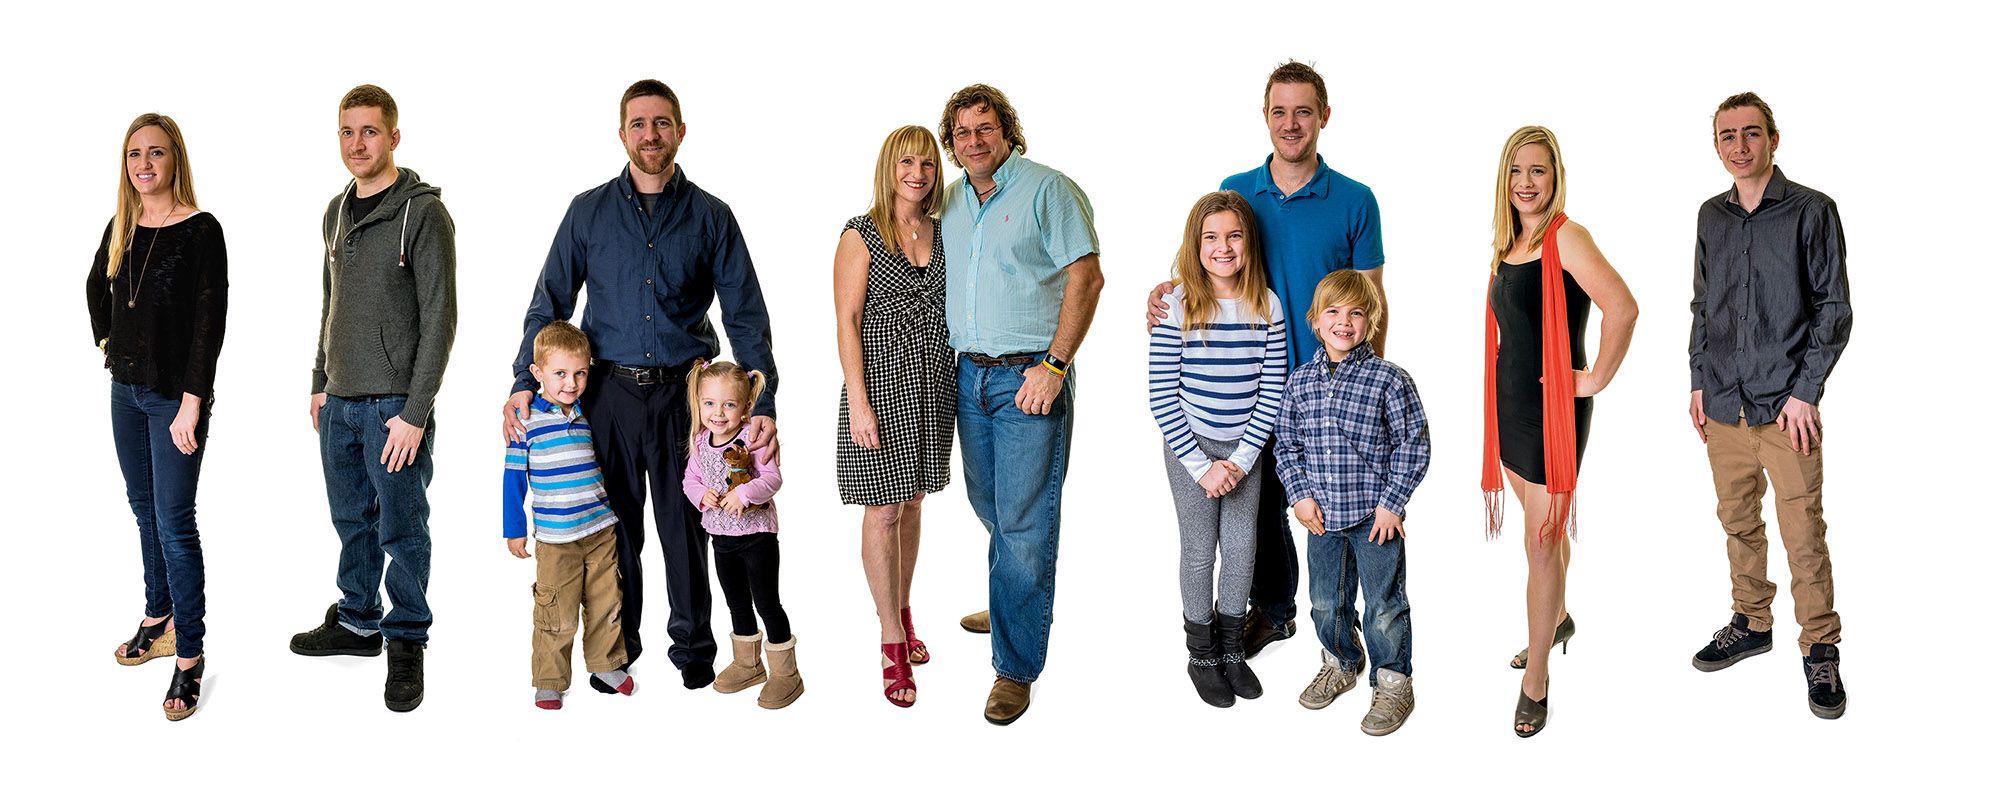
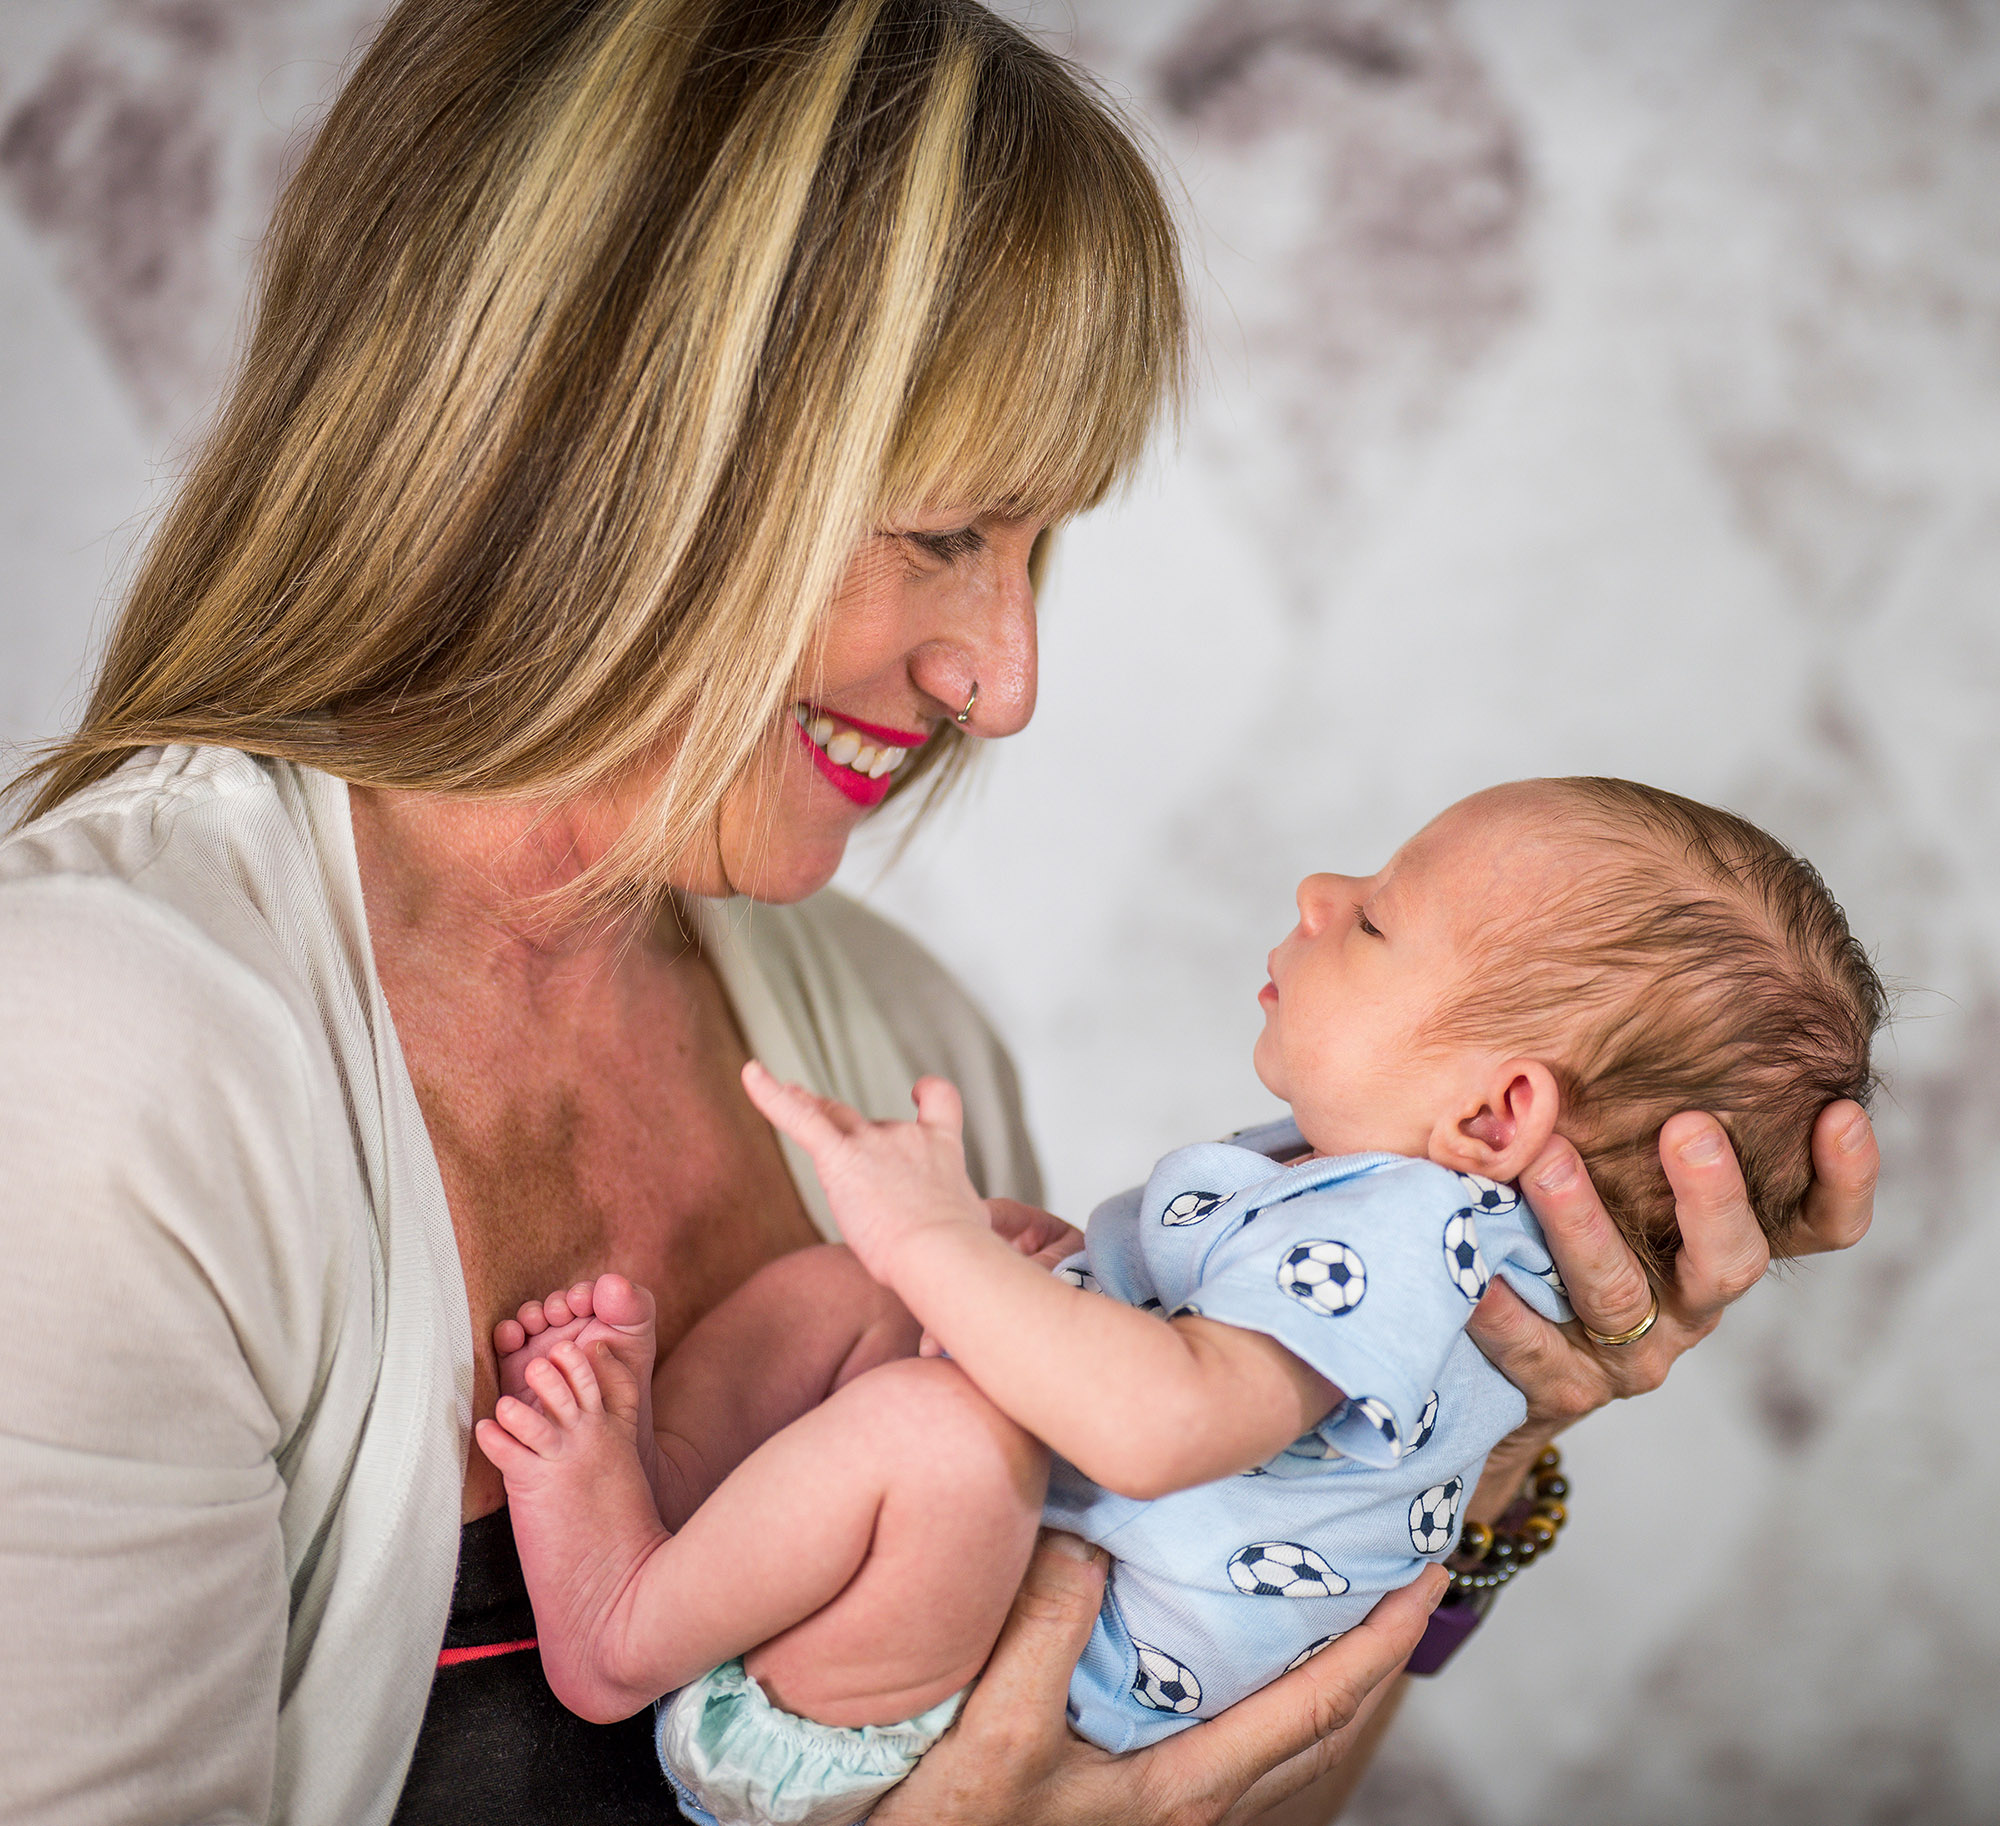
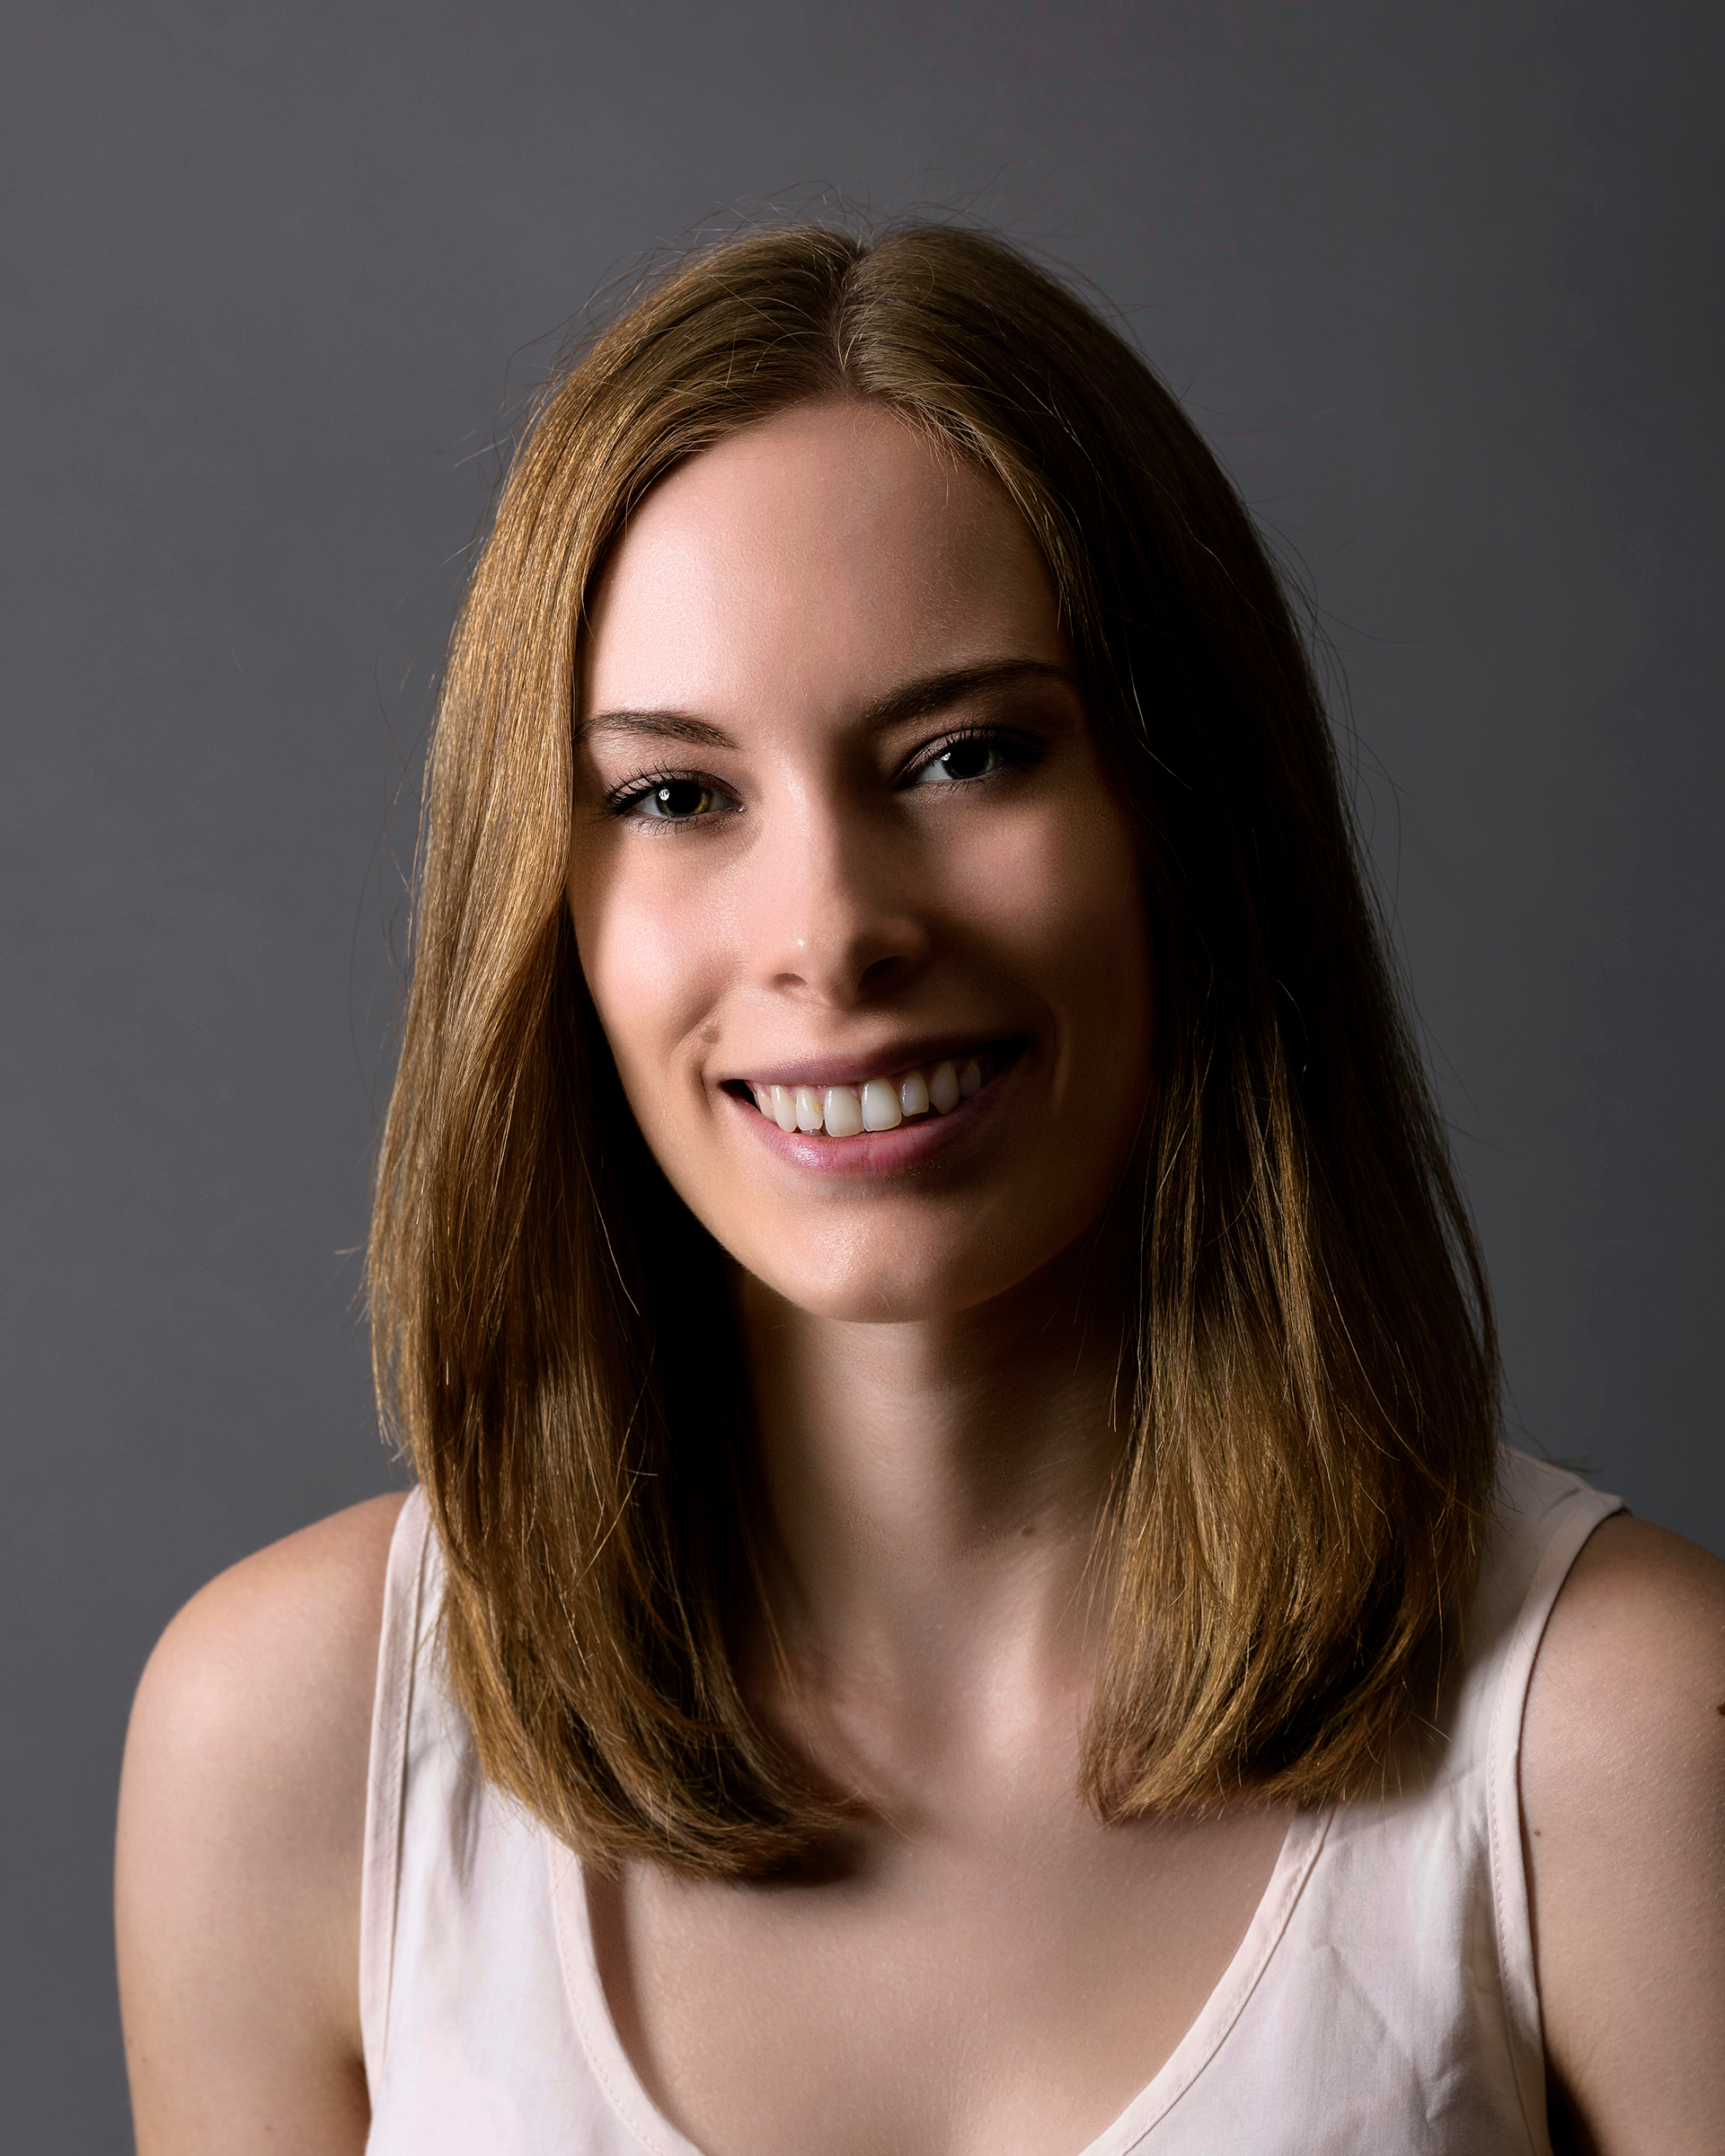
One of the easiest and more useful setups for photographing in a home studio is also very simple. Set your camera in Manual (M) Mode, ISO100, 1/160s shutter speed and f/8. Put your main light 45° from your subject and your fill light 45° to the other side of your subject. Keep the lights about 5-6 feet from your subject. Main light power can start around 4.0 and the fill light at 3.0. Take a test shot to determine if any adjustments are required. If more light is needed from either one, press the “+” button; for less light, press the “-“ button and take another image. You want to avoid having both lights at the same power and same distance from your subject. That can create a flat light that isn’t always flattering.
For an in-depth look at the Metz BL Studio kits, accessories and more tips and tricks, watch our video series on PHOTONewsTV: https://bit.ly/2REQCFz
Other Helpful Gear
In studio, I use my Tamron 70-200 G2 and 85 f/1.8 lenses for most of my portrait work. For group and family photos, I’ll use my 24-70 G2. I also like my gear stable when I photograph, so I’ll support it on a Vanguard Alta Pro 2+ Tripod. The 263CB100 is a robust carbon fibre tripod and the TIPA Award winning 263AB100 is the sturdy aluminum version. These tripods feature quarter-twist leg locks, which are easy on your thumbs, and strong & smooth ball heads. A good, solid tripod will keep your camera safe, so you can focus on your subjects.
Gear List
I’ve compiled a list of all the gear I talked about with links to the manufacturer information for you:
- Metz BL-400 SB Kit
- Metz BL-200 SB/UM Kit
- Metz Modifiers
- Metz Light Stands
- Metz Reflectors and Sand Bag
- Metz PC Sync Adapters
- Metz Reflector Holder
- Cactus V6 Duo Kit
- Tamron SP 24-70 G2
- Tamron SP 70-200 G2
- Tamron SP 85
- Vanguard Alta Pro 2+
Setting up and using a home studio this winter will help keep your photography gears grinding. Once you’ve got the basic setup, the options are limitless. Feel free to share your creations on PHOTONews Facebook and Flickr pages.
If you have any questions or comments, add a comment below or email will@amplis.com
Stay tuned to the next issue, as I’ll share tips and suggestions for how and where to setup your studio in your home. Thanks to reader Philippe L for the suggestion!!
About the Author – Will Prentice (www.capturaphoto.ca) is a professional photographer based out of Whitby, Ontario and Brand Specialist – Lighting for Amplis.