The closer you get to your subject, the shallower your depth of field becomes. A landscape photographed at F/8 might have much of the scene in focus, but a macro photograph at the same aperture setting could have only a fraction of an inch in focus. One of the biggest challenges someone faces when exploring macro photography is proper focus, so let’s explore the possibilities.
Autofocus is great for many things, and it’s always improving. The one area autofocus consistently struggles in, unfortunately, is macro photography. It’ll likely miss the mark for a number of reasons:
- Autofocus systems are carefully tuned to detect people, pets, cars, common subjects. The proficiency of detecting spiders, flowers, or abstract subjects is less reliable, even more so when the entire subject can so easily become out of focus.
- Focusing mechanisms take longer to move through the “close-up” range. Just look at any lens you own: From infinity focus to 10 feet away is a very small adjustment on the focus ring, but there is a huge distance between 2 feet and 1 foot distance by comparison.
- Imagine you’re attempting to shoot a water droplet and your goal is to achieve maximum magnification, but the subject is a hair too close to the lens, and is outside the focus range of the camera. Autofocus will “hunt”, eventually settling on something in the background.
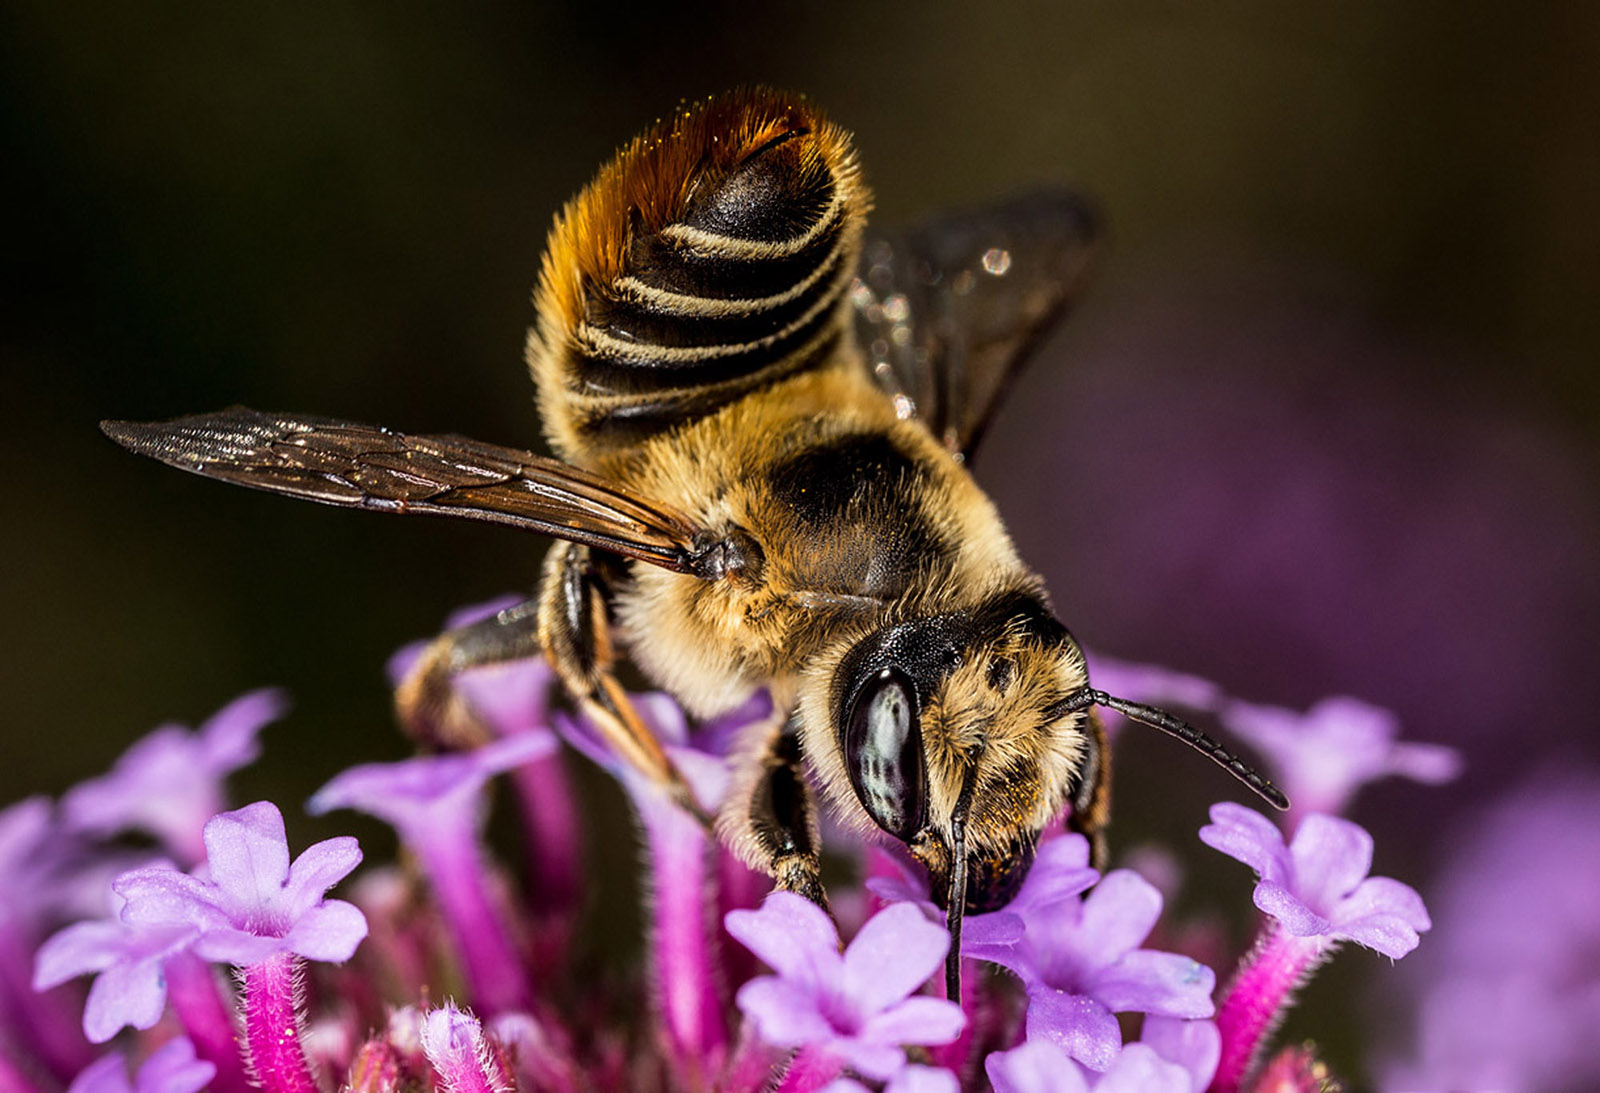
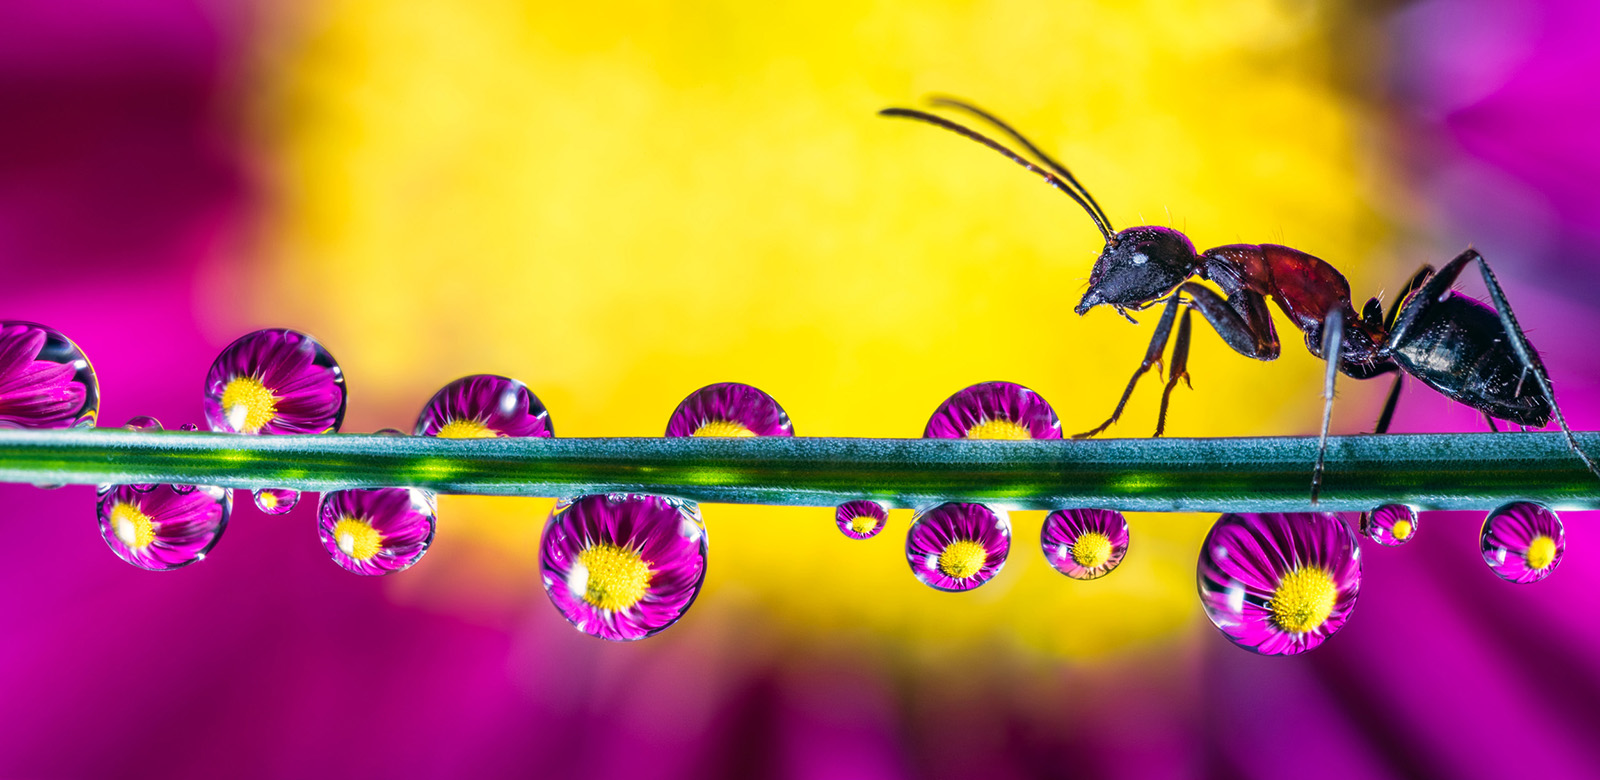
- What if your subject is only within the frame for a brief moment- a bee in a flower, a snowflake blowing in the wind, an ant running across a blade of grass?
Autofocus has problems, especially for in-the-field shooting. The solution is unconventional: don’t focus with the lens, focus with your body. Physically moving forward and back will allow the focal plane to pass through your subject, so long as you first adjust the focusing ring to be in the “ballpark” of accurate focus. This effectively sets the focusing ring as a “magnification adjustment”, and the physical movement of the camera handles the rest.
You wouldn’t use this technique for anything but close-up macro photography, but it can be a huge help in overcoming focus frustrations. On its own the technique works well, but combined with focus peaking you’ll have a winning combination. “Focus Peaking”, a feature included in most mirrorless camera bodies, allows for the higher-contrast edges of a subject to appear coloured in the viewfinder – usually red or blue – to help identify precisely where the sharpest part of the image is located.
The best focal length range to use this technique is between 80-120mm in full-frame equivalency. The Laowa 50mm f/2.8 2X Ultra Macro APO MFT and the Laowa 90mm f/2.8 2x Ultra Macro APO are my current favourite lenses. If the focal length is too long, your subject will be farther away and there can be difficulty in adjusting your position. The Laowa 25mm f/2.8 2.5-5X Ultra Macro lens is an exception to this rule, which can be used to photograph extremely small subjects at high magnification, such as this snowflake:
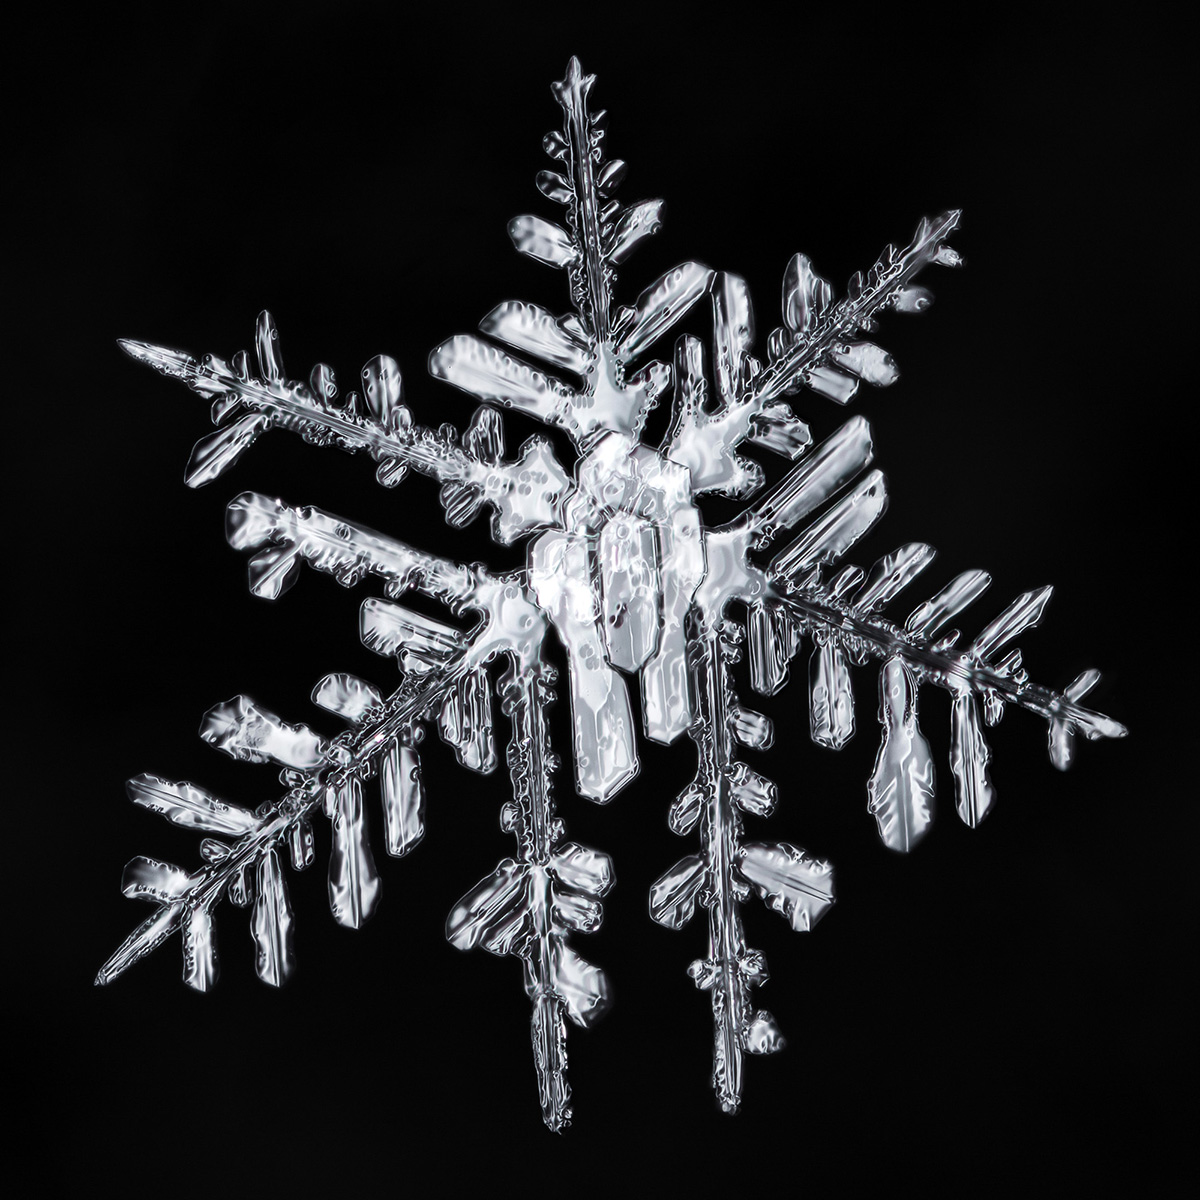
While continuously shooting, gently move the camera forward and back so that the focal plane crosses the subject. This is not analogous to a haphazard “spray and pray” approach, but rather a way to hedge your bets, as it were. A single image is unlikely to nail your focus perfectly, but your chances are much better when you take 10-30 images of the same subject while slowly adjusting your body (and thereby, your focus). Yes, you’ll have to sift through many unwanted images, but you’re much more likely to succeed. You may choose to use just a single photograph, however the snowflake example above is a focus-stacked image containing a number of the “slices” of focus combined together.
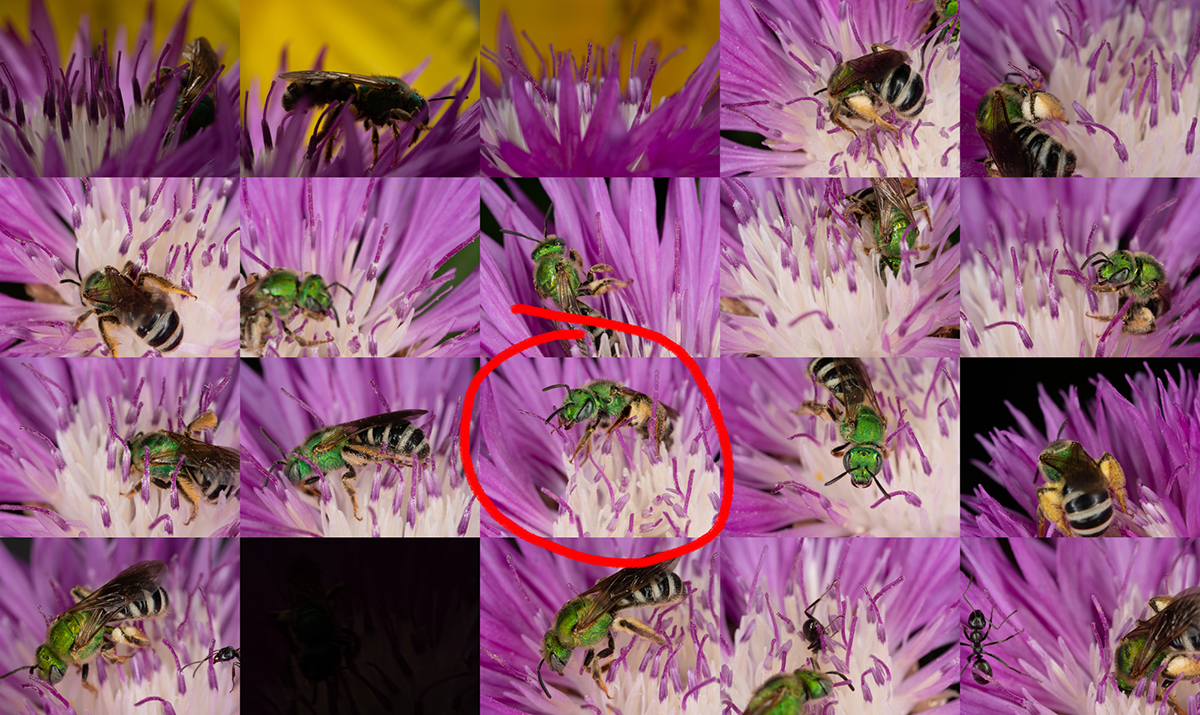
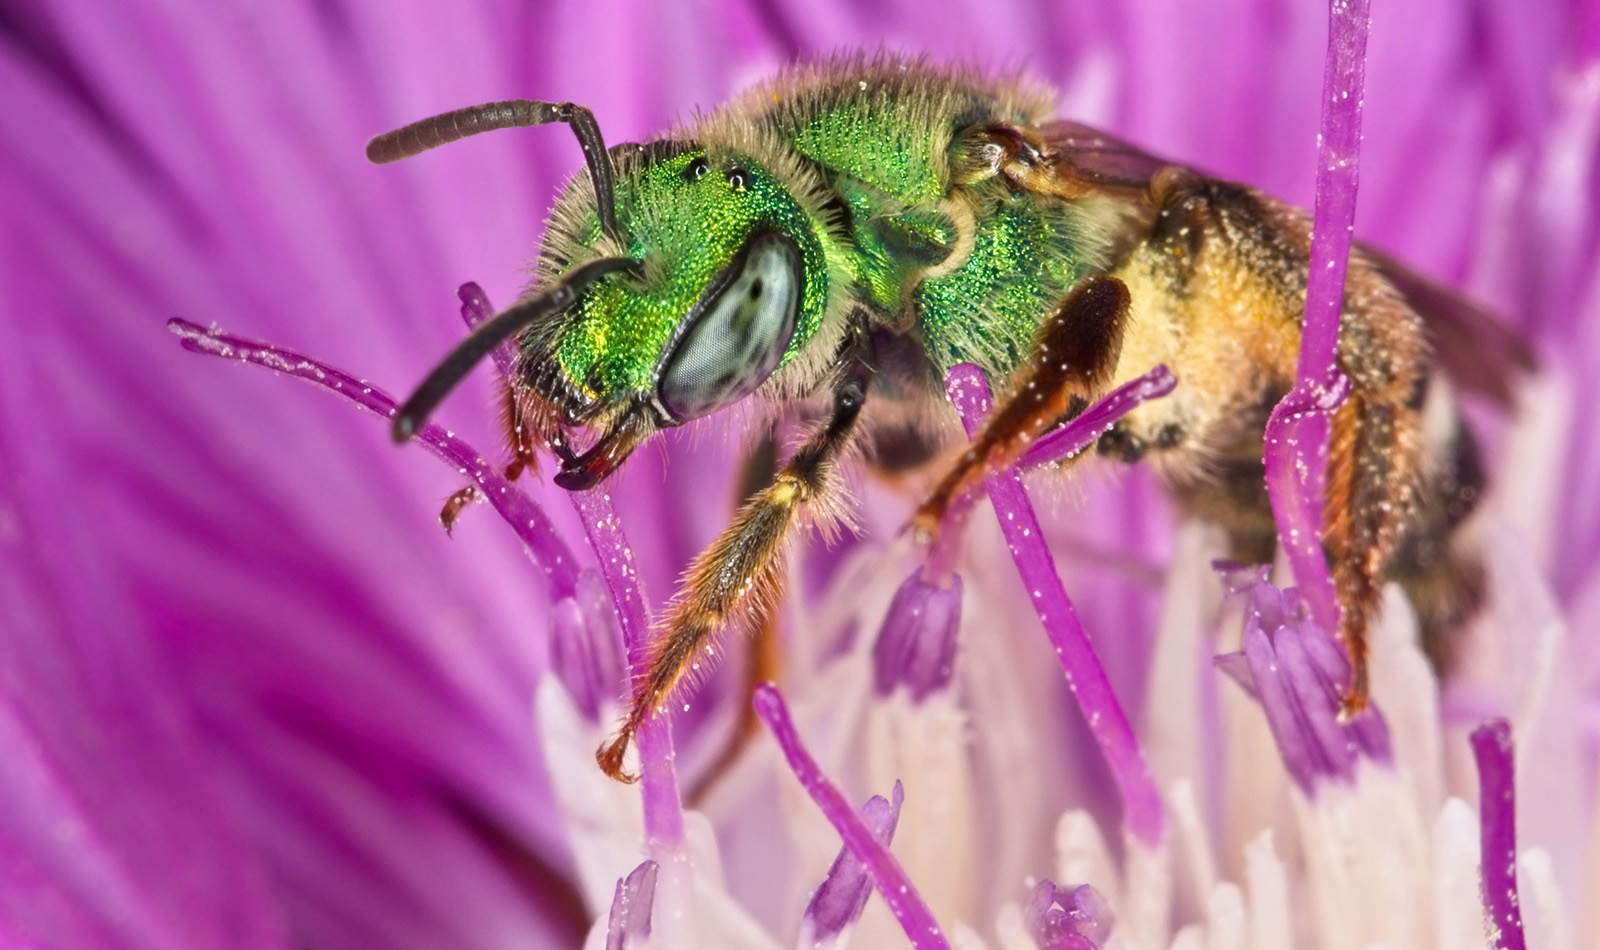
For some subjects, such as these green sweat bees, their movements are too quick and chaotic from one flower to the next and then gone. The same technique allows you to rapidly pursue the subject for the brief seconds available. You’re going to end up with a lot of worthless images, but also have the chance to get the one you’re after:
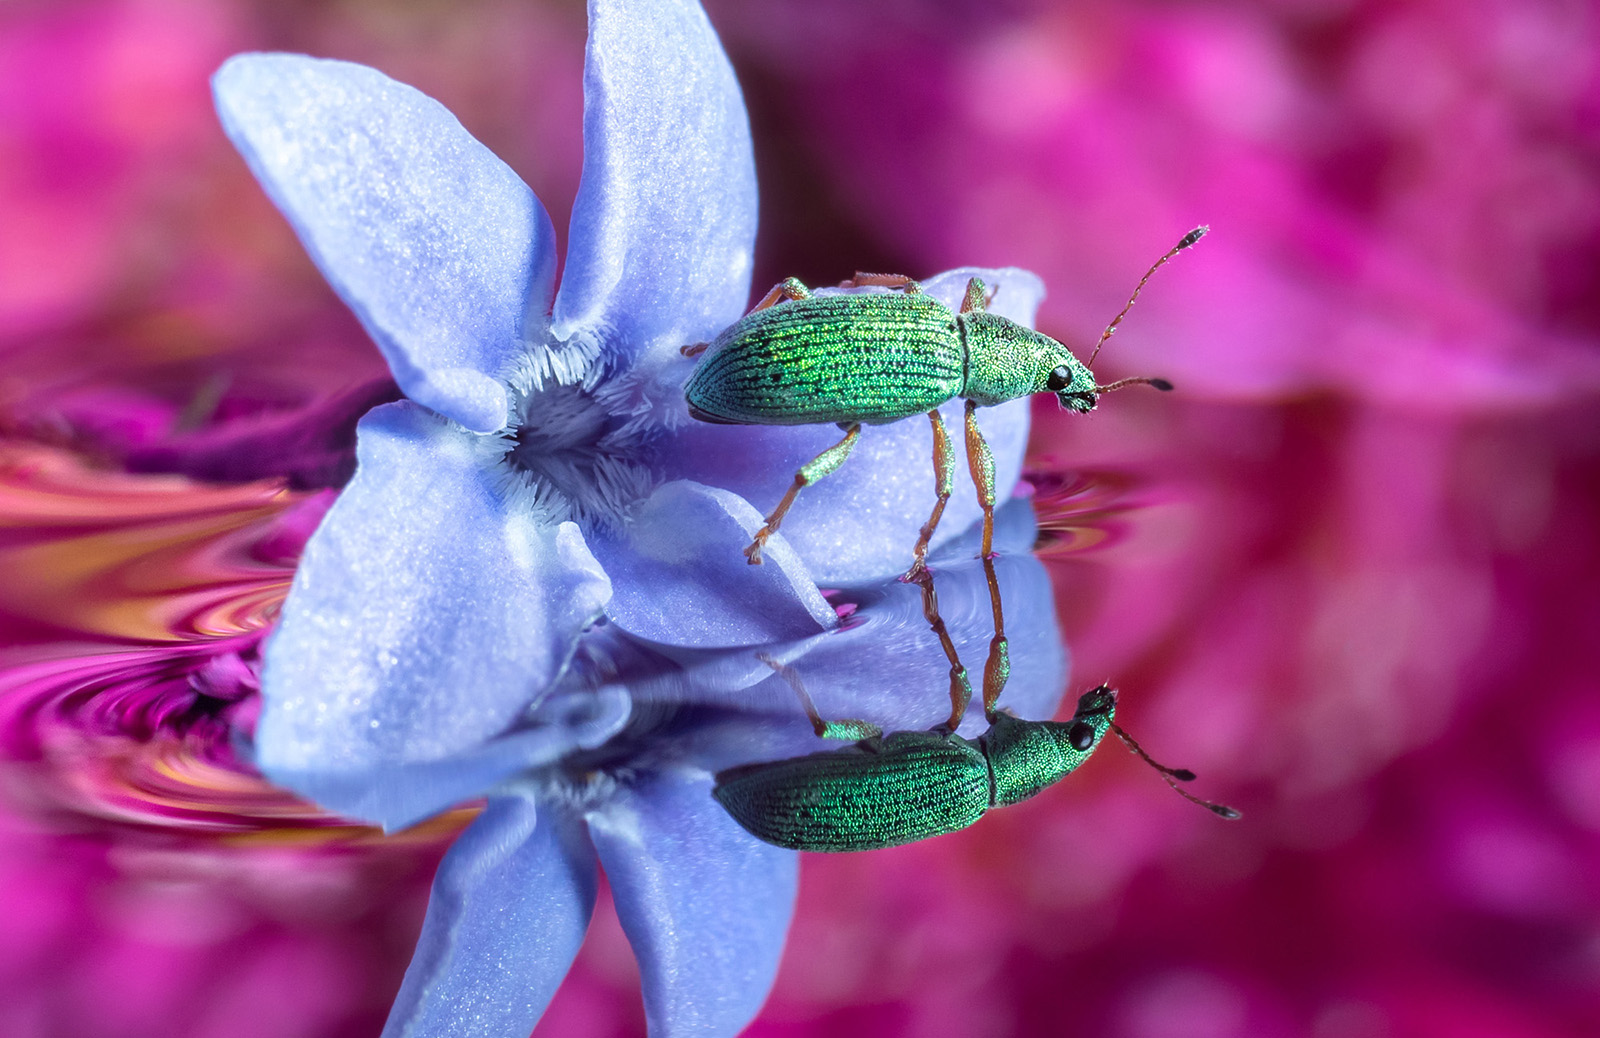
Whether you are in the field or in studio, the freedom from a tripod for macro work has many rewards. It can allow you to navigate around a chaotic subject nimbly, allowing for intuitive adjustments to focus and background placement. While I often “lock down” on a tripod for studio work, it’s not always practical. To photograph this freely floating weevil on a flower, I need to be adaptable:
This same focusing methodology works across all seasons. The next column will put it to the test when the coldest days of winter arrive. We’ll see how effective it is with an in-depth tutorial for photographing freezing soap bubbles in the next instalment.

About the Author – Don Komarechka