

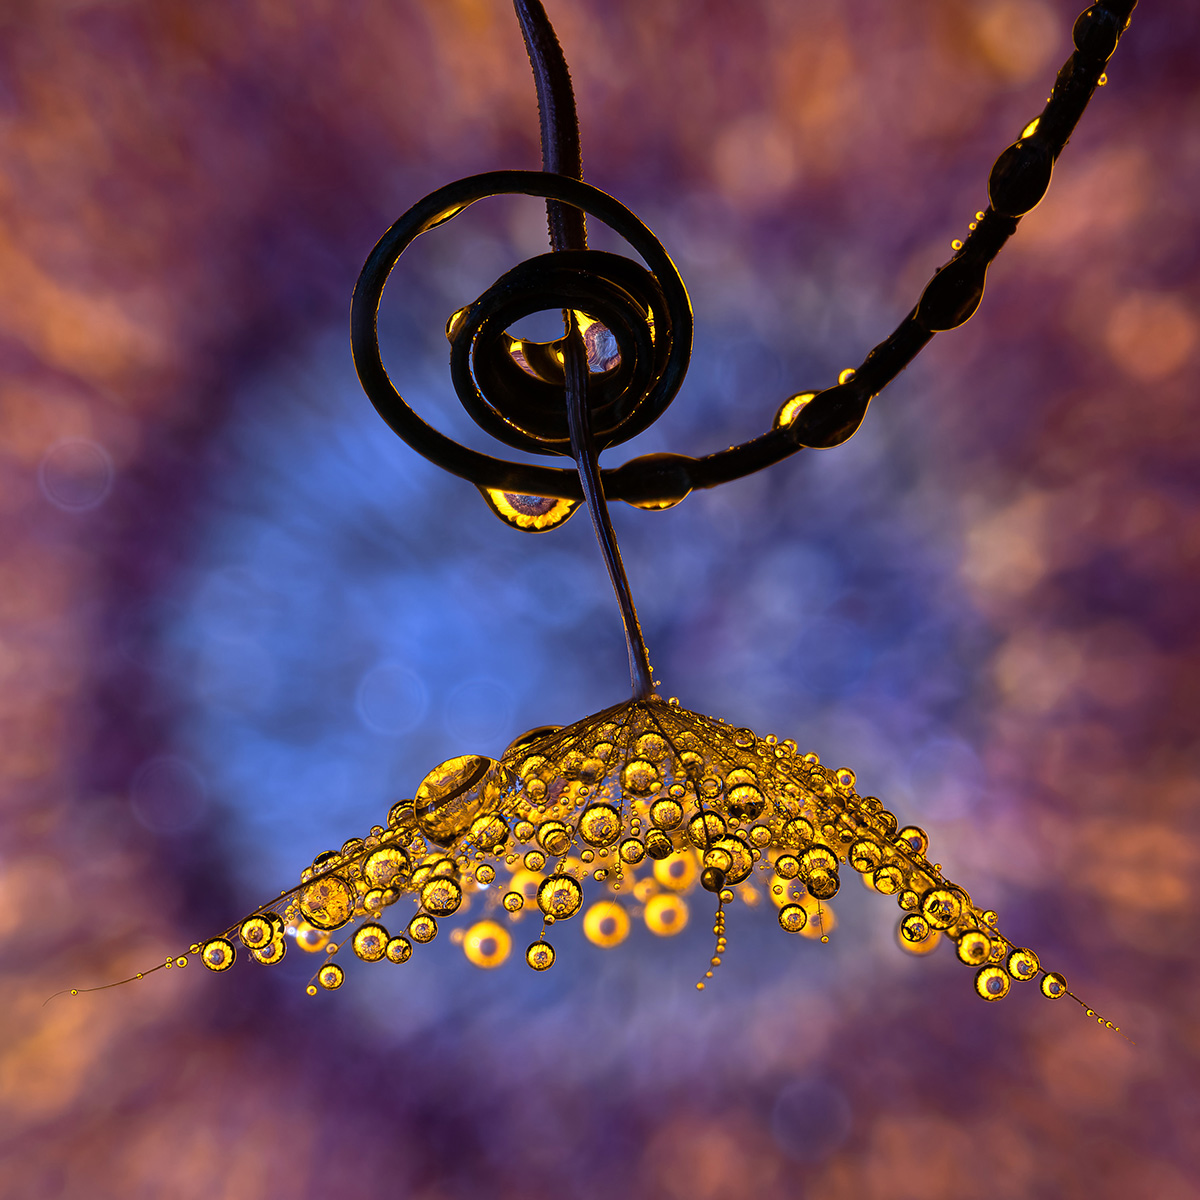
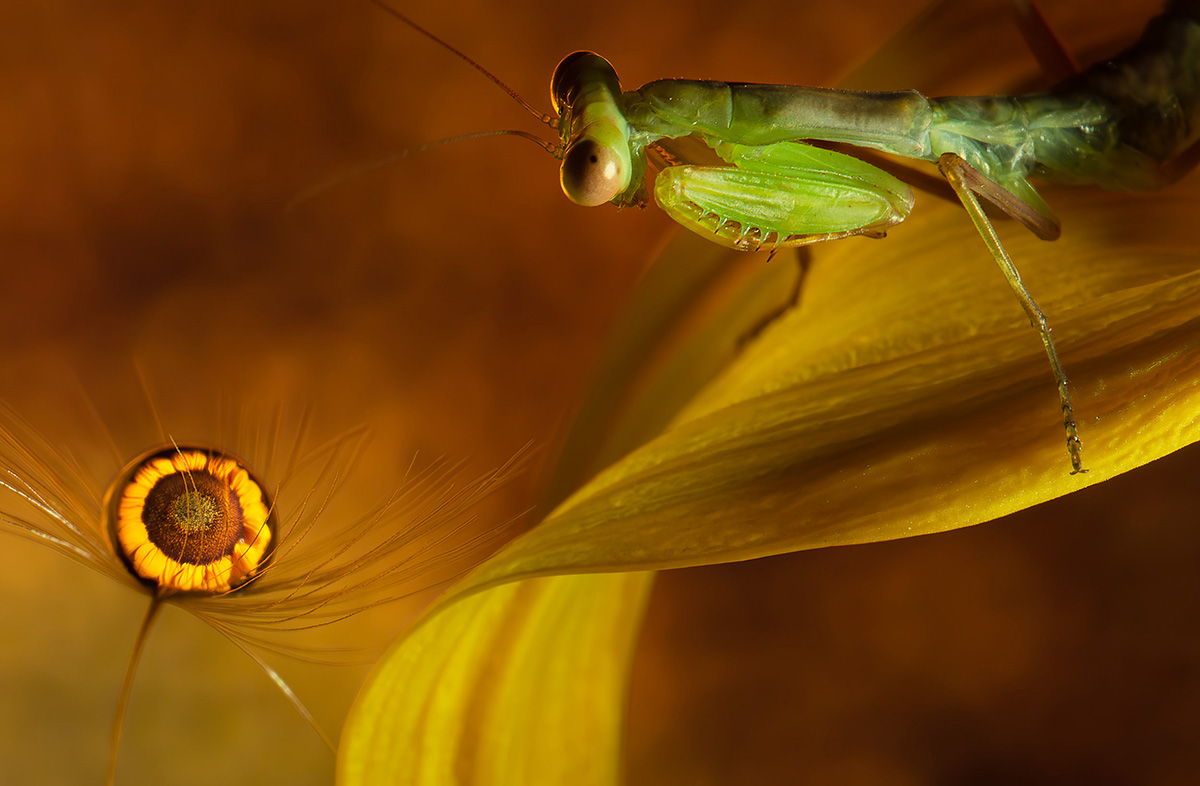
Laowa FFII 90mm F/2.8 CA-Dreamer Macro 2X | ISO 100, F/8, 1/60sec
If you’ve ever photographed subjects close up, one of the first frustrations you’ll encounter is a lack of depth of field in your subject – a razor-thin line of sharpness that can be difficult to place exactly where it’s needed. There are many ways to overcome this, but one of my new favourite methods is using a camera feature you normally don’t associate with macro work. If your camera has a “high resolution mode”, this technique will save you time and make macro photography much more approachable.
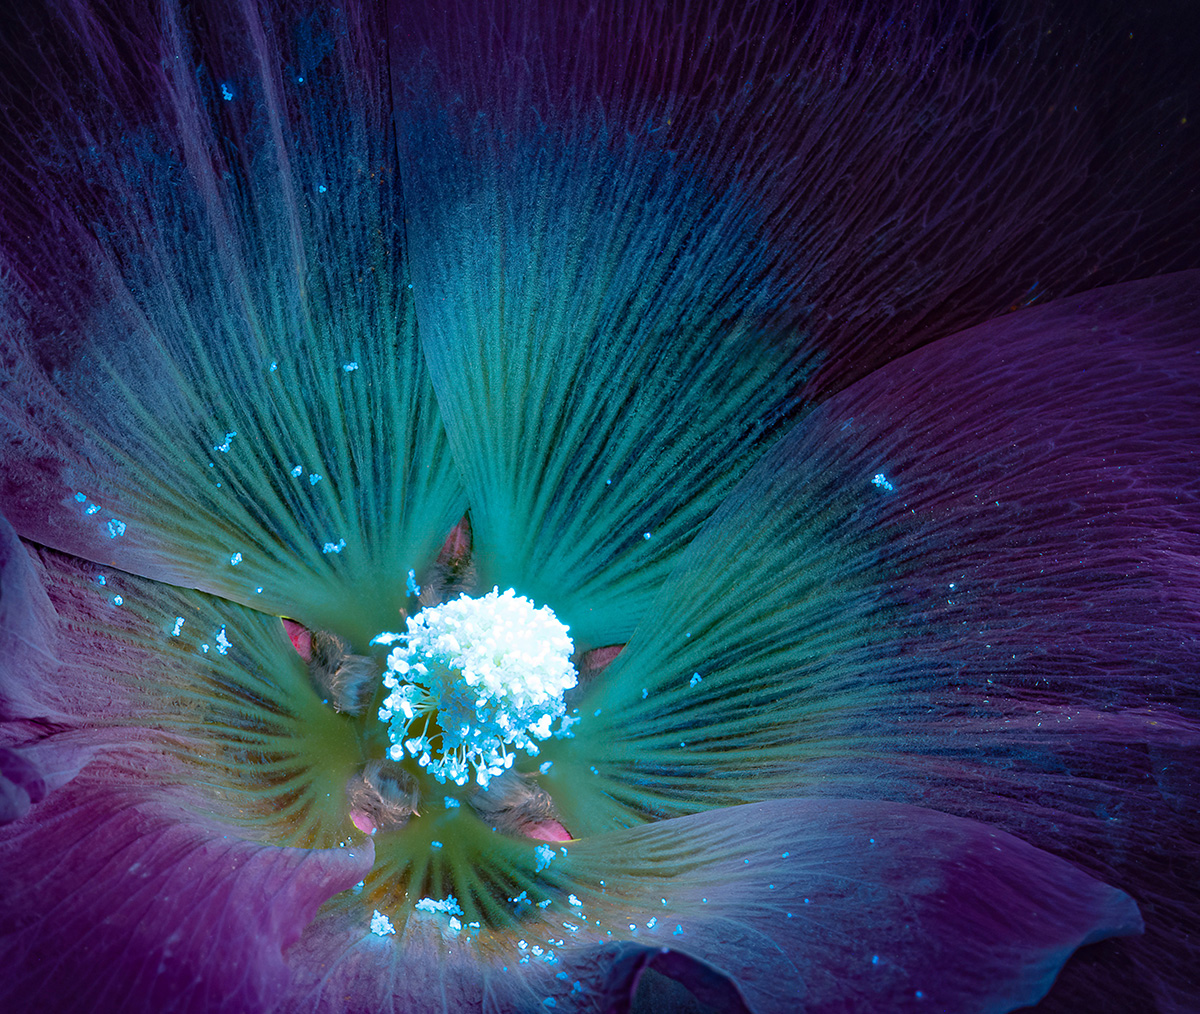
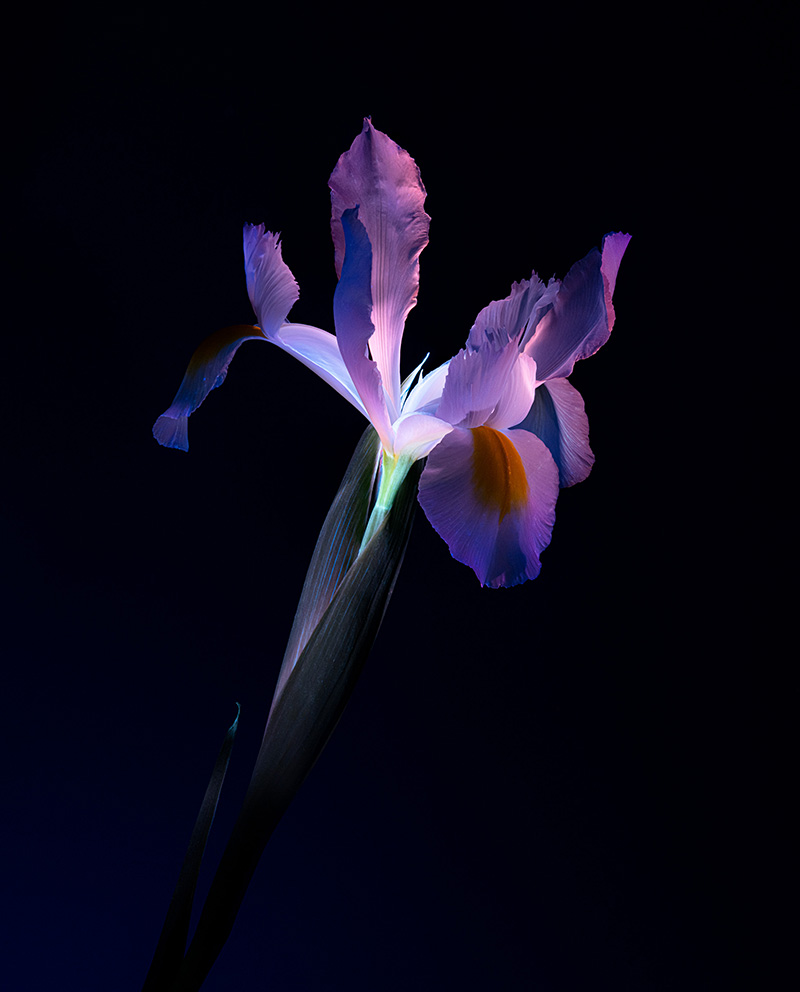
Laowa FFII 90mm F/2.8 CA-Dreamer Macro 2X | ISO 320, F/11, 1sec
We’re going off of the core concept that the closer you get to your subject, the shallower your depth of field becomes. Conversely, if you shoot farther away, you inherently have a greater amount of the subject / scene in focus. We can utilize this by threading the proverbial needle between maximizing depth of field and avoiding the softness caused by diffraction. There’s a lot of technical concepts being juggled about in theory, more than we have time to discuss in this article – but there is a practical, tangible result: stunning macro images with greater depth.
All because we’re willing to throw away a superfluous amount of our image data.
Shooting predominantly with the Lumix S1R with a 47 megapixel sensor, when the High-resolution mode is activated the camera will take 8 images in quick succession with sub-pixel movements of the sensor between each one. This results in an image roughly four times larger – about 187 megapixels in my example. However, for much of my professional career I was utilizing cameras with sensors between 18-21 megapixels… I don’t NEED nearly 200 million pixels! So, what if I intentionally throw over 80% of them away?
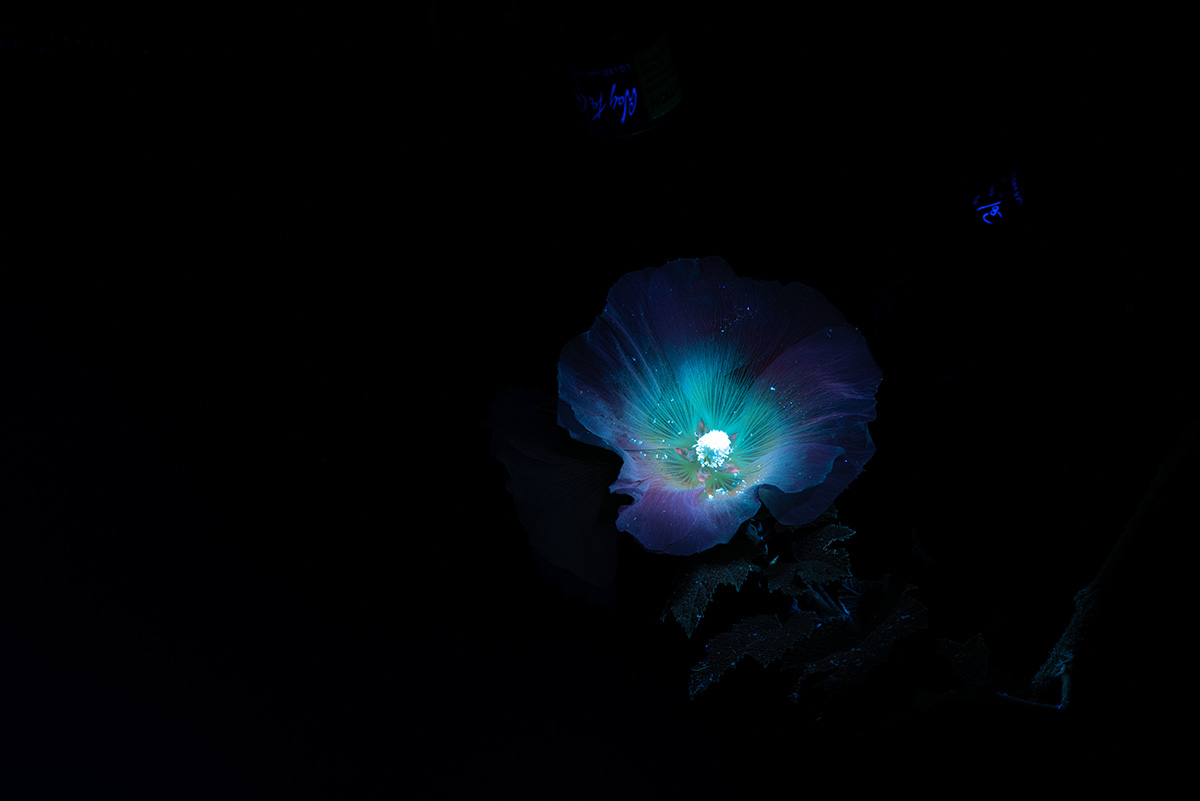
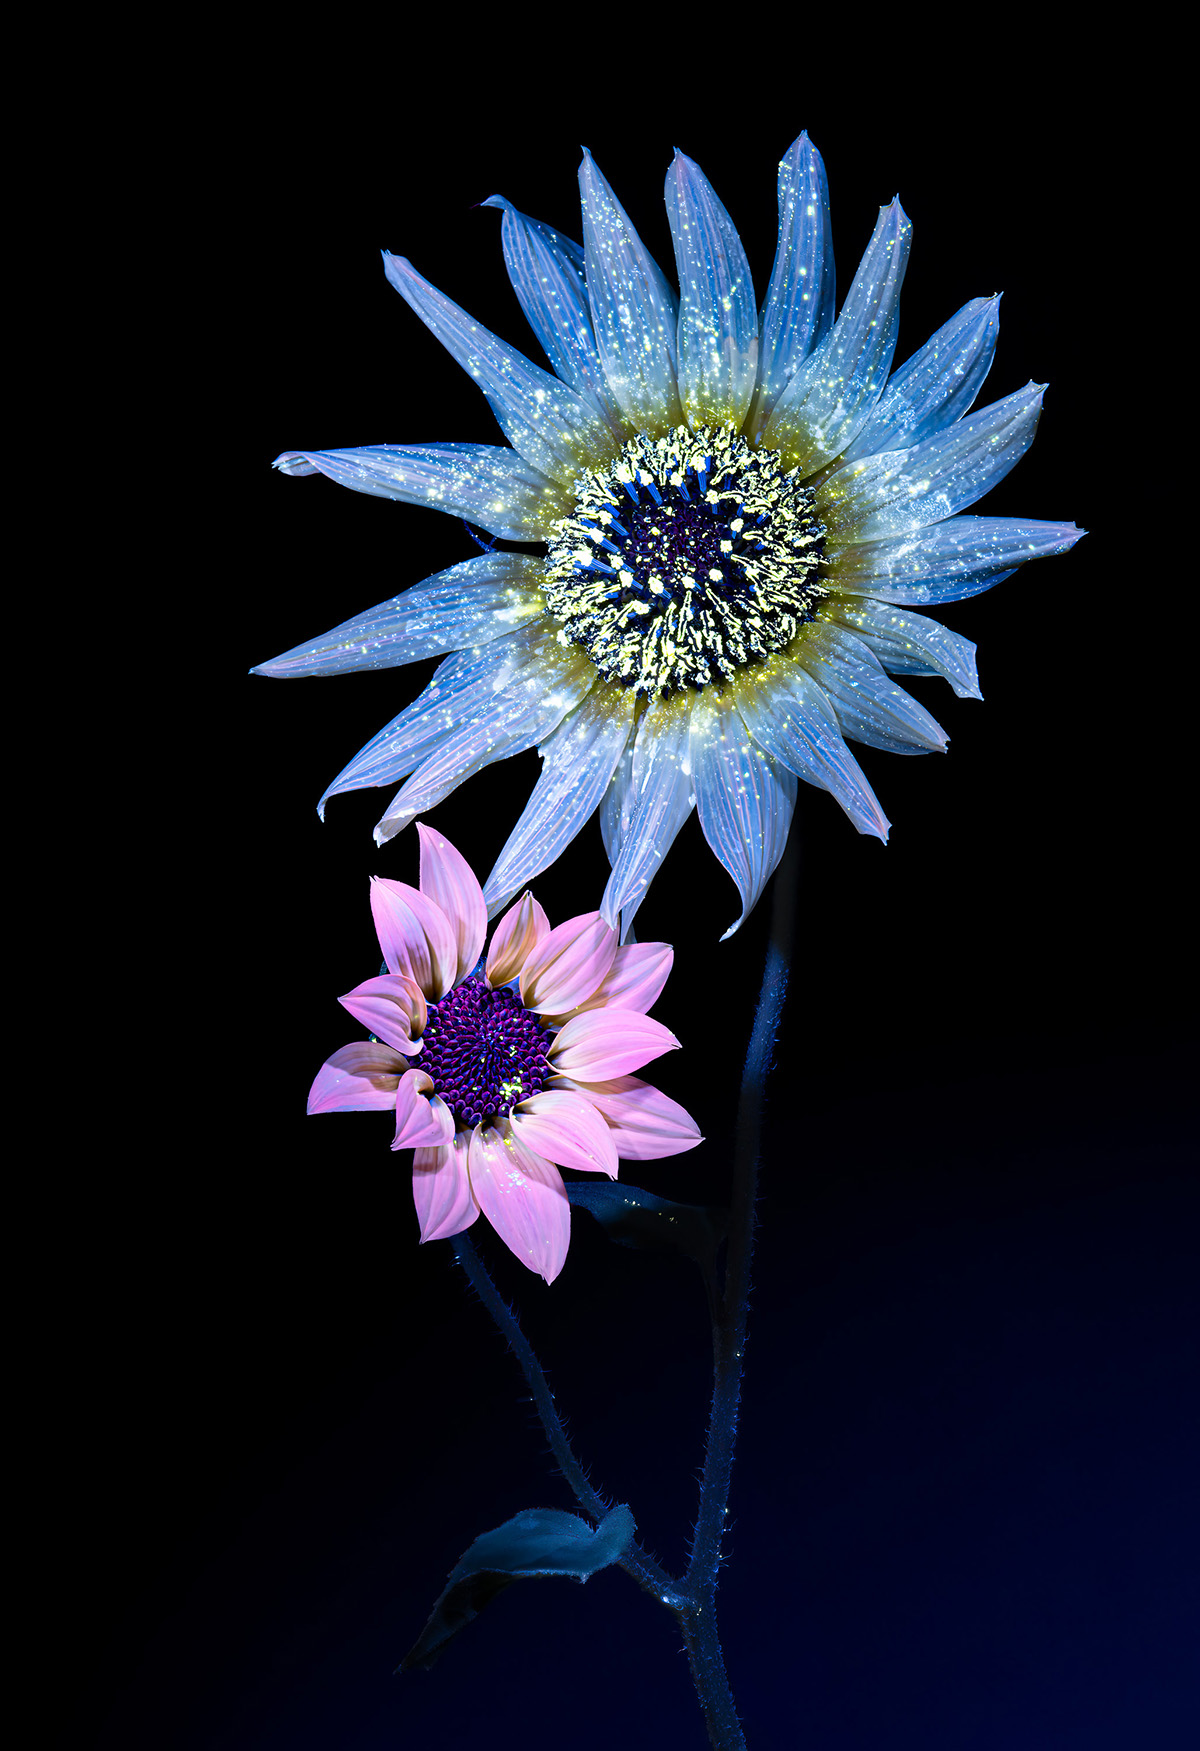
Laowa FFII 90mm F/2.8 CA-Dreamer Macro 2X | ISO 100, F/8, 1/50sec
This technique depends on a few things: exceptional optics and understanding diffraction. You’ll want some of the best glass out there optically for macro work, and I tend to use Laowa lenses – the 100mm F/2.8 2x Ultra Macro APO for DSLRs or the FFII 90mm F/2.8 CA-Dreamer Macro 2X for mirrorless bodies are great examples; all the images here are shot with the latter. Note that you are effectively making smaller pixels with this sensor-shift resolution-increasing trick, so you’re more likely to see image softening from smaller apertures much sooner. For this reason, the aperture range is almost always between F/5.6 and F/11. Beyond that, you don’t see much benefit.

Standing back and throwing pixels away has become an incredibly valuable technique. I’ve been using this technique professionally over the past few years and it has greatly improved my workflow. It’s not possible with all subjects, though it is preferred for photographing subjects like flowers or water droplet refraction work that might move slightly over a larger stack of images to use traditional focus stacking techniques. With ultraviolet fluorescing flowers, the intense UV light causes most flowers to slowly “animate”, making significant changes from one position to another.
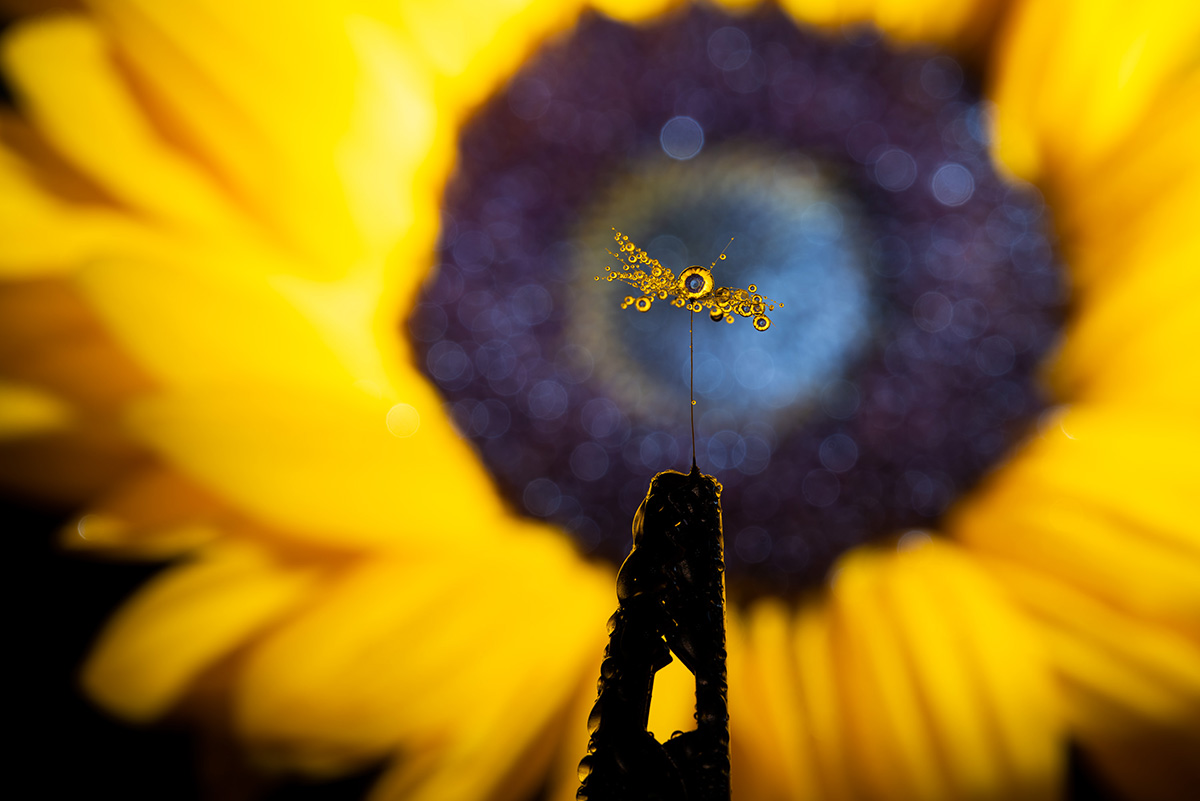
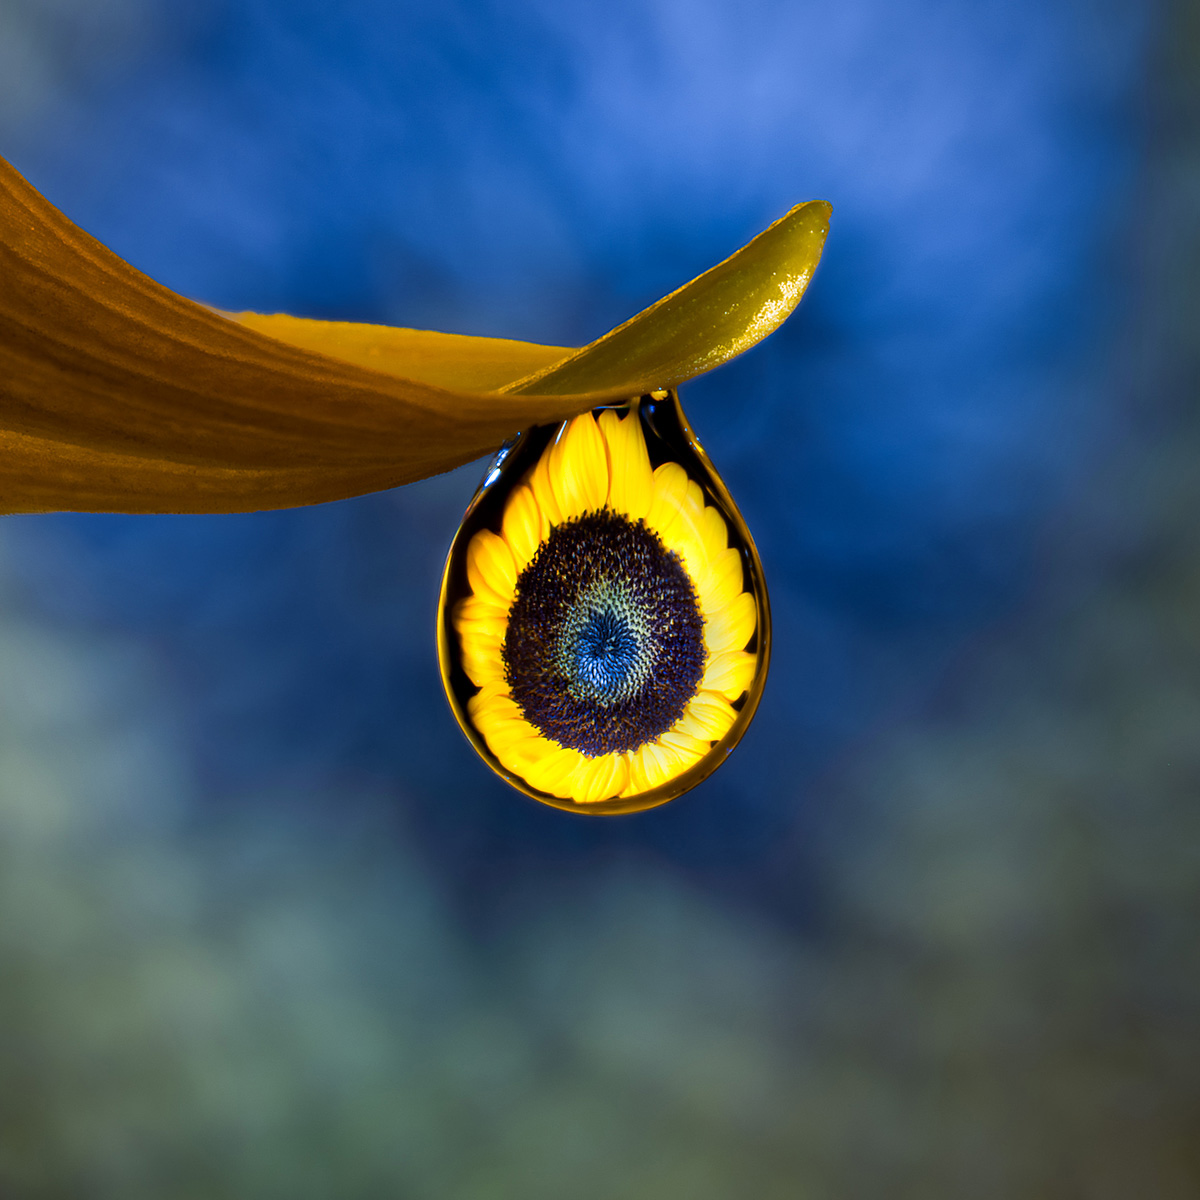
Laowa FFII 90mm F/2.8 CA-Dreamer Macro 2X | ISO 100, F/11, 1/25sec
Many cameras allow for this technique to be used. Manufacturers such as Sony, Panasonic, OM Digital Solutions, and even Fujifilm on some of their medium format models. Canon and Nikon are late to the game here; if a camera has an in-body image stabilizer, it’s theoretically just a software update (and patent licensing!) to allow for this functionality in the future.
Laowa FFII 90mm F/2.8 CA-Dreamer Macro 2X | ISO 1250, F/8, 1sec
Laowa FFII 90mm F/2.8 CA-Dreamer Macro 2X | ISO 250, F/8, 1sec
I understand that this advice flies in the face of traditional logic. When I shoot with microscope objectives, every pixel is precious up to the resolving potential of the objective. If you need the critical detail that these 2X macro lenses need, you will not find the same level of detail in the tiniest structures of a leaf, insect or snowflake… but you’ll be fighting a battle against depth of field. For all of the images in this column, that battle has been flat-out avoided.
Laowa FFII 90mm F/2.8 CA-Dreamer Macro 2X | ISO 100, F/8, 1/60sec
About the Author – Don Komarechka


I shoot macro and I have no clue what you said.
The article is about depth – the farther you can get away from your subject, the greater your depth of field… but then it’s not macro, is it? Until you can throw away 180MP of a 200MP image and still get a stunning “macro” shut with what remains, so long as your pixels hold up. This is dependent on many factors – avoiding the fundamental limit set forth by diffraction and using the highest quality optics.
For these images, I would often labour for 6-7 hours in post-processing to make a perfect “focus stack”. Each of these images, using the high-resolution mode of my camera, took less than 30 minutes in post-production, almost all of the time just doing local adjustments to make them shine. And cropping.
I have been going back to basics lately, after taking 5 years off, so I’m doing a bunch of reading. I have been having issues with my macro and this whole thing made sense. Even got me thinking about about the manufactures, cause I’m thinking about getting a new camera as well. A full frame. could be foolish, but I’ve only ever shot with Canon. So I’ve been loving reading some materials and learning.
This was a fantastic read. I went to school for photography and just felt I’ve been majorly lacking and not pushing my ideas and creativity. The images in this article really got me thinking!
Thanks a Bunch!
This IS NOT a tutorial. Where is the description of the technique? There is no explanation here. Am I missing something???
The tutorial is how to improve your depth of field without compromising your effective magnification. I’ll be writing articles on the subject matter in coming months relating to both ultraviolet fluorescence and water droplet refraction photography – but here we have a solution to a universal macro photography problem – an inherent lack of depth that use to require arduous effort to overcome.
The way you increase depth of field by moving farther away from your subject is pushed up against the limit of resolving power caused by diffraction. It’s not a solution without limits, but it’s amazing what modern technology can allow us as macro photographers to accomplish with ease.