Photography by Jacques Dumont
One of my favorite genres of photography focusses on the fast-paced excitement of motorsports.
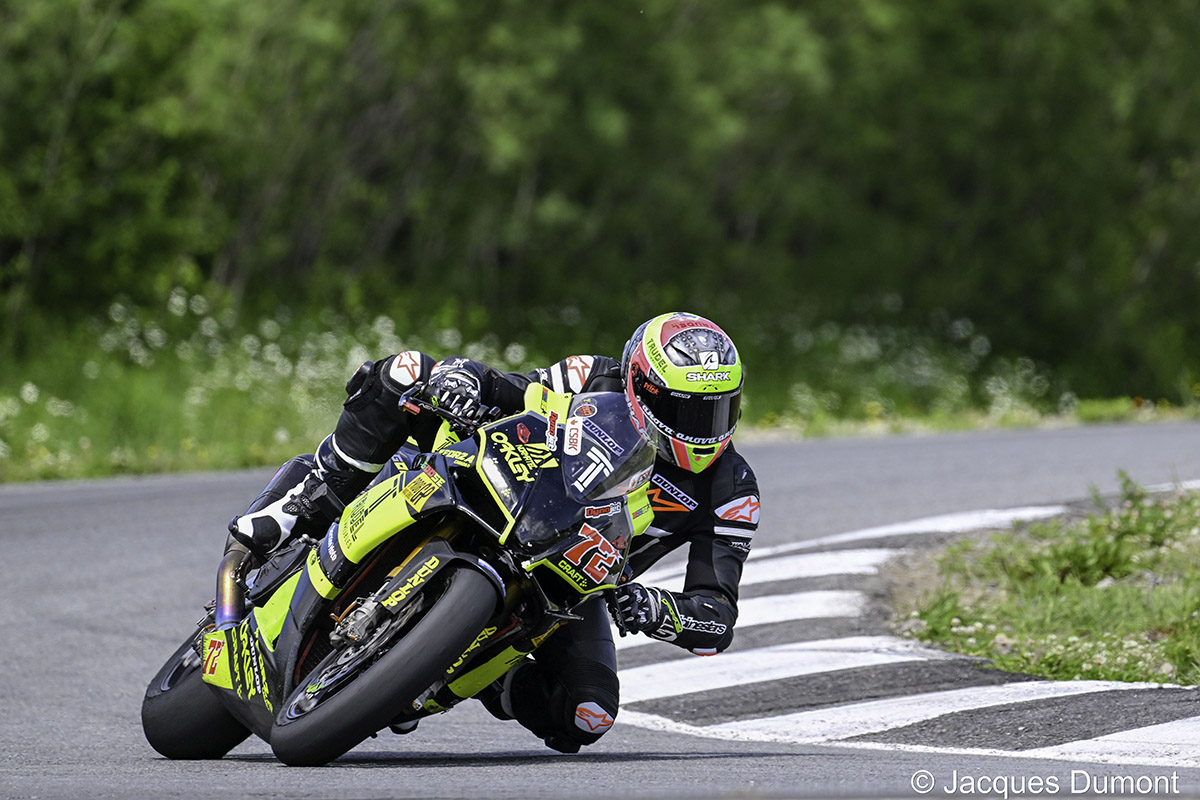
Recently, I had the opportunity to spend a day trackside at the Montmagny Autodrome, to capture the thrills of the open track. This circuit, which challenges the skills of the riders and the precision of motorcycle technology, provided the ideal opportunity to hone my skills behind the lens.
Armed with my Nikon Z9 and 100-400mm f/5.6 zoom, I consulted some of the experienced pros at the venue to find an appropriate viewpoint, where I could follow the action from a safe position. My objective was to situate myself where I could capture the riders coming into a curve, and track them as they negotiated the chicane, leaning into the radius of the turn, and accelerating into the straightaway.
You may think that once you find a suitable location, the action just comes to you… and in a way, that is not far from reality – but the key to achieving spectacular results begins long before you arrive at the track, and the journey to compiling a portfolio of impressive images takes as much practice and preparation as the riders put into their craft.
The first thing I did to prepare for my day at the track was to make sure all my camera batteries were fully charged, my lenses were perfectly clean, and the camera was set for high-speed focus tracking to freeze the action, with a quick shift to slow speed for the panning shots.
Lens selection was dependant on the distance I could safely stand trackside, and the size of the subjects. Motorcycle racing is similar to auto racing in terms of speeds, but quite distinct in terms of image size.
At the track, there are designated photo positions that are protected by barriers and crash absorbing material – you never want to test the effectiveness of these preventative measures – and if you transgress by approaching too close to the track, you will be warned to stay at a safe distance… ignore the warning, and you will be escorted to the exit – or perhaps to the hospital (or worse).
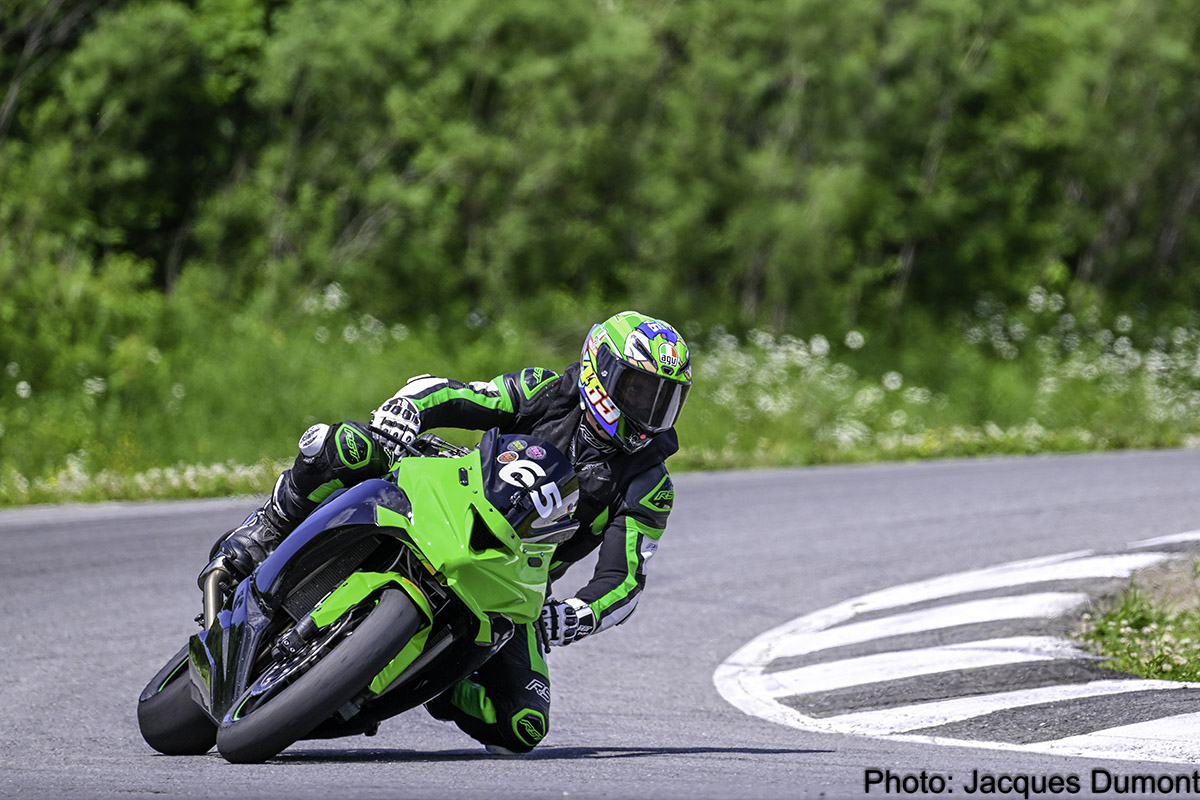
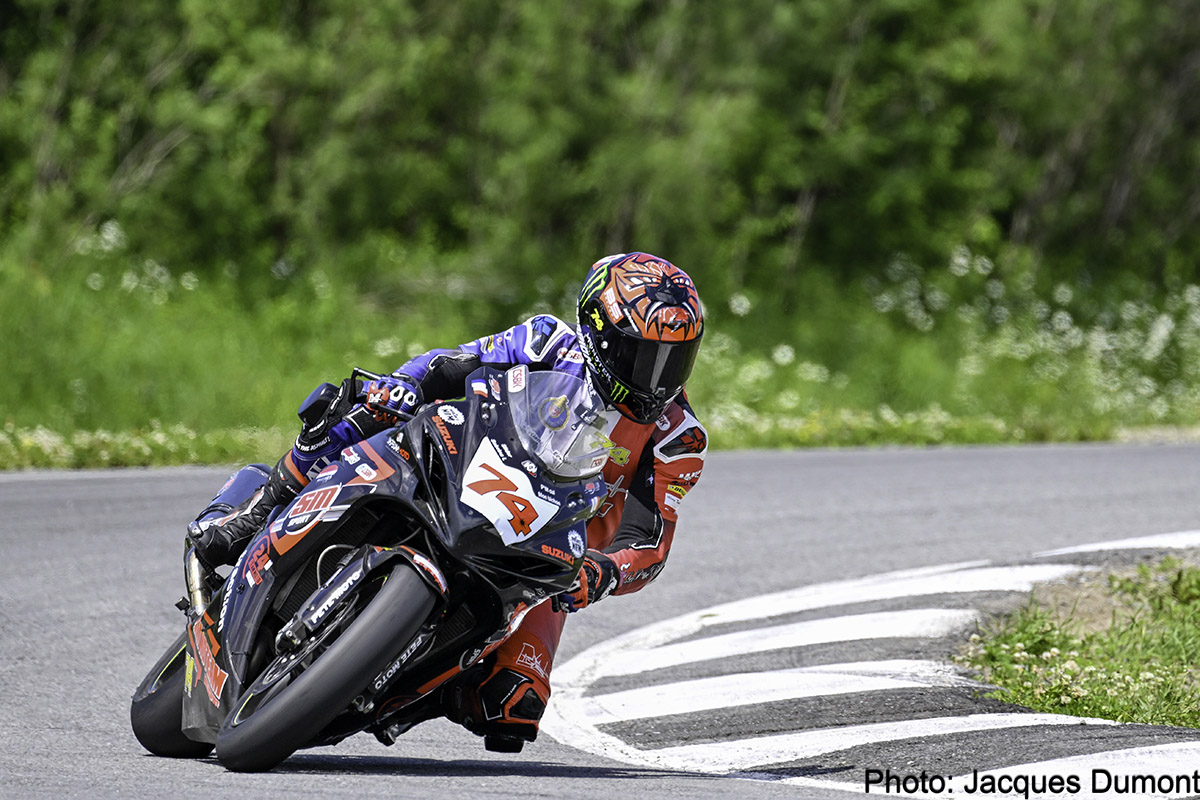
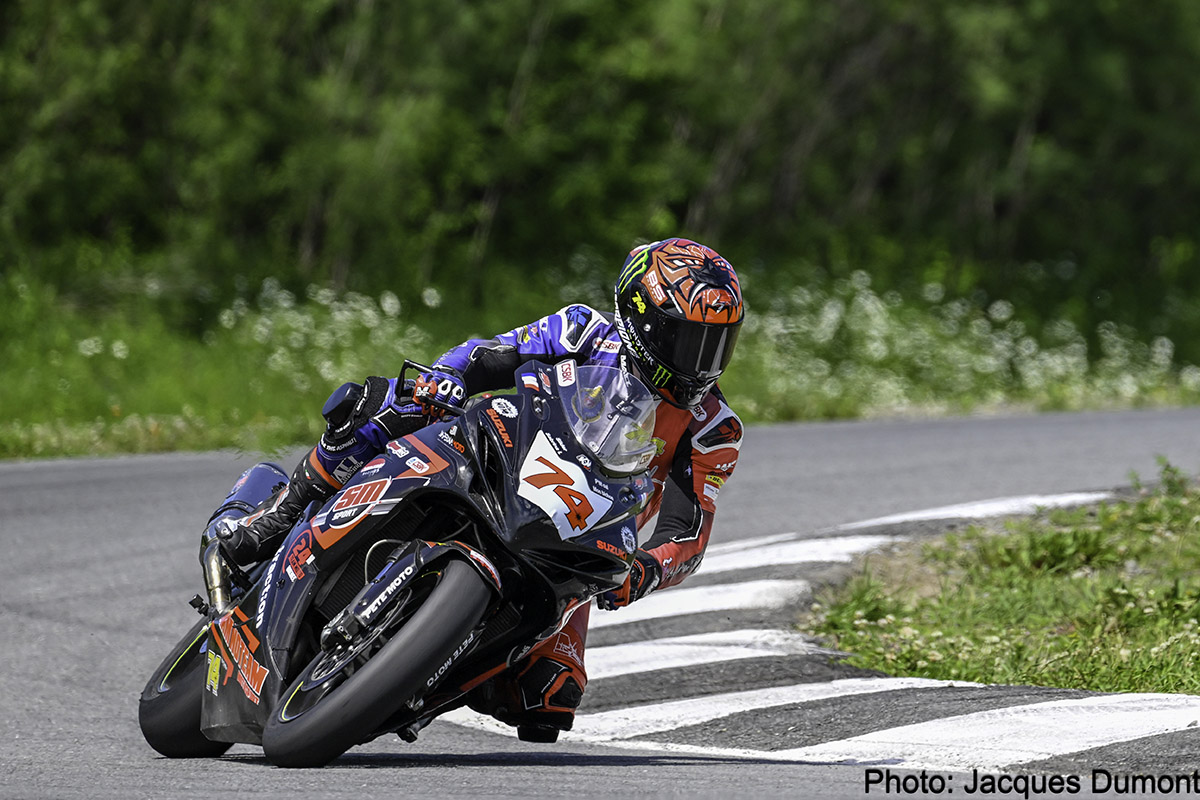
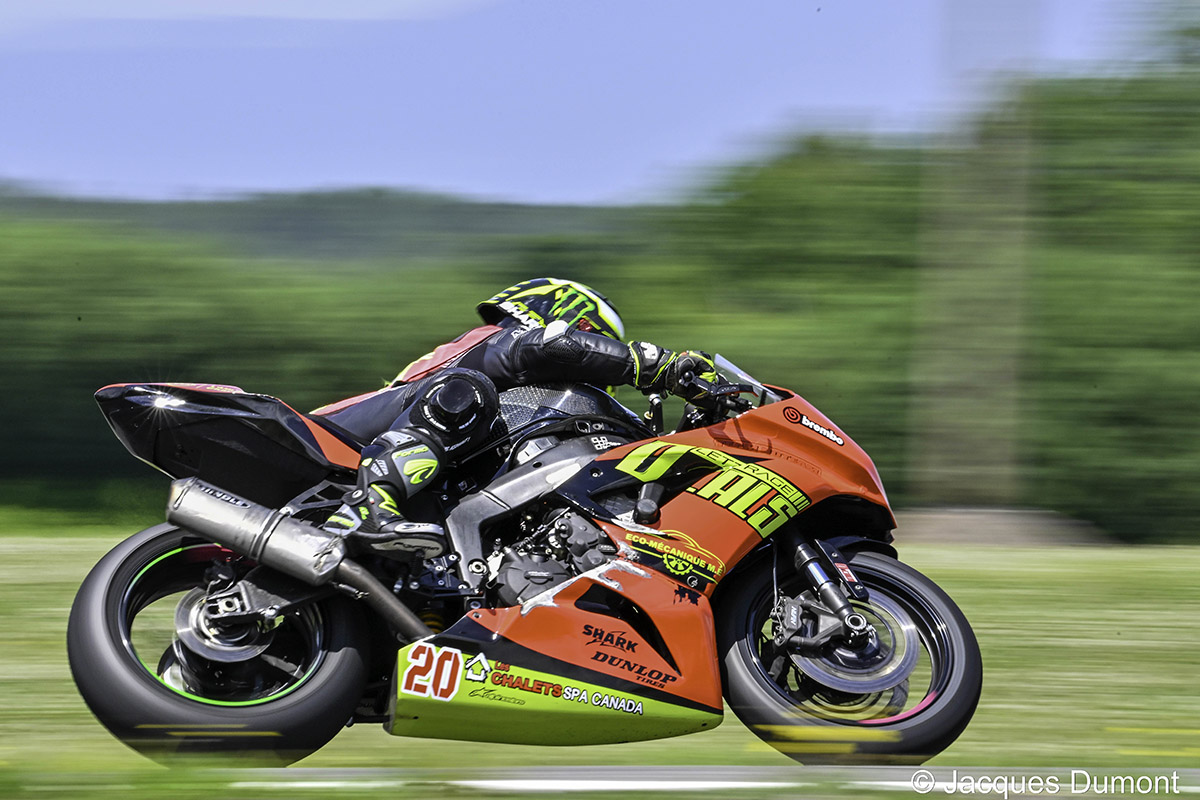
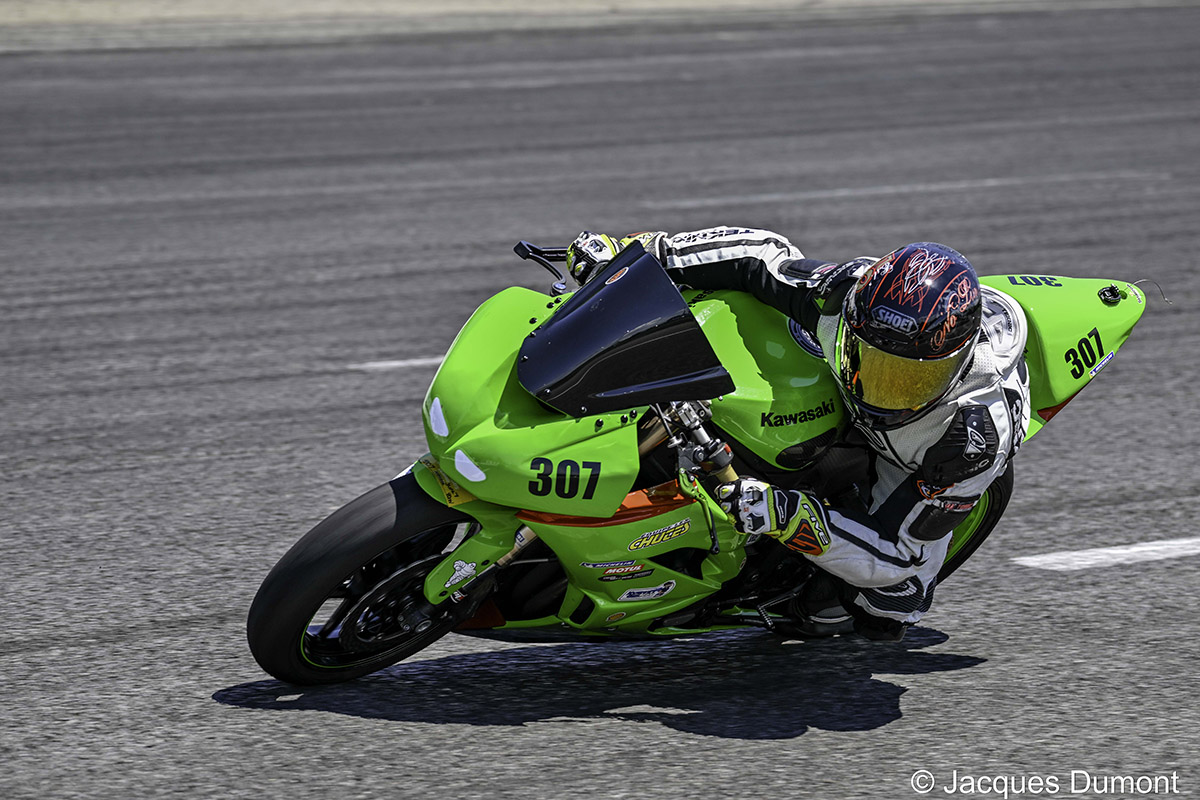
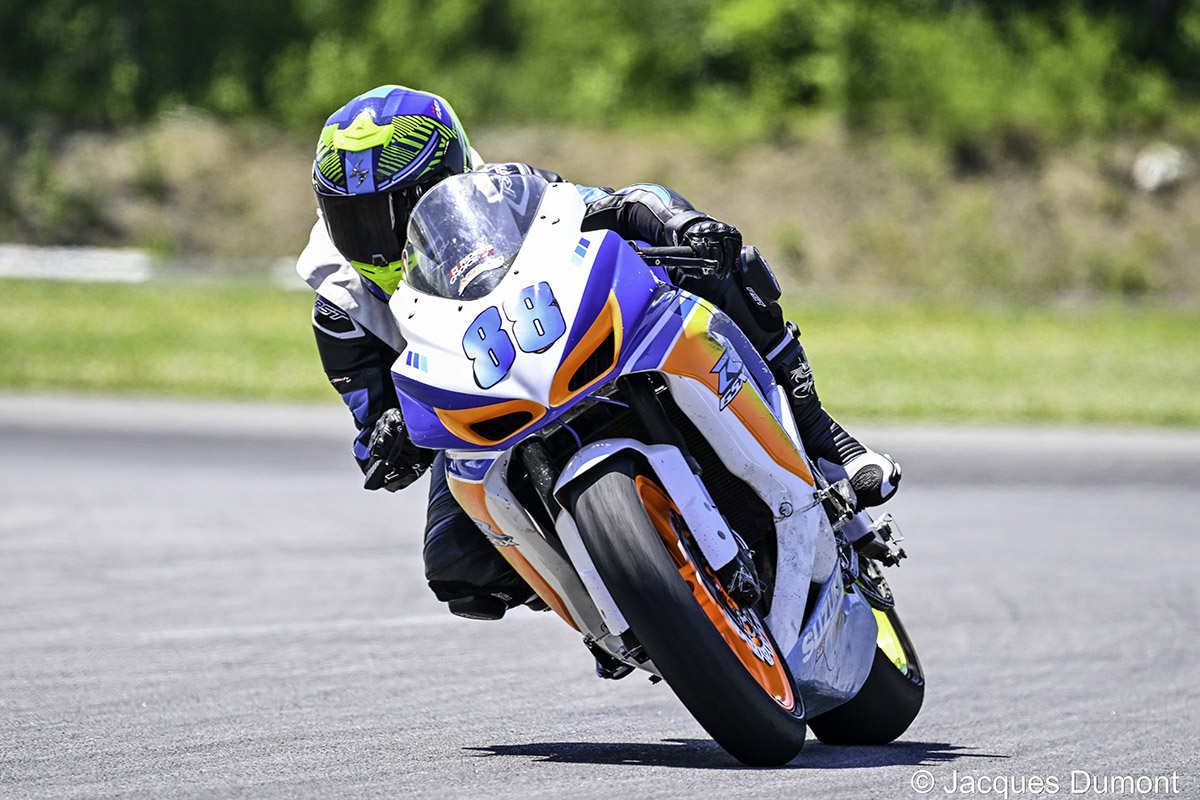
With a good perspective, you can capture some incredible images – the goal – to focus on the eyes of the rider, the gleam of the motorcycle, and the speed of the sport.
Camera settings
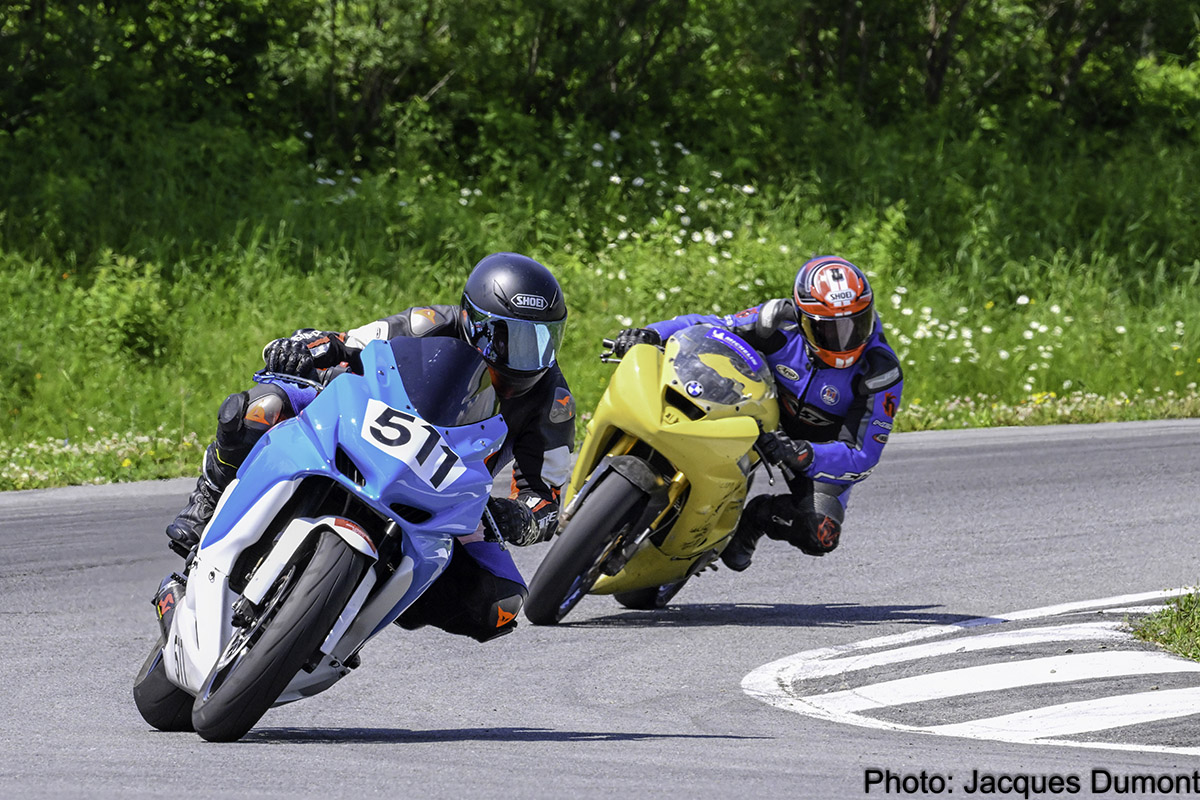
I set up the autofocus system to continuous mode with car detection – as the motorcycles are smaller than cars, with many lacking the headlight that the car detection autofocus system relies on, this is a great way to challenge this new technology. For many of the high-speed images (and static photos) I used Manual exposure mode, pre-focusing on the spot where I wanted to capture the rider. For other shots, I relied on the camera’s shutter speed preferred automatic program, to test the accuracy of the Z9 autofocus as well as auto exposure technology. For the panning photos, my goal was to be at the imaginary centre of an arc formed by the track, so the rider would be at an equal distance from my lens as he negotiated the turn. I set the shutter speed to 1/1000 second and metered the aperture at f/5.6. I used auto-ISO to let the camera adjust for exposure variations as I followed the rider through the arc of my pan.
For the panning photos, I read the motorsports technique feature article by Tim McGill that appeared in PHOTONews – Summer 2019. This treatise on motorsports action photography can be found in the online digital edition archive – just follow this link: https://www.photonews.ca/MV_Photo_News/Issues/summer2019/
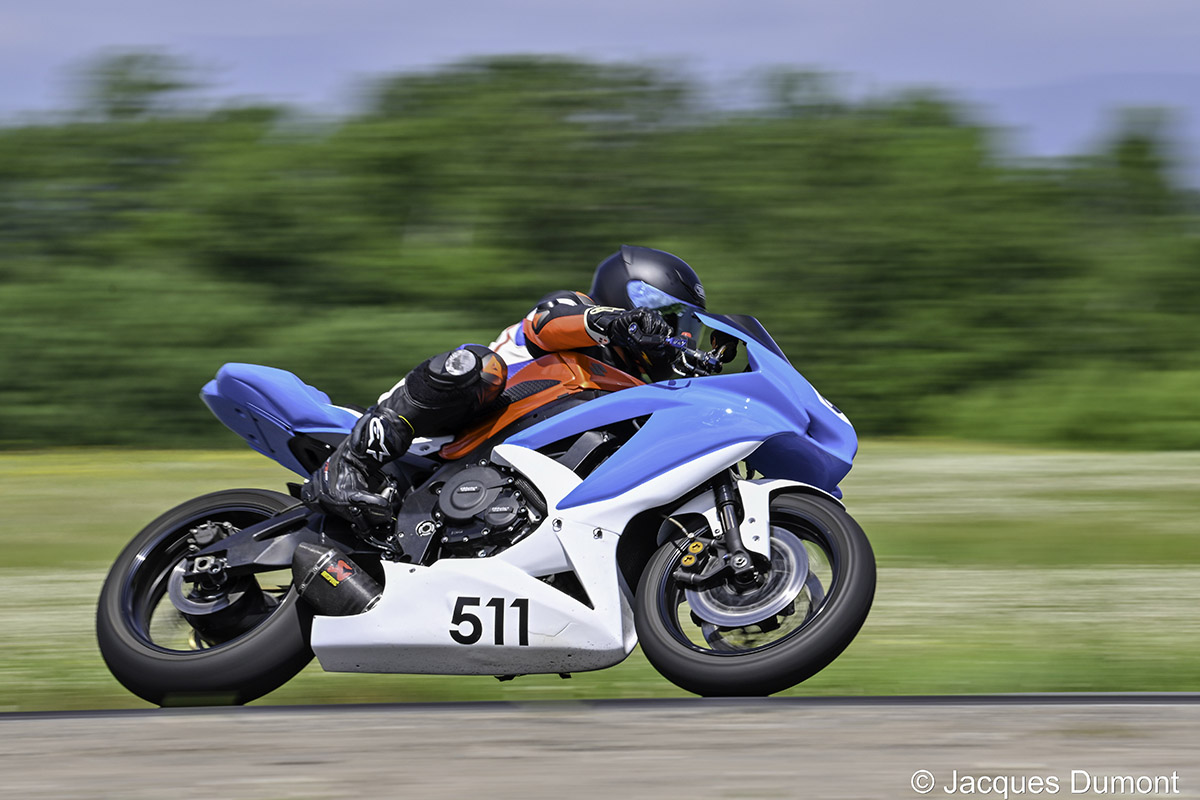
To create a blurred image that conveys the effect of high-speed motorsports action, I set the aperture to between f/14 or f/16 and the shutter speed between 1/80 and 1/125 second. Trust me – it’s not easy to follow a motorcycle at high speed to capture the panning effect. I selected a small aperture in the f/16 range to match a shutter speed that would produce a blurred background, while capturing my subject in sharp focus. It’s like every skill in every sport – the key to success is practice, practice, and more practice. You can hone your skills by stopping at a rest area along a local highway. Find a safe vantage point, then focus on the cars as they speed by on the highway. It is tricky at first, but after awhile, you will be happy with the results. Then you are ready to try your skills at the track.
Another important detail is to keep an eye on the light. If it’s a sunny day, position yourself to be sure the sun is coming from your back, so the light falls on your subject for ideal illumination and good colour. A polarizing filter adds impact to the colour, but the effect may vary as you pan the lens, resulting in a series of images that do not match perfectly in their colour intensity. If it’s a cloudy day, anywhere you shoot from should be OK.
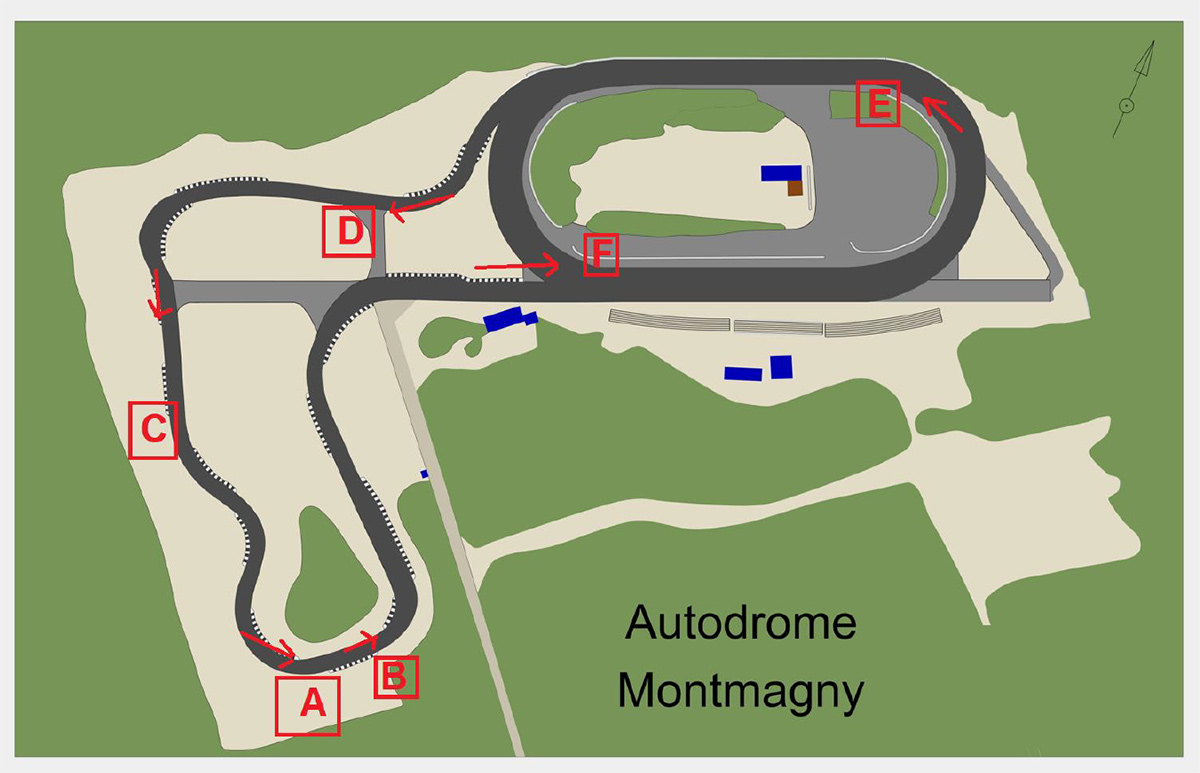
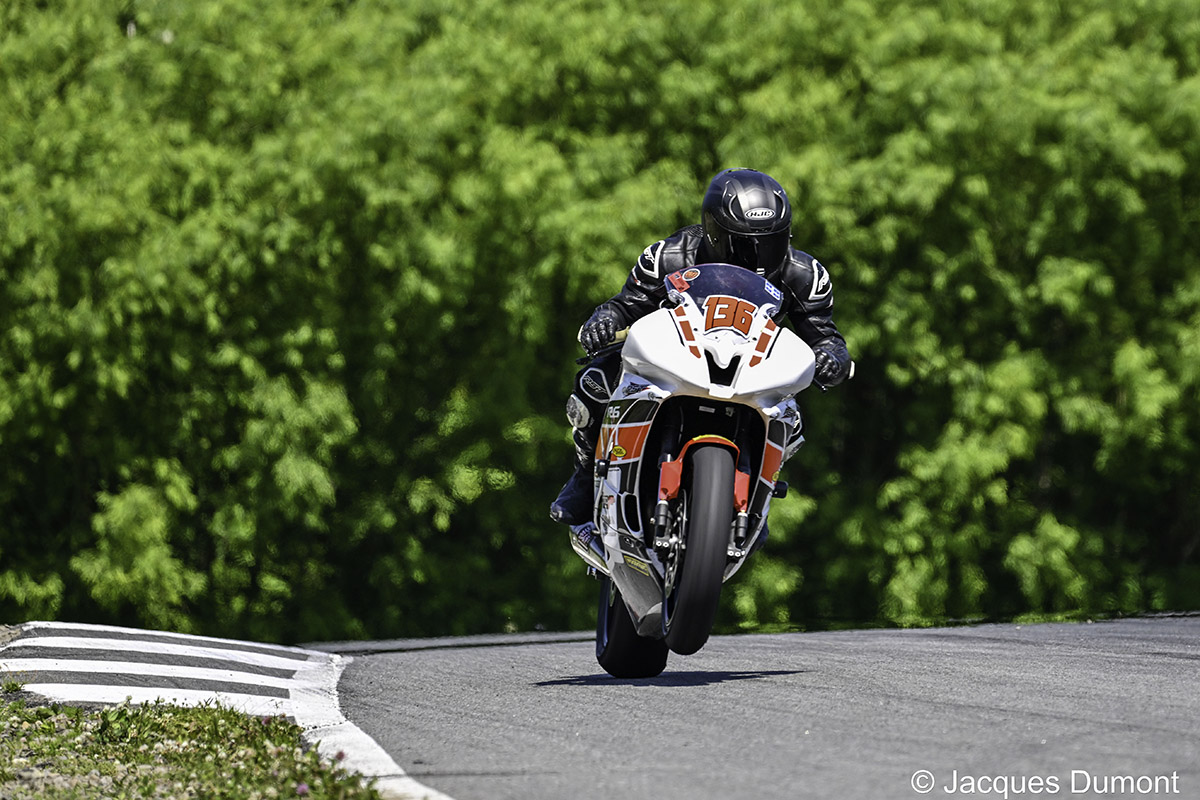
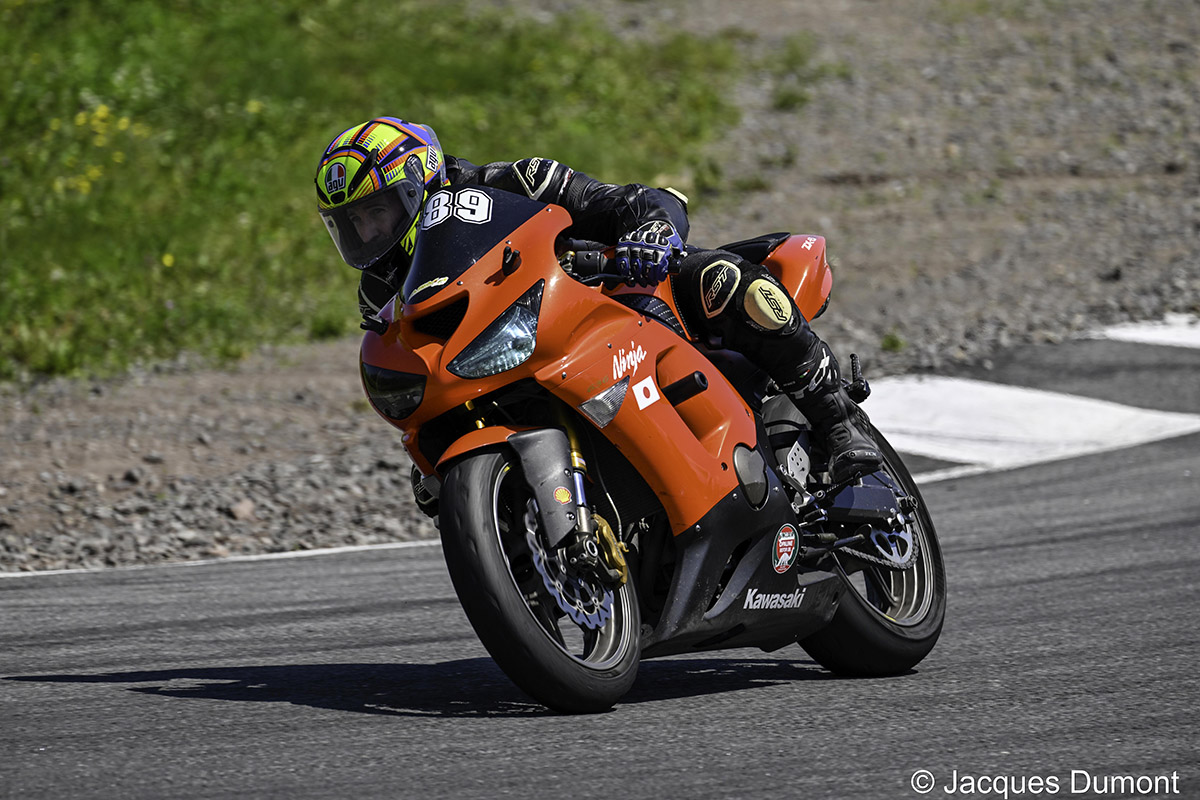
At the track, I tried several locations to create different perspectives. See the images labelled position A, B, C, D, E and F on the map and compare the photo locations with the results from each spot.
Trackside A:
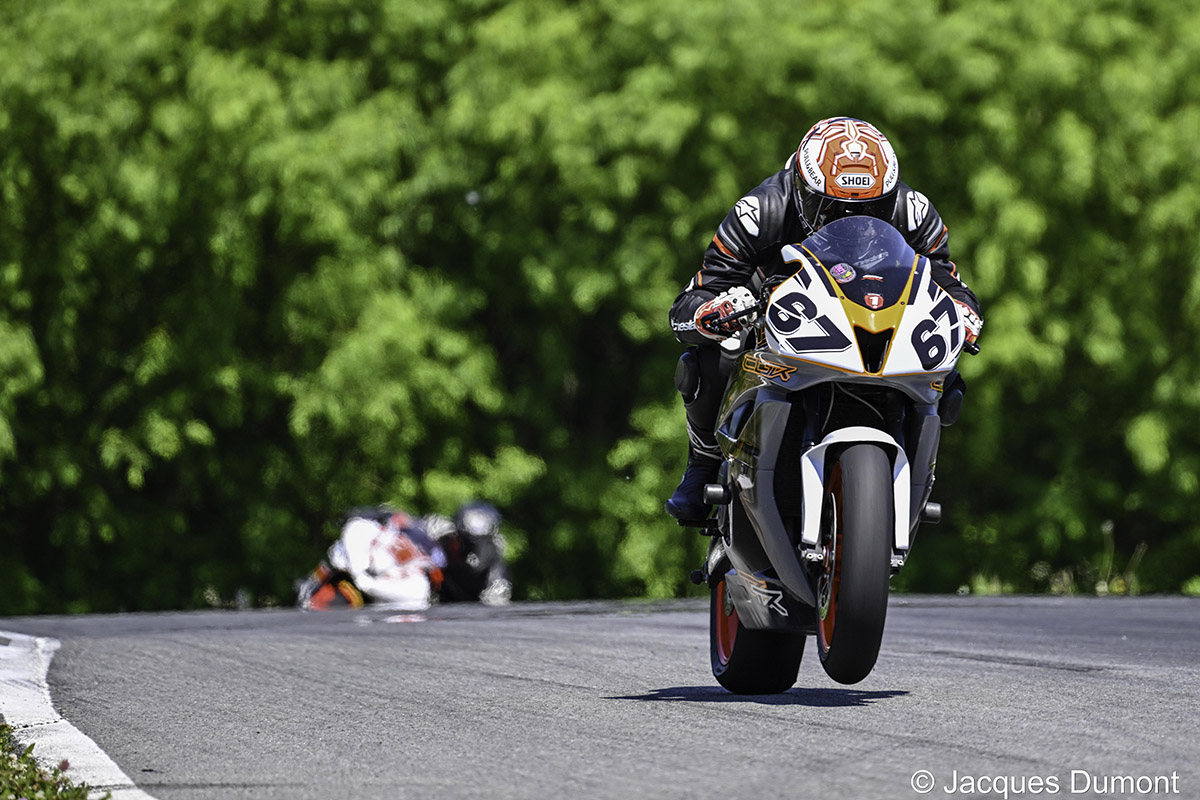
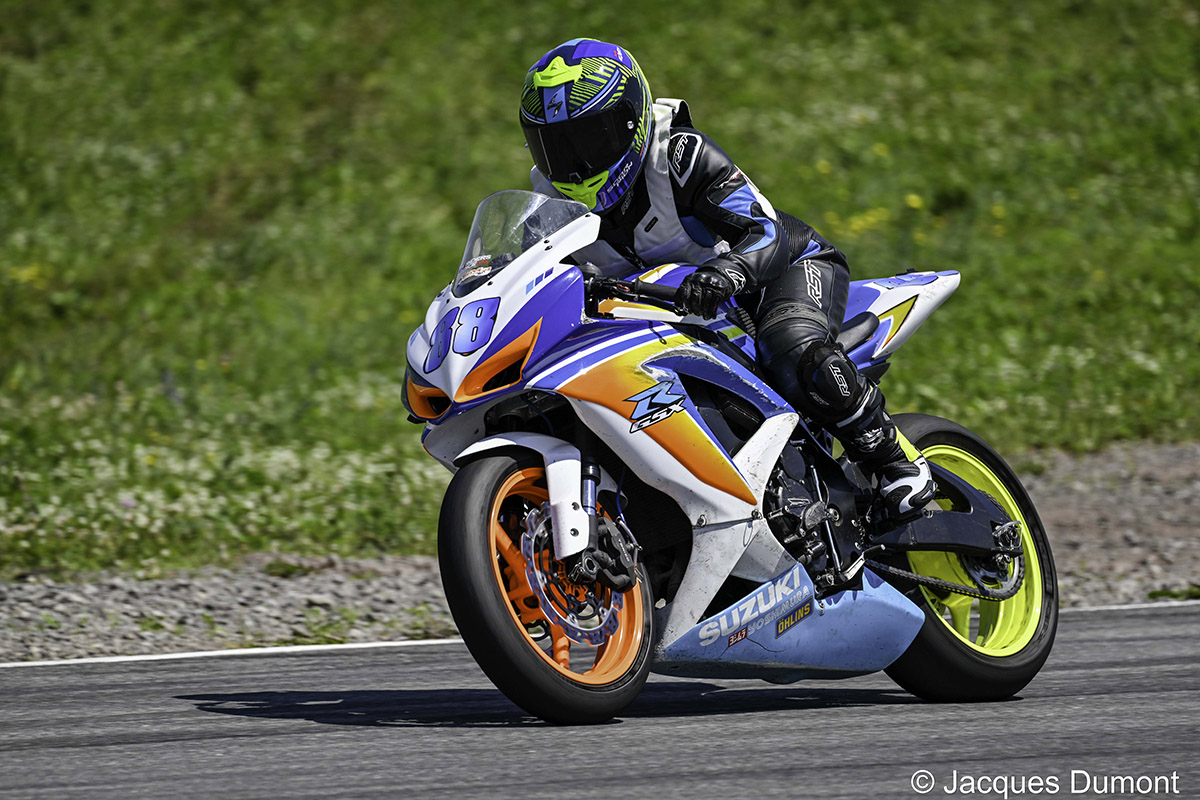
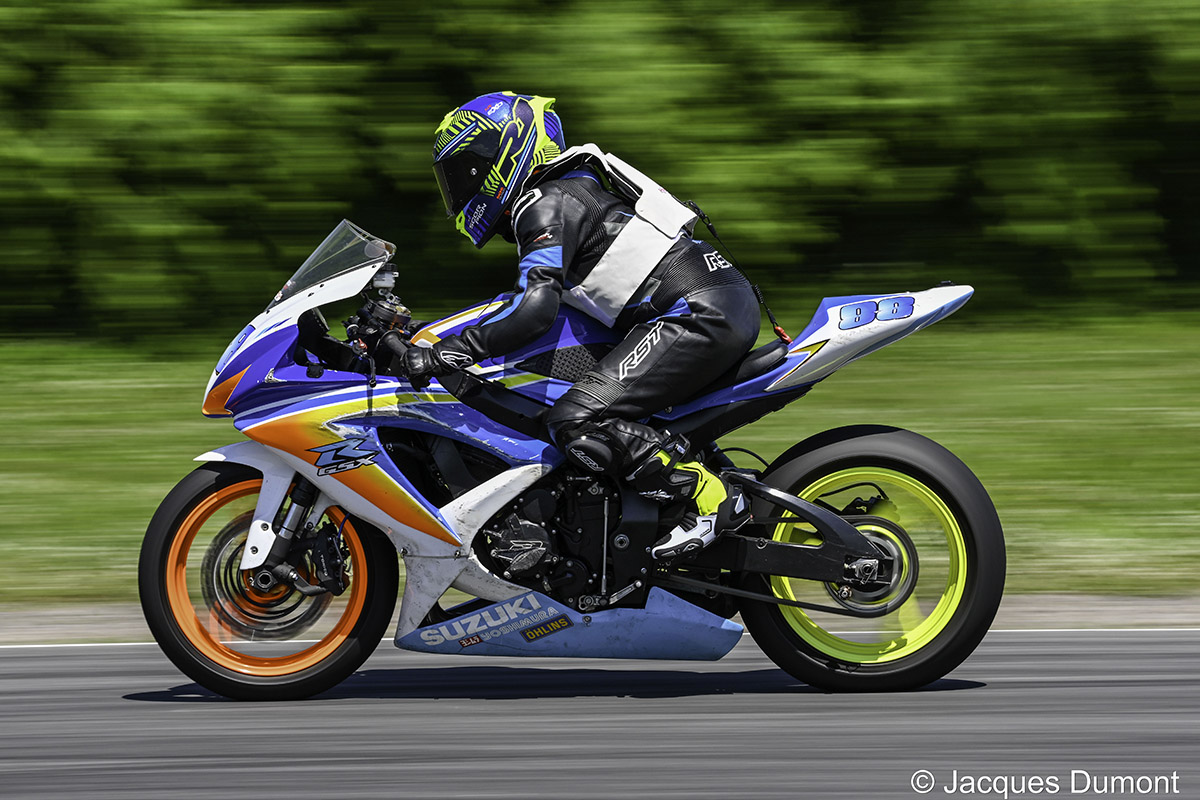
Trackside B:
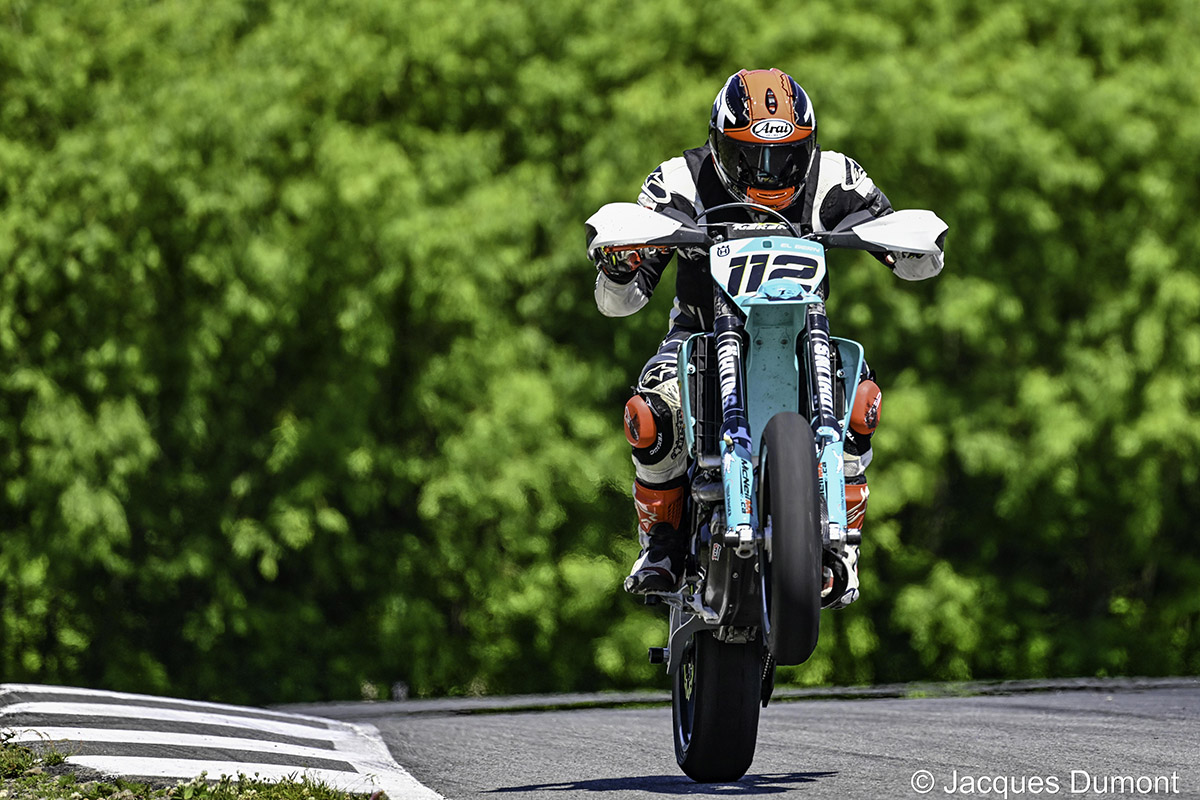
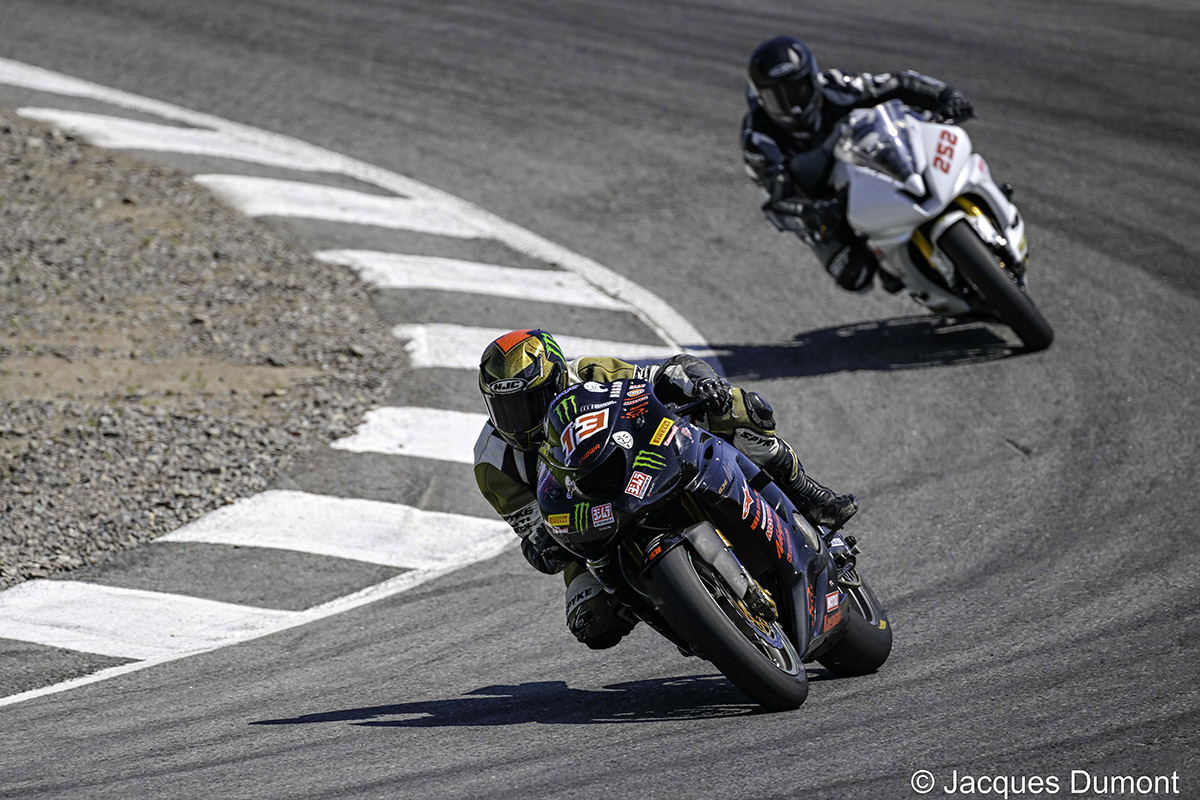
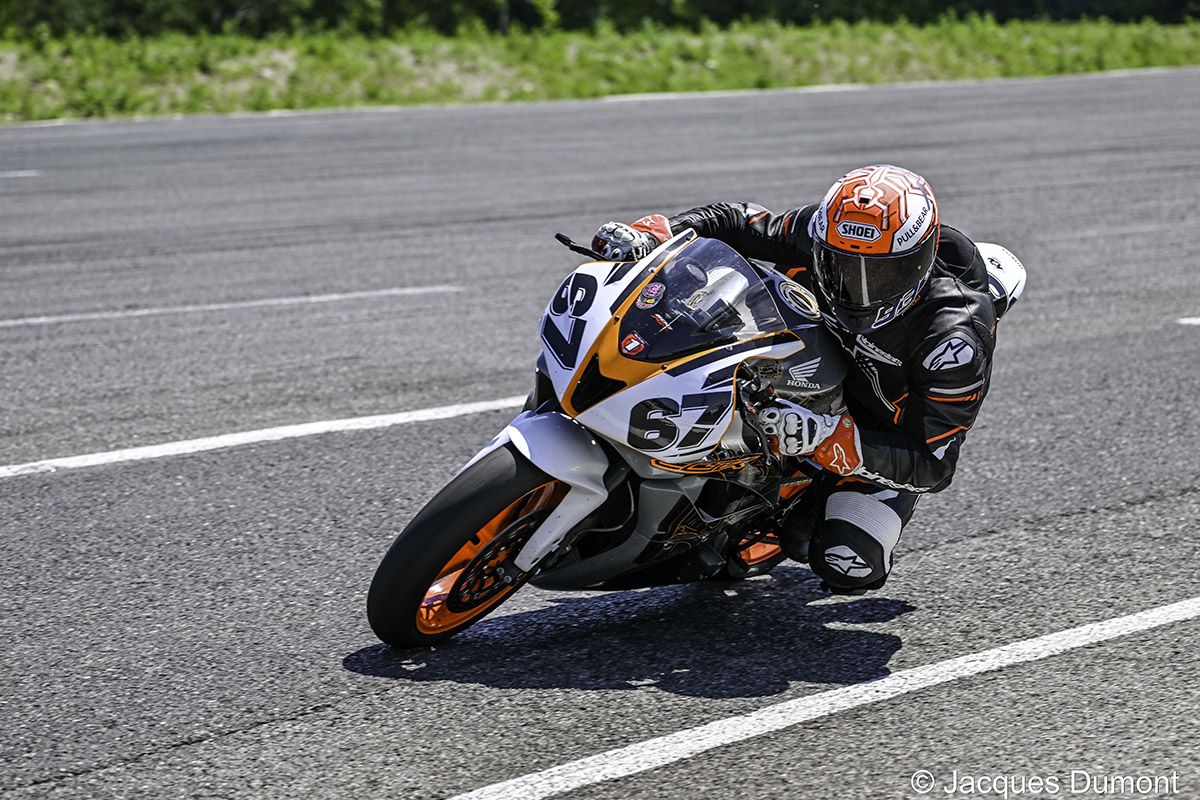
Trackside C:
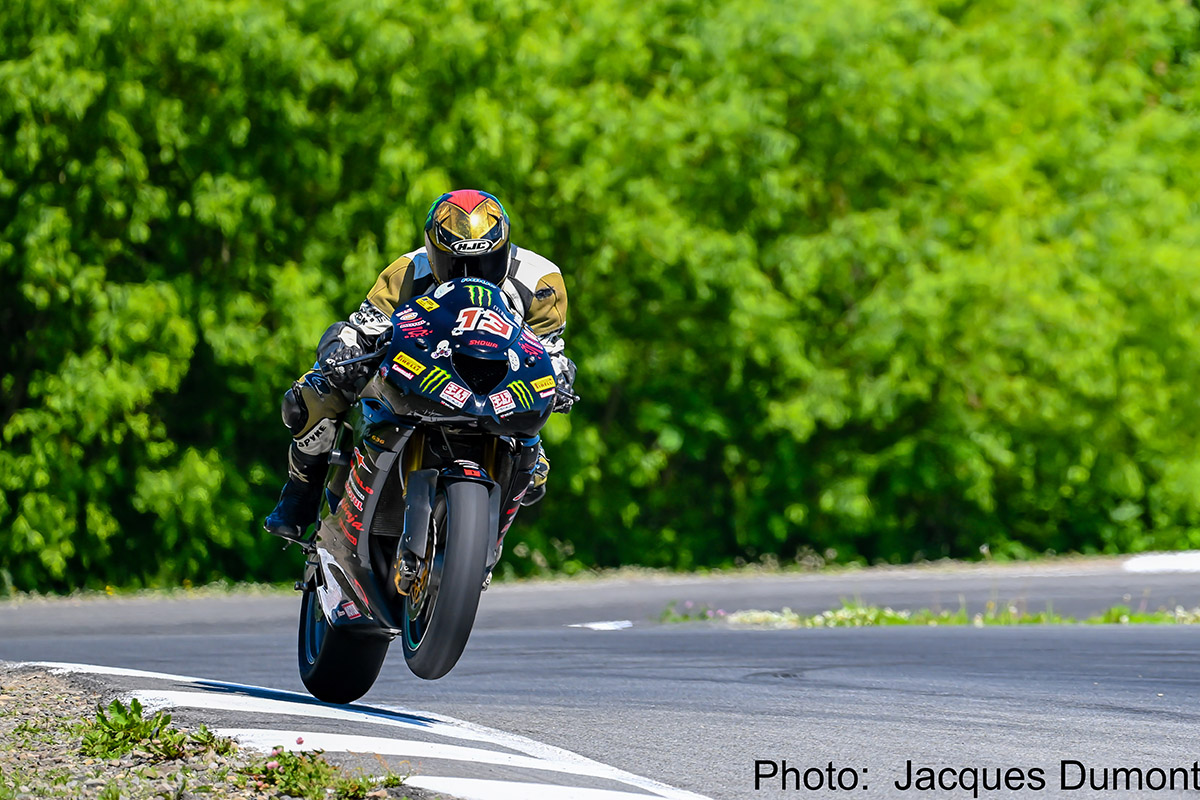
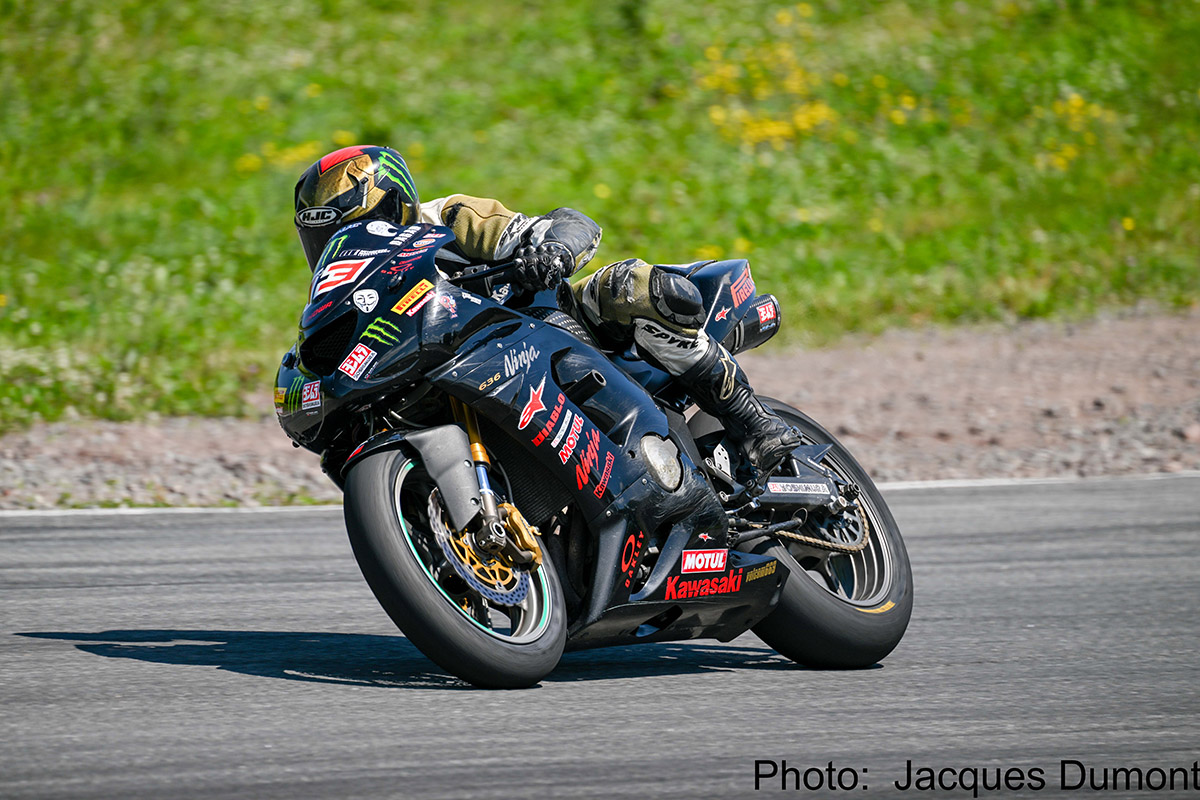
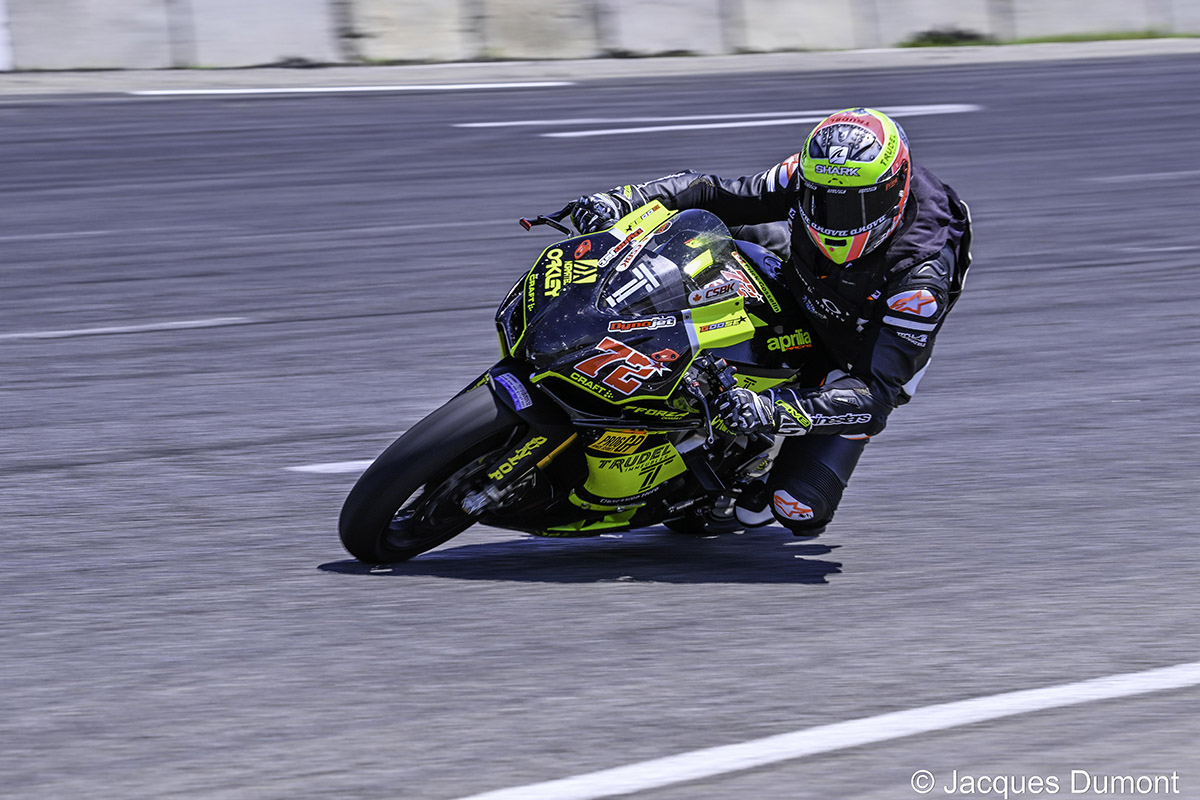
Trackside D:
Trackside E:

Trackside F:
I shot all of the photos shown here with the Nikon Z9 and the new 100-400mm lens, except the wide angle shot taken from trackside position E, which I captured with my 14mm lens, shooting at 1/1000 second, f/10, ISO 320.
It was, to say the least, an exciting day at the track!
Special thanks to Pete and the team at Autodrome Montmagny – check out this wonderful venue if you plan to visit the area – it is well worth the trip!
https://www.autodromemontmagnyspeedway.com/
Photography by Jacques Dumont