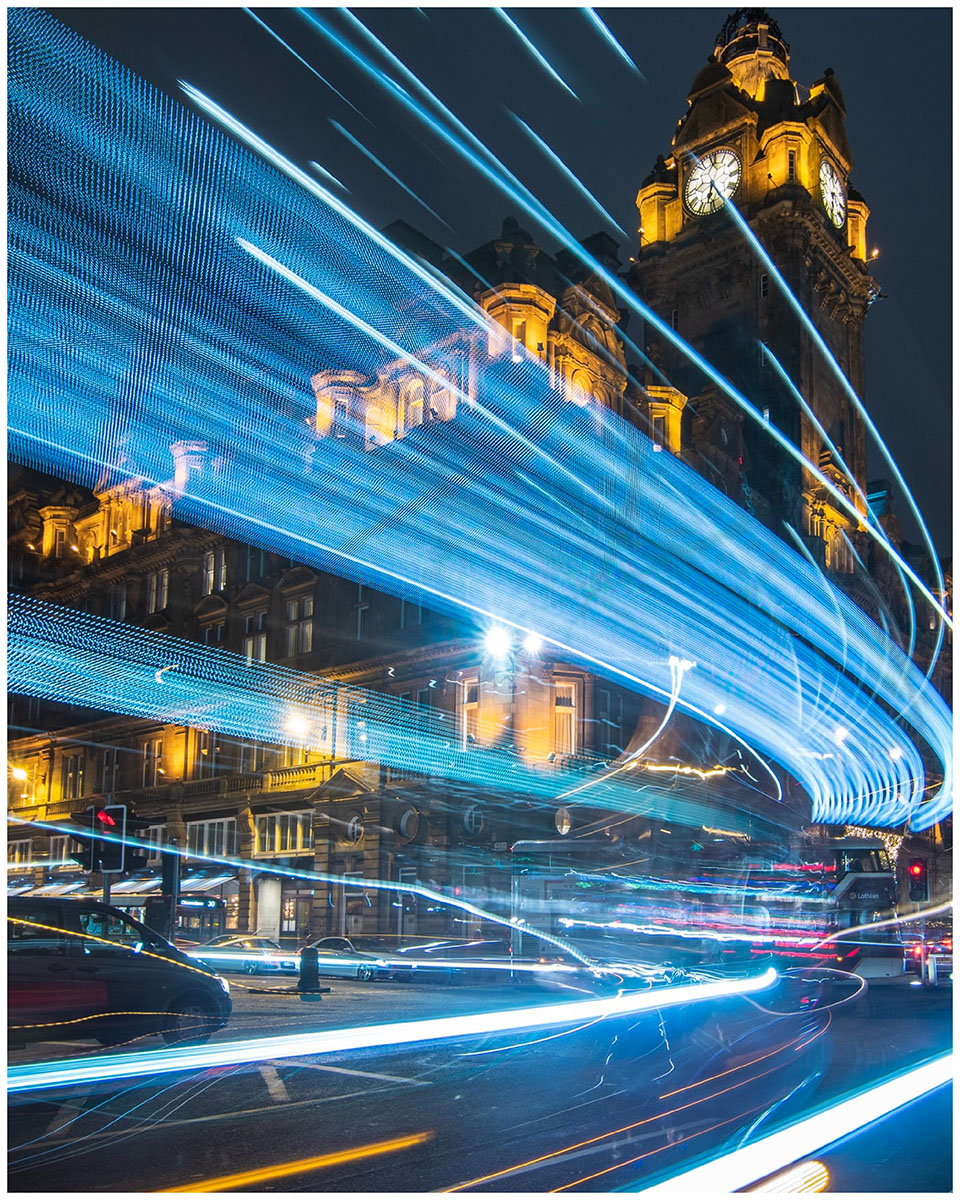
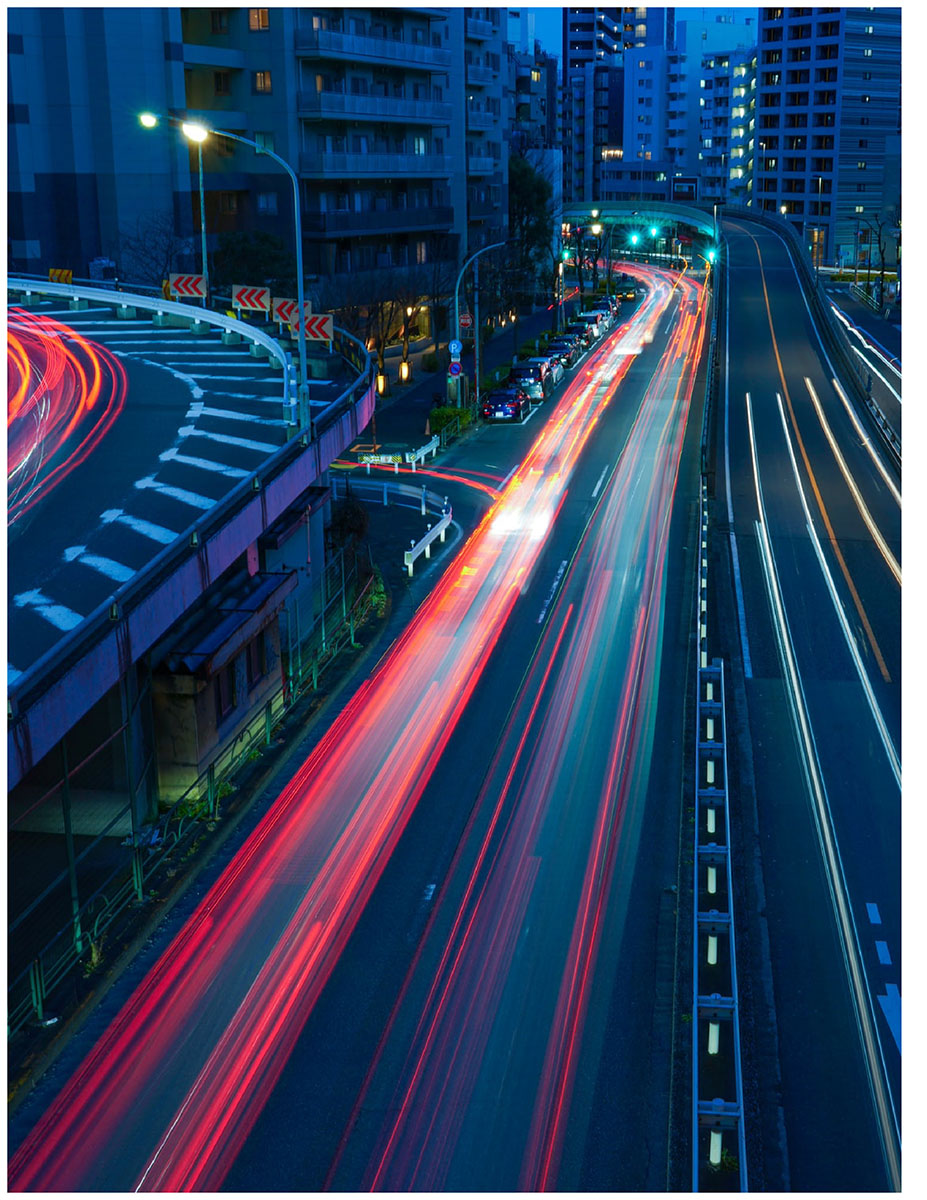
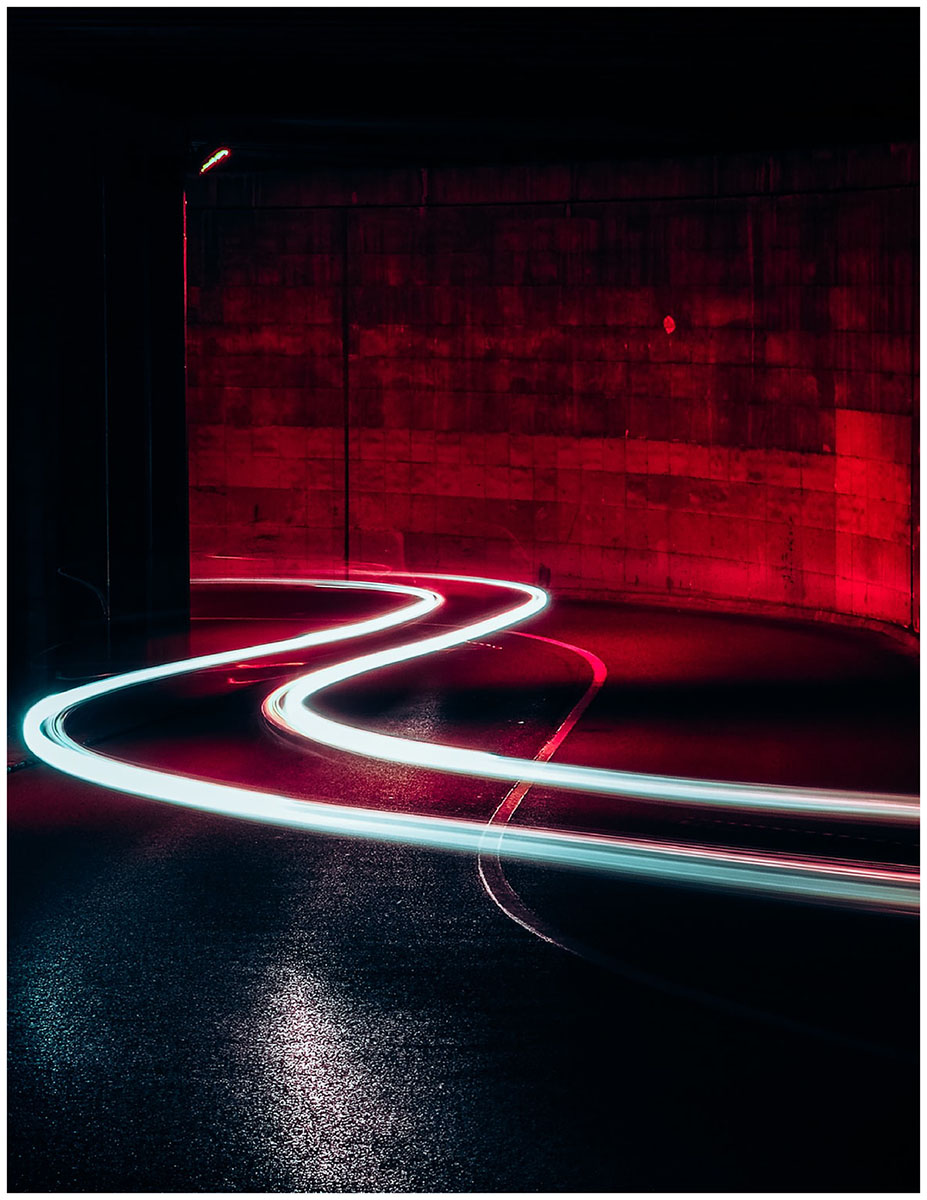
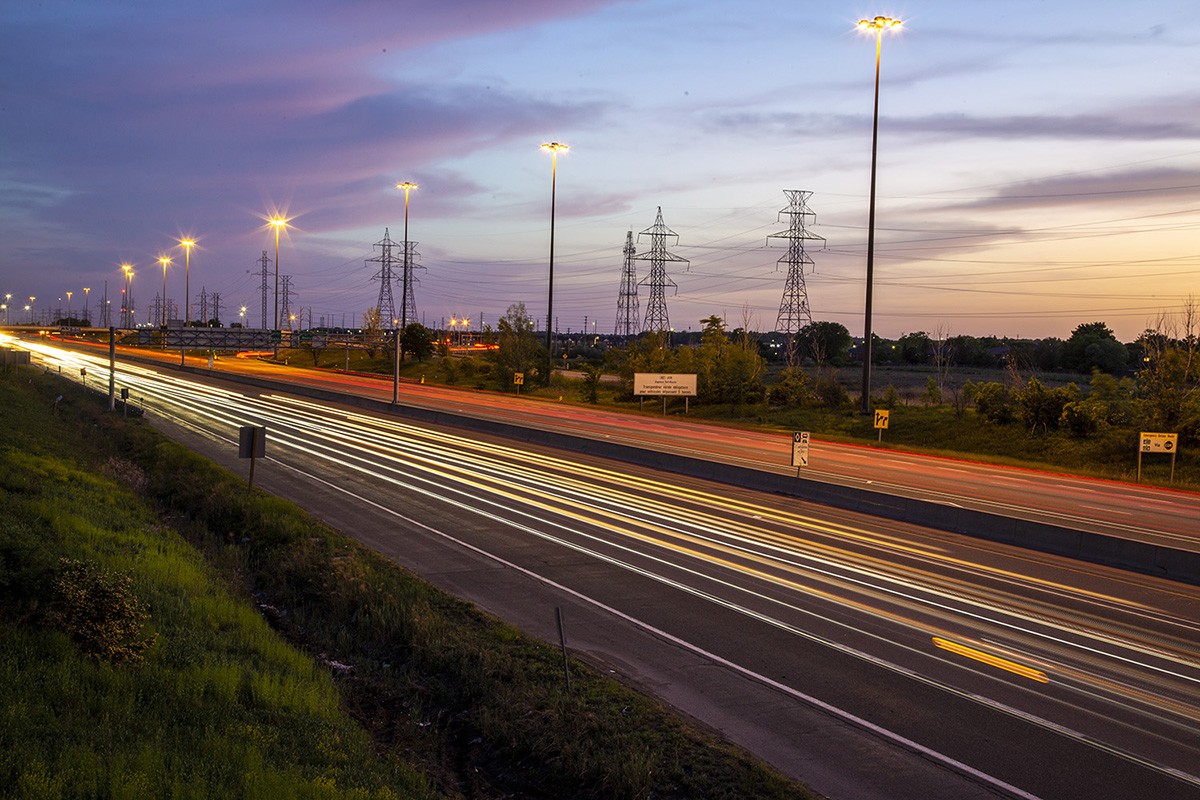
Photographing light trails is not that difficult – it’s simply a matter of finding a road with cars travelling on it, after the sun goes down. To start with, you’ll need a camera that allows you to have control over the exposure settings. Most DSLR, Mirrorless and Point & Shoot cameras will offer these settings. (You can experiment with camera phones as there are many apps available that will help you to capture light trails) But for this cheat sheet, we’ll concentrate on real cameras)
You’ll need to have a long exposure to capture the blur of lights as they pass by. Because the camera has to be stationary as the lights pass by, you’ll need the camera mounted on a tripod or securely resting on something solid. There’s a bit of experimentation involved, so have fun with it and try different settings.
Setting Up Your Shot:
- Aperture and Shutter Speed
- There are no hard & fast rule as to which settings to use, it sometimes depends on the ambient light available and the speed the cars are travelling.
- Generally, I like to shoot in manual mode, starting with a shutter setting of 10 to 20 seconds.
- Maybe I’ll try an aperture setting around f/8 to start with
- I’ll take a couple of shots and then check my histogram on the camera to see of the exposures are correct.
- If the shot is overexposed or under exposed, I’ll change the f stop up or down to get a correct histogram setting. (PS – histogram shows you the highlight and shadow area of your image)
- Quite often I will do a bracketed exposure shot of 3 shots at once, one stop over exposed and one stop under exposed
- This will allow me to experiment and have more images to choose from later on
- ISO Setting
- Choose a low ISO setting of about 100-300 ISO to minimize a grainy looking image
- RAW Files
- Shoot in a RAW file format if you can
- This will allow you to have more control of the image processing later
- Lens choice
- Any lens will work for light trails.
- Depending on the vantage point you are shooting from, wide angle lenses will give you a nice bird’s eye view
- Telephoto lenses will work well if your focus is down a long road
- Remote Shutter or Timer
- Since you want to avoid camera shake, it’s a good idea to use a remote shutter or I like to use the self timer on the camera and set it to a 2 second timer
- Either way can work well
- ND Filters
- If you want to experiment even more, you can try different Neutral Density (ND) Filters. An ND filter is basically a filter that
, placed on front of the lens toreduces the amount of light that gets into the camera. Therefore, you can have a longer exposure without over exposing the image. There are all kinds of ND filters available which offer different darkness levels.
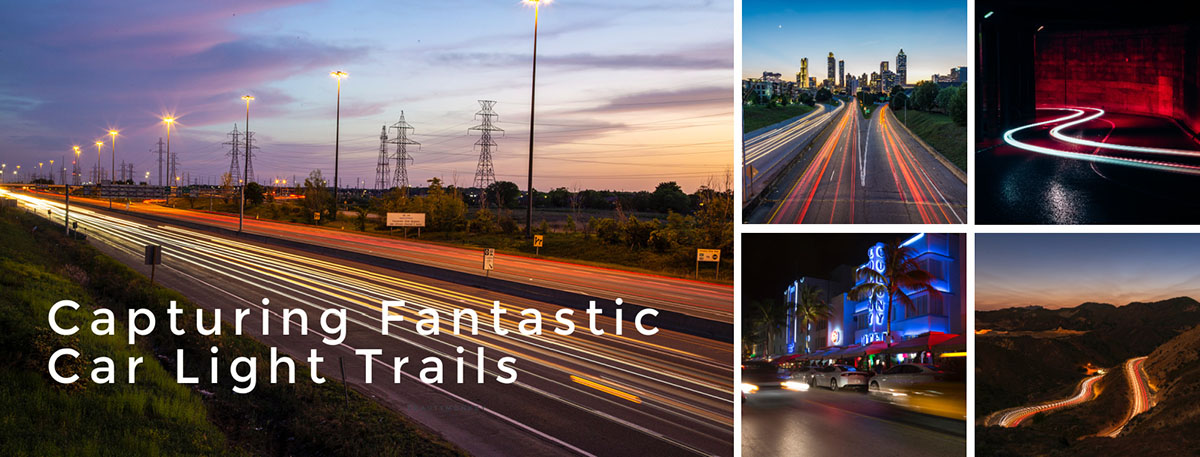
Conclusion
There is no right or wrong way to time your shot. You really have to experiment with different shutter and aperture settings. Next time you’re out at night close to the highway, do some light trail photography!
Summary
I hope you find these tips useful and welcome you to visit our website for more informative information – www.photographyadventures.ca Do you have any questions? If so, feel free to ask them in the comments section of our website. Most importantly, enjoy and experiment.
ABOUT THE AUTHOR
Peter Dulis is an award-winning photographer & large format-printing executive having worked with Canon Canada for the last 14 years. “I’ve had the chance to meet & work with some incredible people in the industry. Photography isn’t just about making photographs; it’s about choosing a life of curiosity, exploration, and wonder, immersing yourself in the world around you. Follow us on our adventures and grab your FREE e-book today – “5 Truly Amazing Places to Visit Before it’s too late!