
2021 is shaping up to be a good year for photographers to learn new skills and try out new genres. Lockdown gives us a good excuse to work on those techniques that we’ve wanted to try but haven’t had the time.
Portrait Photography
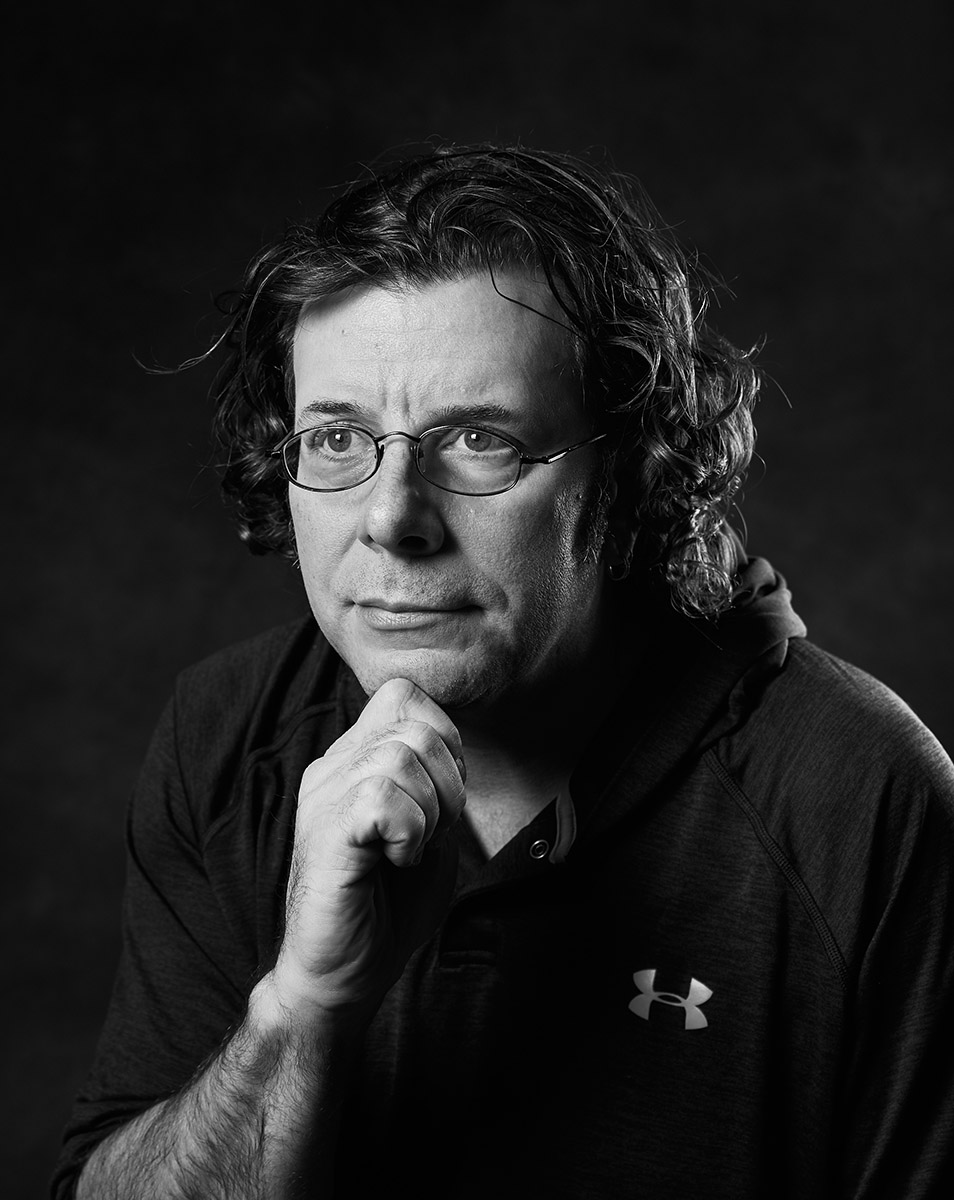
If you’re a portrait photographer, there’s lots you can work on: learning lighting, posing, processing and more. What do you since you can’t hire a model? You can recruit anyone in your home, but I highly recommend you get yourself in front of the camera. It’s time to update your own headshot!
Have fun in front of the camera. Experiment with one light, two lights or more. Do something you haven’t done before.
For these self-portraits, I used two Cactus RF-60X speedlights with Cactus softboxes – a CB-60W with grid for the key light and a CB-60S with grid for an accent light. I used a Tether Tools USB-C cable to connect my Nikon Z6 to Capture One on my laptop, so I could see what I was doing and review the results.
I wanted that classic Rembrandt light but also wanted minimal light spill on the background. The right-side accent light gives some background separation so my shirt doesn’t completely blend in.
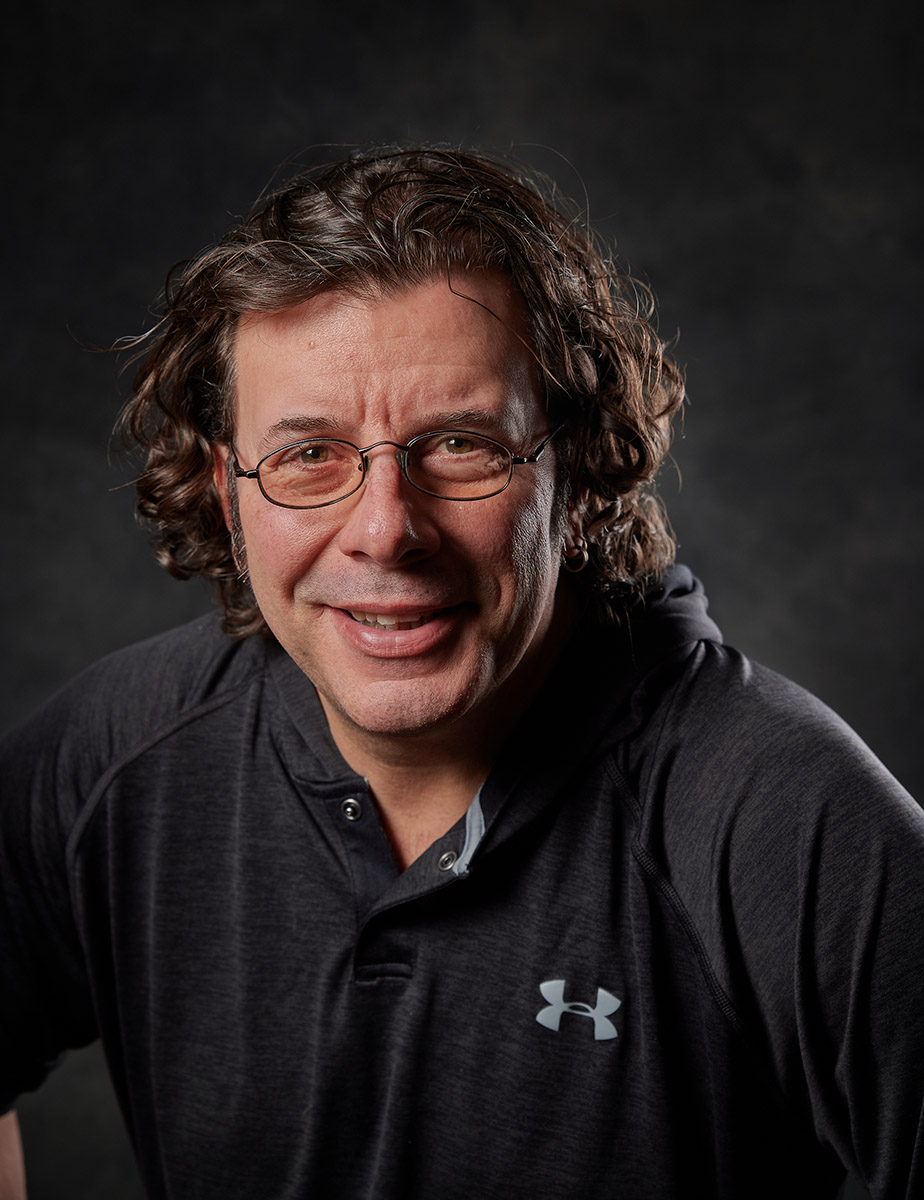
Putting yourself in front of the camera gives you a real appreciation for what our subjects normally experience. I highly recommend this for every portrait photographer.
Product Photography
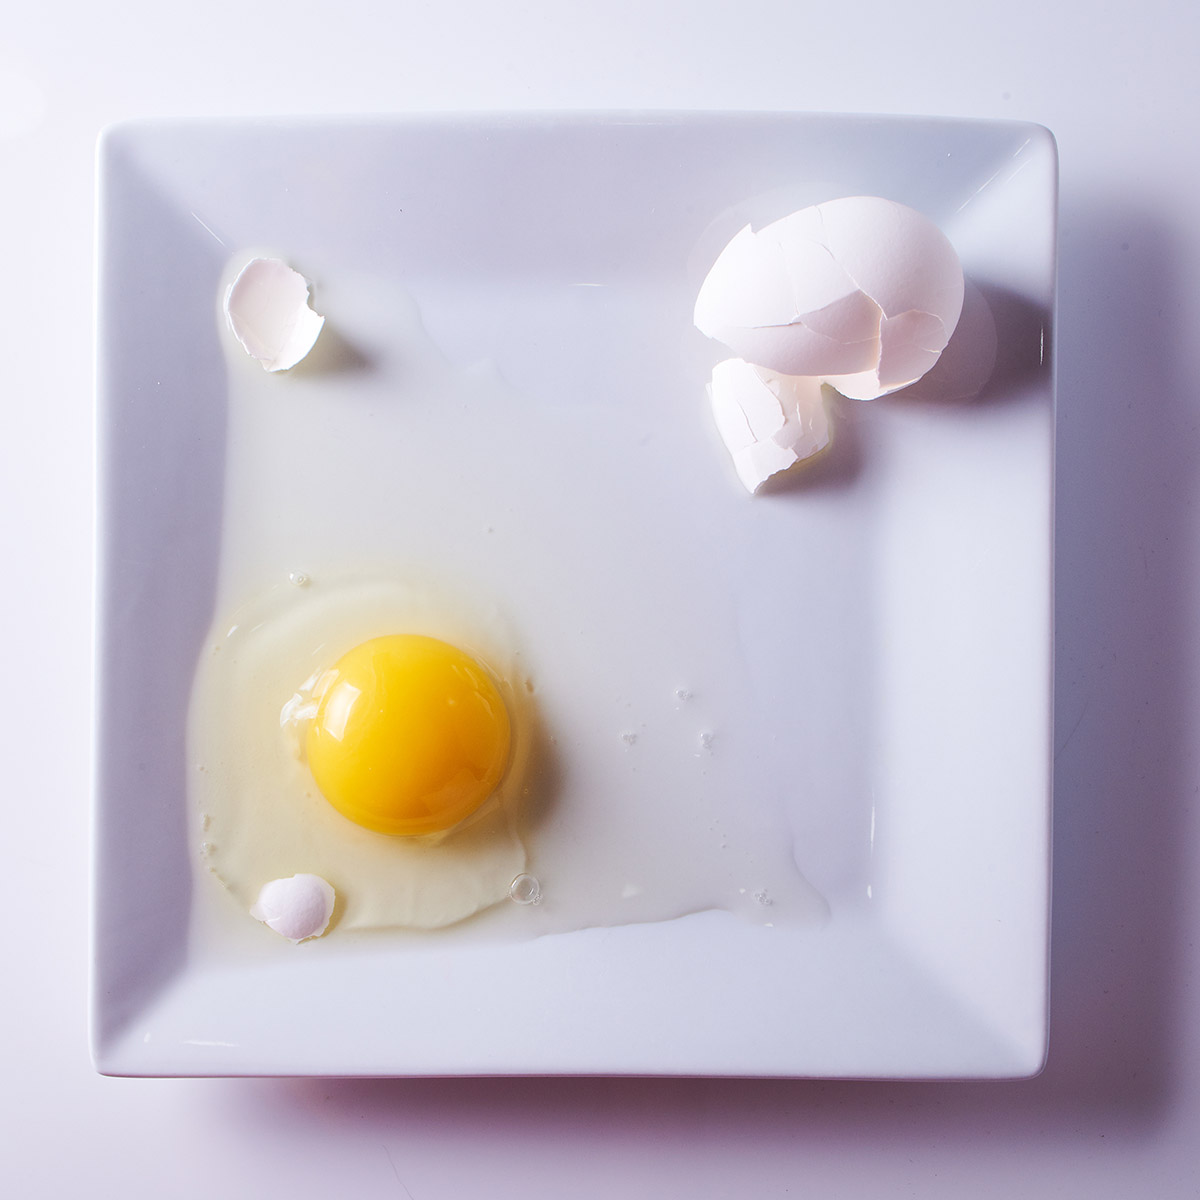
If you’re a product photographer, the world is your oyster! Or in my case, egg 😊 Remember that Instagram photo of an egg that went viral? I wanted to put my own spin on it. I started off with a high key image of an egg. Fresh from the fridge, raw, ordinary chicken egg.
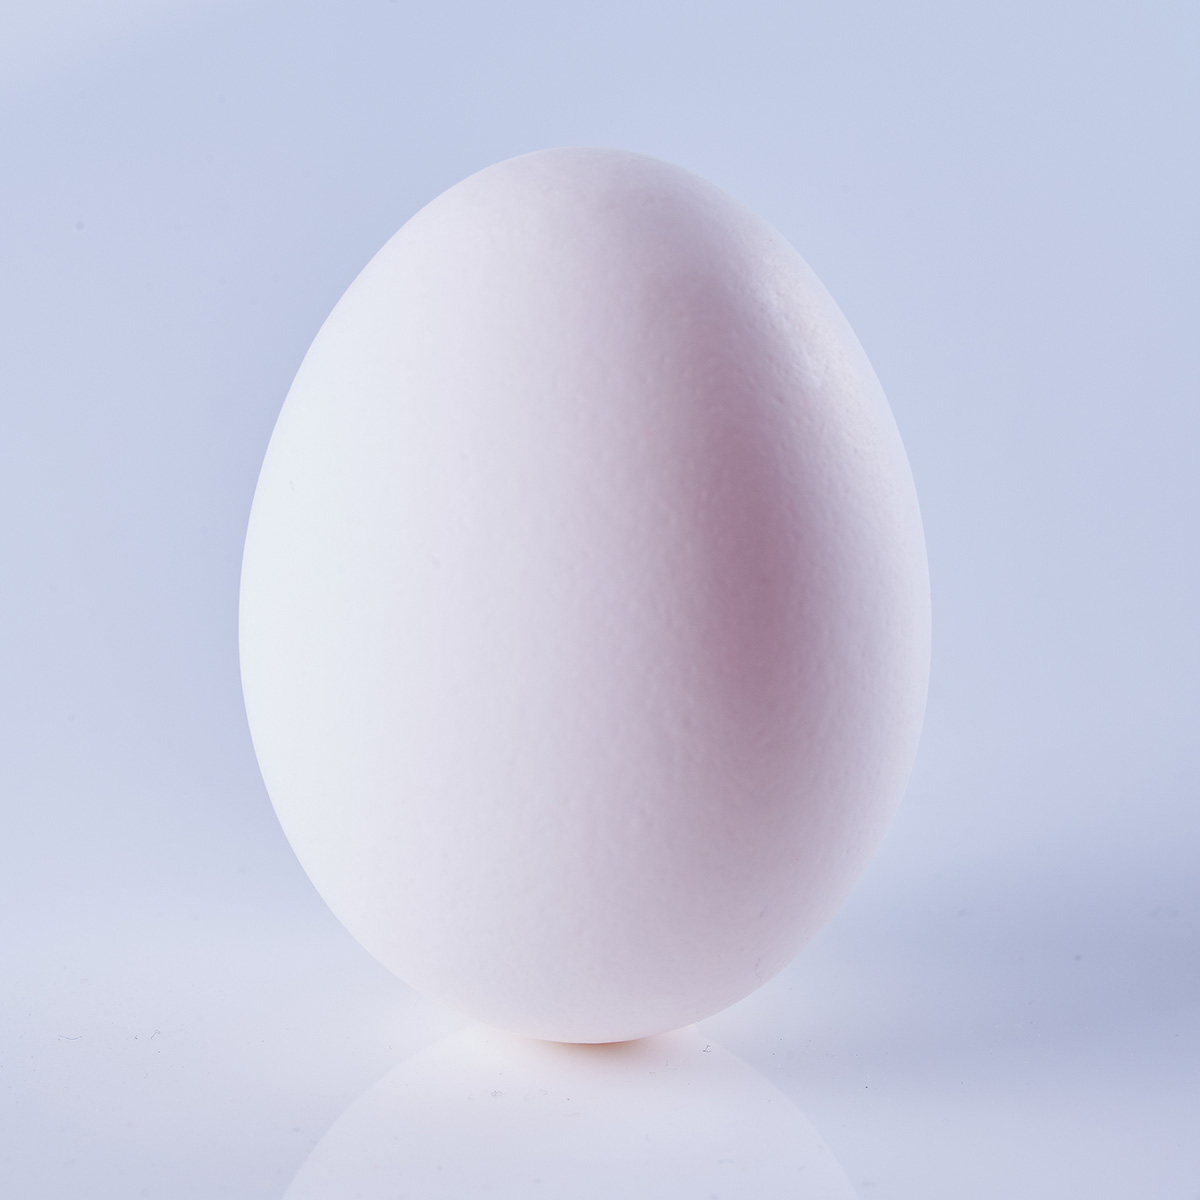
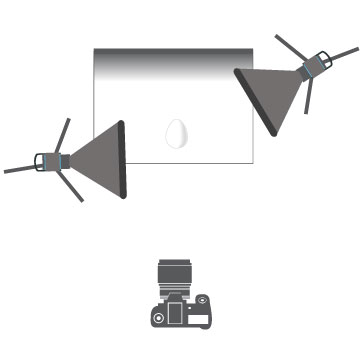
For the first image, I needed to control the light a little more. Cactus makes a diffuser mask set for their softboxes that replaces the front diffuser. I used the medium strip camera left and the narrow strip camera right. I wasn’t looking for even light and shadows across – I wanted my egg to have a little more interest. I also wanted to keep some of the texture of the shell. Who knew something as simple as a little chicken egg would be so difficult?
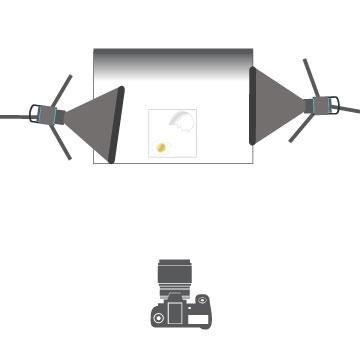
I decided to turn this into a series. Just an egg wasn’t enough. My frustration with constantly balancing that egg got the best of me. First, I dropped it on a plate. I switched the round mask out for the flat diffusion panel and lowered the power of the fill light. I rotated the strip mask and lowered it camera right. The one challenge was managing the reflections in the yolk.
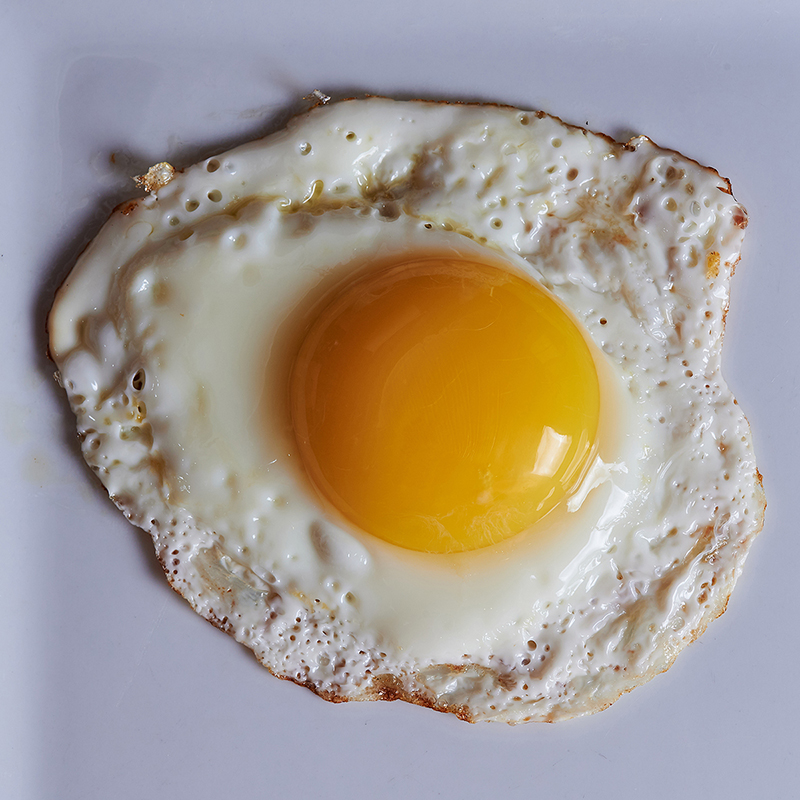
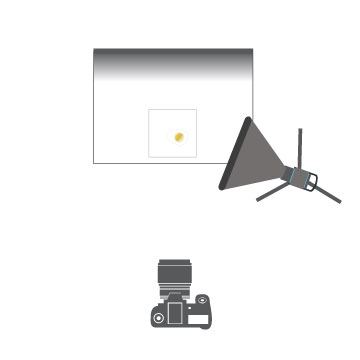
Then I turned this into a food photography session and fried that egg, sunny side up. It’s a good thing Cactus makes an external battery pack for the RF60X speedlight, as I forgot to turn off my flash while cooking the egg. I used one CB-60 softbox camera right. A simple one-light setup to create more shadow and texture.
Wildlife Photography
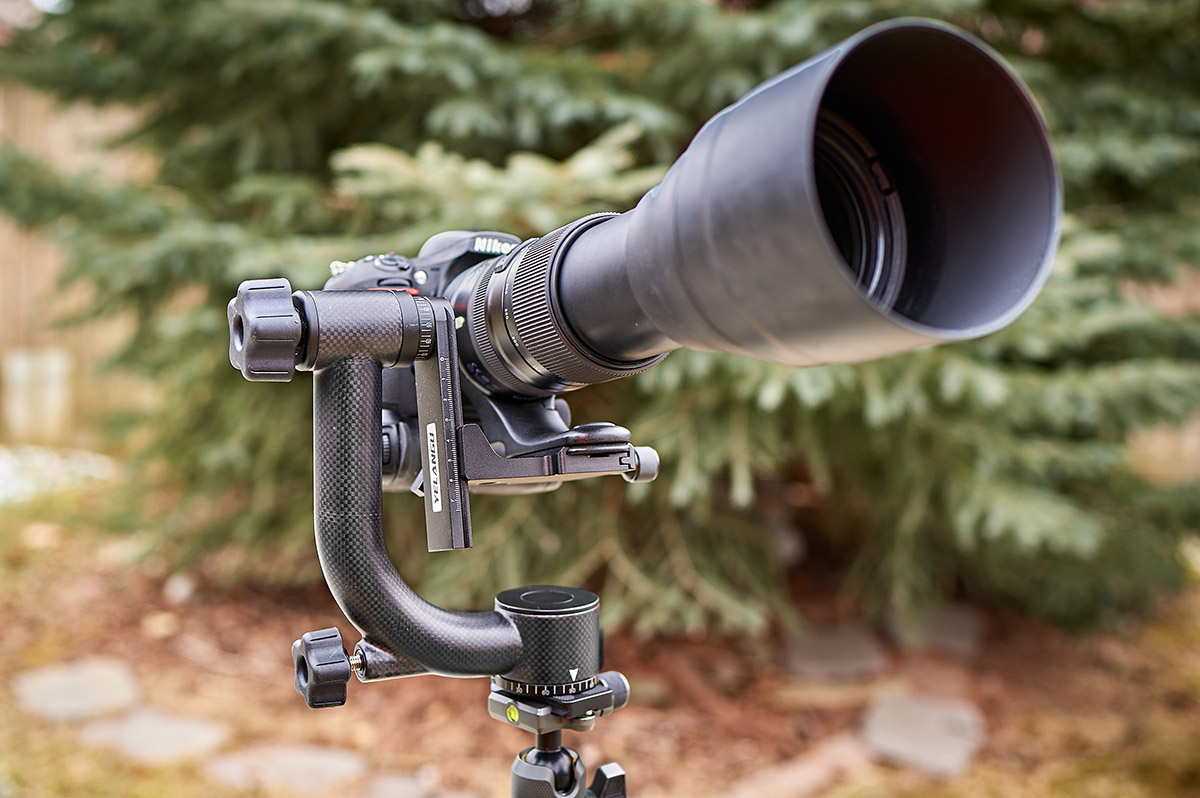
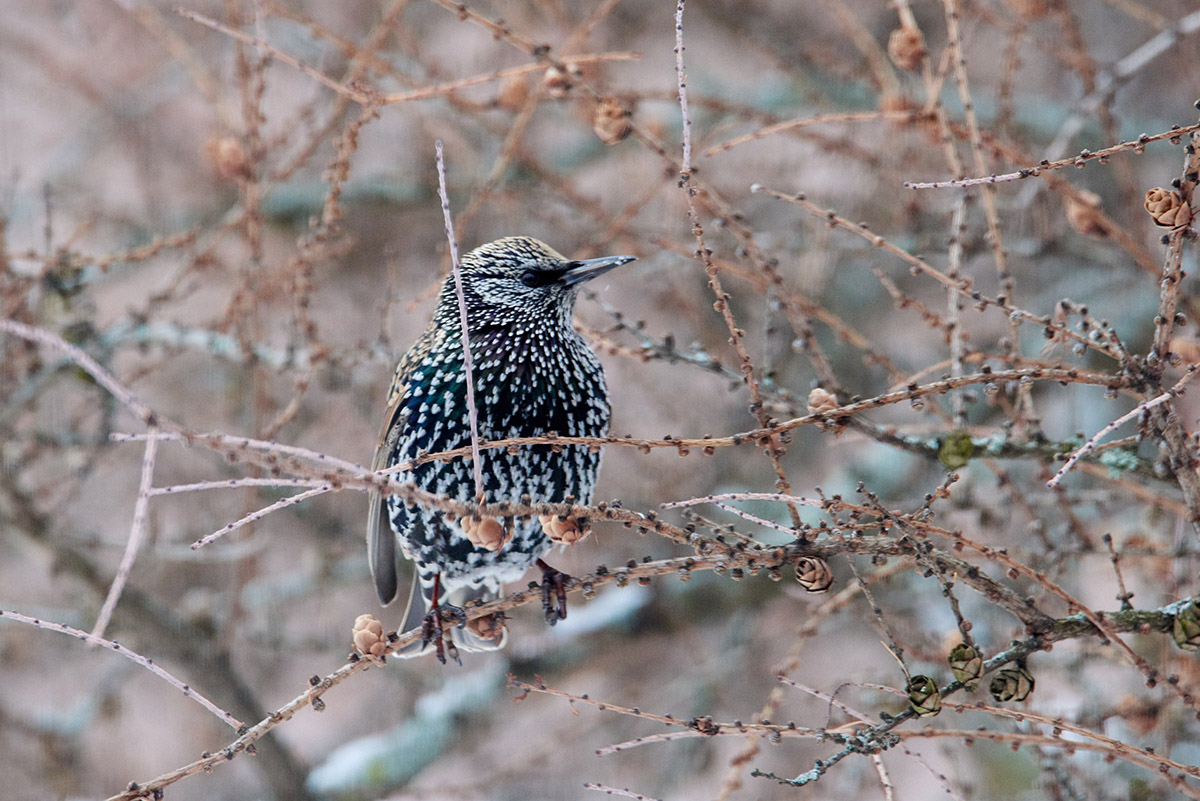
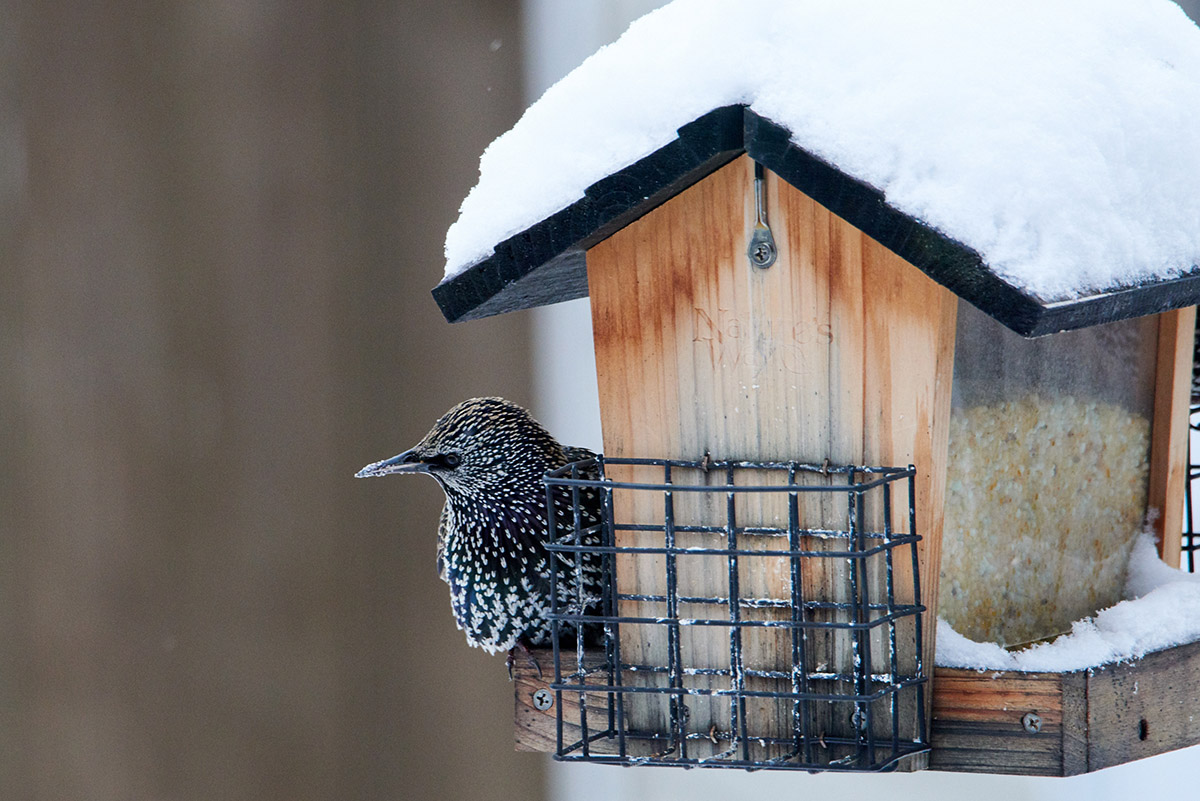
Wildlife photographers are normally socially distant, but this stay-at-home order has made things more challenging. I have a few bird feeders in my backyard, so I’ve kept my Tamron 150-600 G2 mounted to a Yelangu Carbon fibre gimbal. Normally, I would mount the gimbal to the tripod legs. However, I’ve been using my Vanguard Alta Pro 2+ for a few projects. I mounted the Quick Release plate on the bottom of the gimbal so I could swap it quickly.
Why wouldn’t I just use the ball head? Range of motion and stability. Gimbals are much smoother than ball heads, and easier to fine tune the resistance. They also don’t flop around, and when setup properly, are much safer for your gear. I simply tightened everything on the ball head and mounted the gimbal. The carbon fibre gimbal is much lighter than similar aluminum gimbal heads, so I wasn’t over the weight limit of the ball head.
Light Painting
Light painting is another socially-acceptable technique that you can play with. You can light paint with very little gear. A solid tripod, a shutter release such as the Hahnel HR280 Pro and a light source.
You could use a flashlight, but why not supercharge your light painting with a Magilight? This innovative light painting stick features RGB LEDs and lets you create patterns and shapes with light.
Magilight is a great tool for mind-blowing portrait photography! Check out this video on how to add angel wings or other optical effects to a portrait.
Product photographers can use Magilight to add effects or to illuminate their products. Watch this video on how Magilight was used for different images of a motorcycle:
I used tips from that video to create a product image of a broncolor Siros L monolight. You can set a long shutter, but I prefer to use bulb mode on camera. I mixed strobe light (I set rear-curtain sync to fire my strobe to light the Siros L) with the Magilight for the background. I played around with different movements and patterns to create that unique background. The best thing is it’s all done in camera – no Photoshop required.
For something even more different, you will find the optional Roller attachment a lot of fun. The Roller lets you create “planets” and other circular shapes. This video shows how easy it to use:
One of my favourite features is that you can create your own artwork and copy it to the included micro-SD card for custom work. There are a lot of really cool preinstalled images, or you can use solid colours, but for creating something that is yours, you can copy a BMP image to the micro-SD card. I’ve used it to copy logos and graphic elements to the Magilight, including the Canadian flag. This video explains how to use Photoshop to format your own images for use with Roller
Cellphone Videography / VLOGging
One of my favourite setups for getting stable footage with my cellphone is this Yelangu Cellphone Rig. Because you hold the rig with two hands, it’s far more stable for video. It’s a lightweight and solid kit that holds your phone securely and helps steady your camera for cleaner footage.
This cellphone rig includes two coldshoes for accessories. I mount a Yelangu Mic and LED video light on mine.
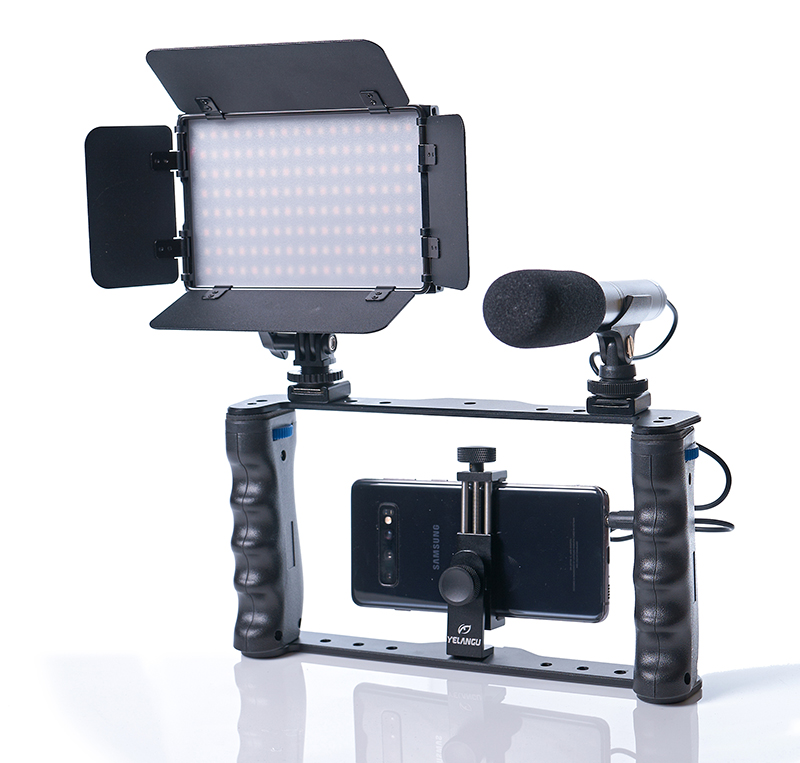
You can mount a plate on the bottom to attach it to your tripod for Vlogging or use the camera mount itself just on a tripod (it has a standard ¼-20 thread on the bottom).
Videography
For unique video footage, you can’t beat the Yelangu L4X Motorized Dolly. It’s strong enough to move a mirrorless camera or small DSLR with lens. Use it move your camera smoothly around almost any flat surface. The included remote gives you hands free control over speed and direction. The wheel angle is adjustable so you can “drive” your camera around objects.
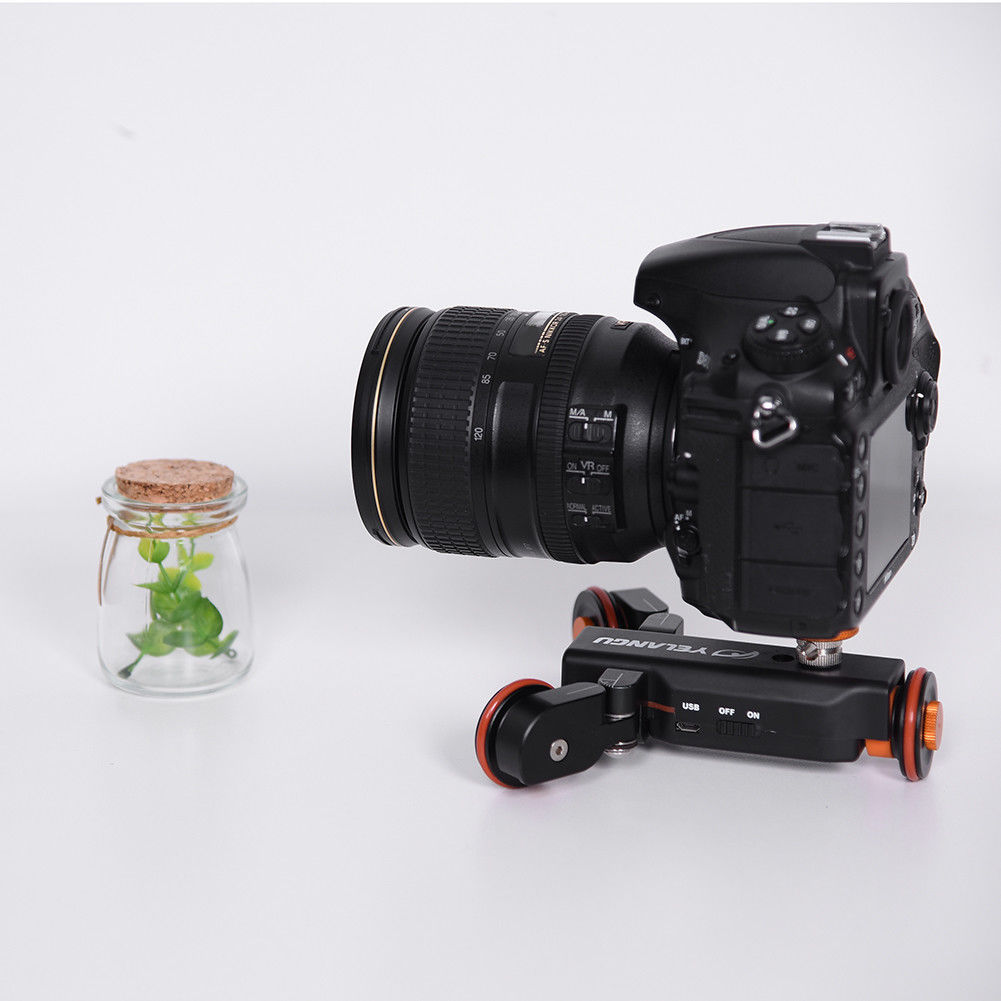
This video show you exactly how it works:
There are lots of new things to try while you’re at home. I’m going to keep working on my Egg Project – I want to see how many ways I can light and photograph one egg! Read back issues of PHOTONews for more great ideas. Feel free to share on our Facebook page and Flickr page.
About the Author – Will Prentice (www.capturaphoto.ca) is a professional photographer based out of Whitby, Ontario and Brand Specialist – Lighting for Amplis.


Thanks for all these info
You’re welcome, Phillippe.
I’ll have more suggestions for next issue.
Have fun creating your images!
Will