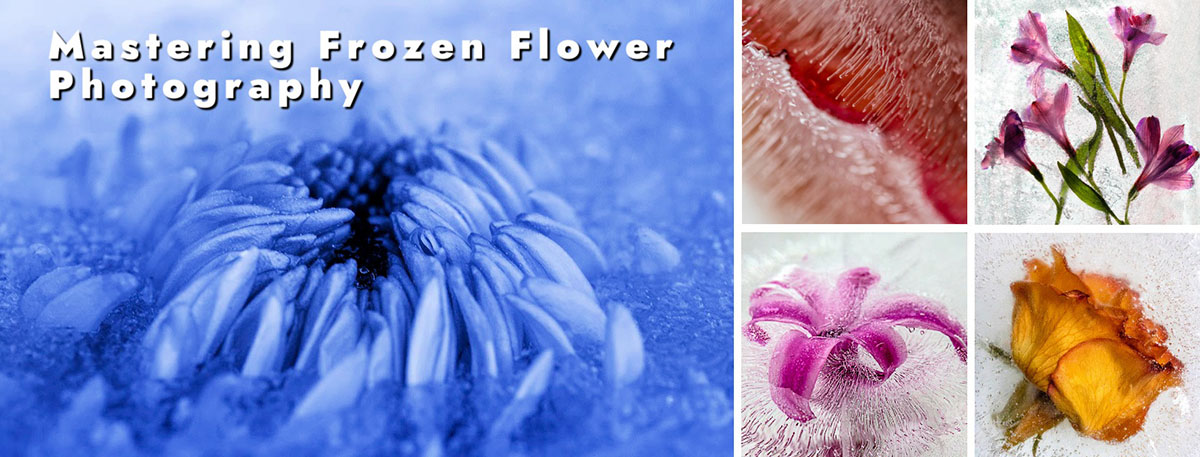
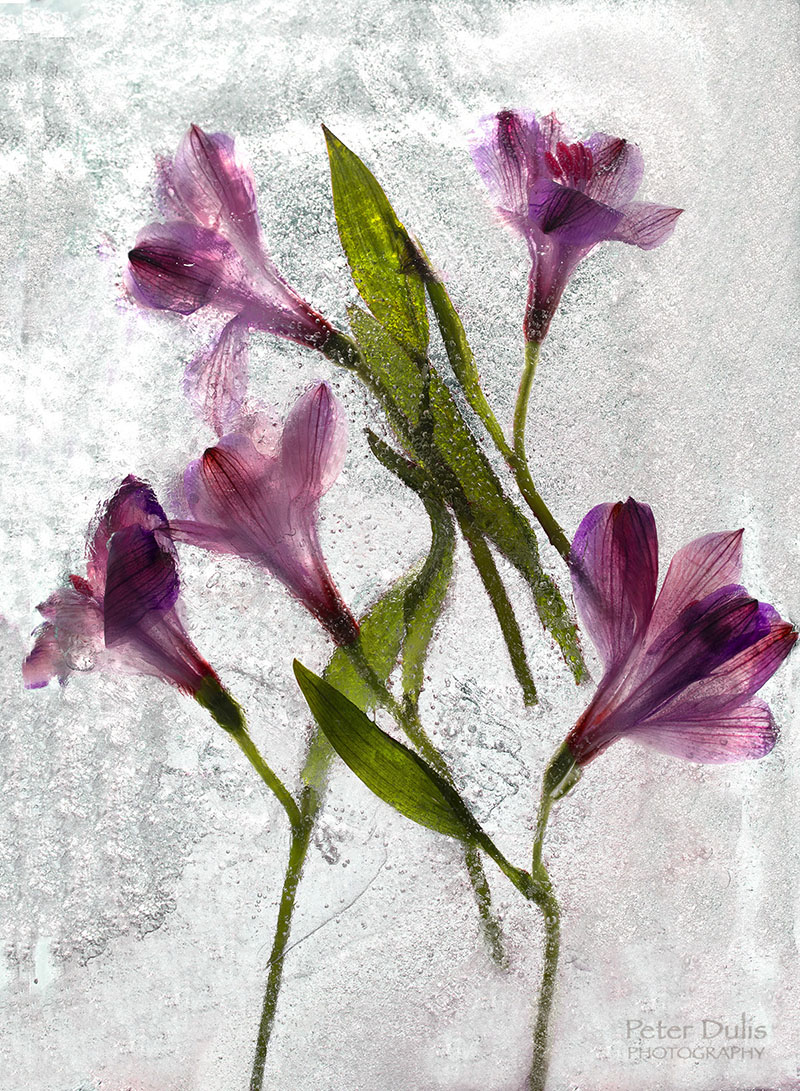
This is my fourth attempt at perfecting “Frozen Flower Photography.” It’s a highly experimental process—you never quite know what results you’ll get. I’ve always been fascinated by it because it blends science, patience, and a touch of magic. Whether you’re shooting outdoors or using a DIY freezer setup, here are some practical tips and creative techniques to help you capture truly striking images. Have fun!
1. Start With the Right Flowers
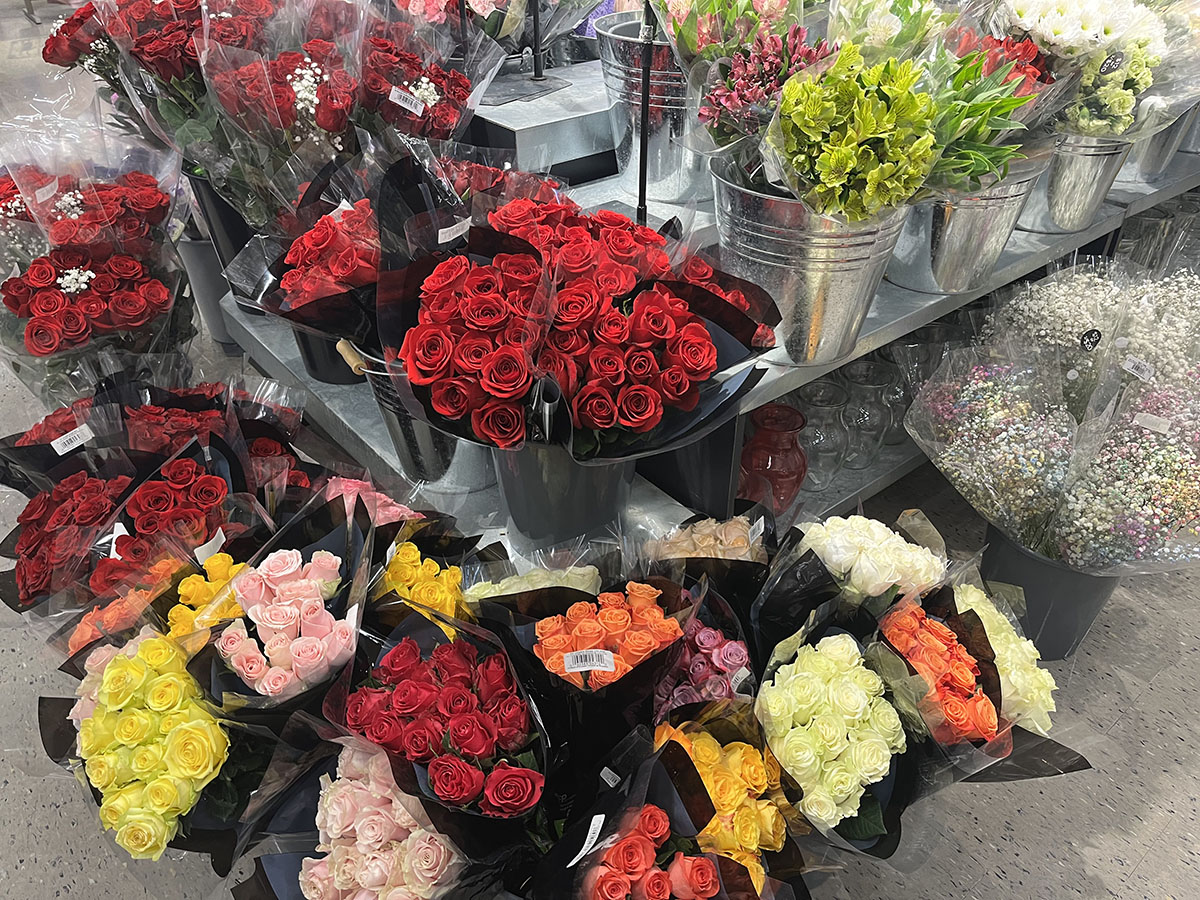
Not all flowers freeze the same way. I personally had better results with larger flowers, which tend to show more form and structure in the ice. You may consider roses, tulips, pansies, daisies, orchids, or even baby’s breath. I generally enjoy experimenting with different blossoms, especially ones with strong shapes and colour that hold up well when frozen. Look for fresh blooms with firm petals (older flowers wilt fast once frozen)
- Prep tip: trim stems short and remove damaged petals before freezing. You can also remove any excess leaves or small petals if you want to focus on certain parts of the flower.
2. Play With Composition When Arranging Flowers
Before freezing, decide on your final look. Face blooms toward the camera for symmetry. Angle stems diagonally for dynamic movement. Let petals touch the surface for delicate frost patterns. Considerations might include colour, structure, and texture. When arranging flowers, think about their shape and size.
- Freezing tip: Arrange a single bloom for minimalism. Try multiple flowers layered at different depths. Floating petals create a nice abstract effect.
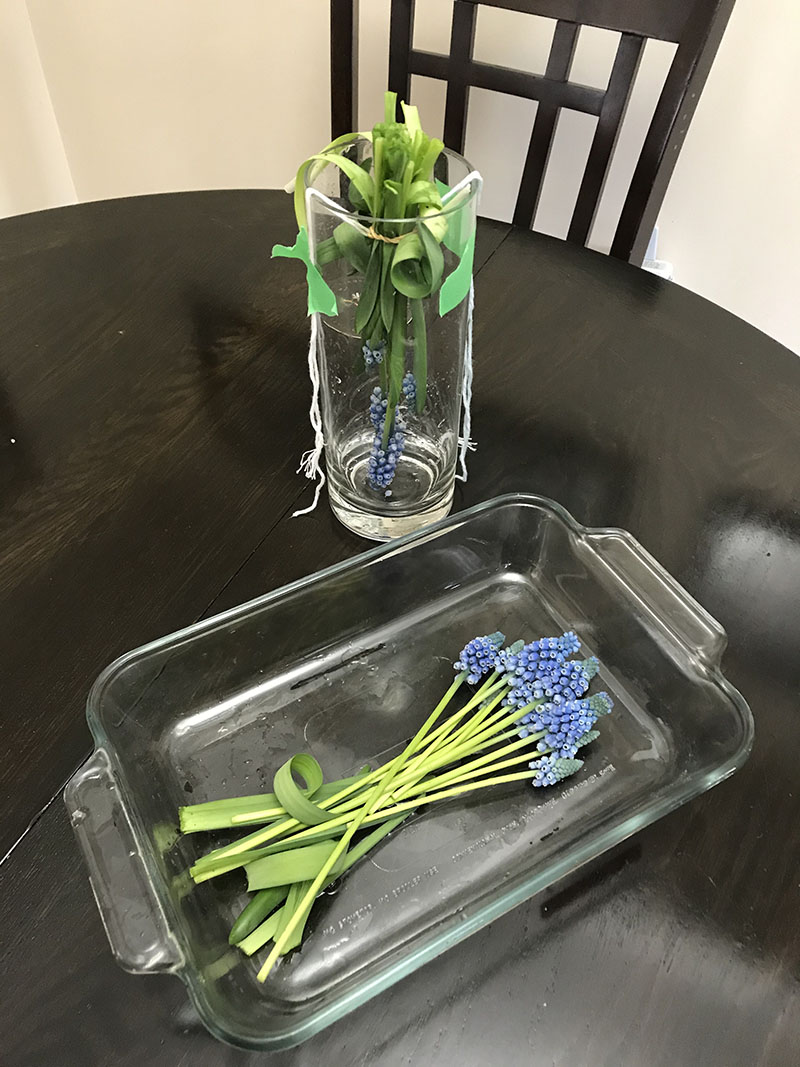
3. Control the Freeze (DIY Ice Blocks)
For clean, clear ice use distilled water (it reduces cloudiness) Pour a thin layer of water first and partially freeze the ice. Place the flower on the ice and then slowly add more water in stages as it freezes. Make sure to keep the flower centered. This will anchor your flower instead of floating around the pan. Sometimes I tape the flower stem down to the container to keep it in place. Be careful not to add too much water at first, as the flowers may float.
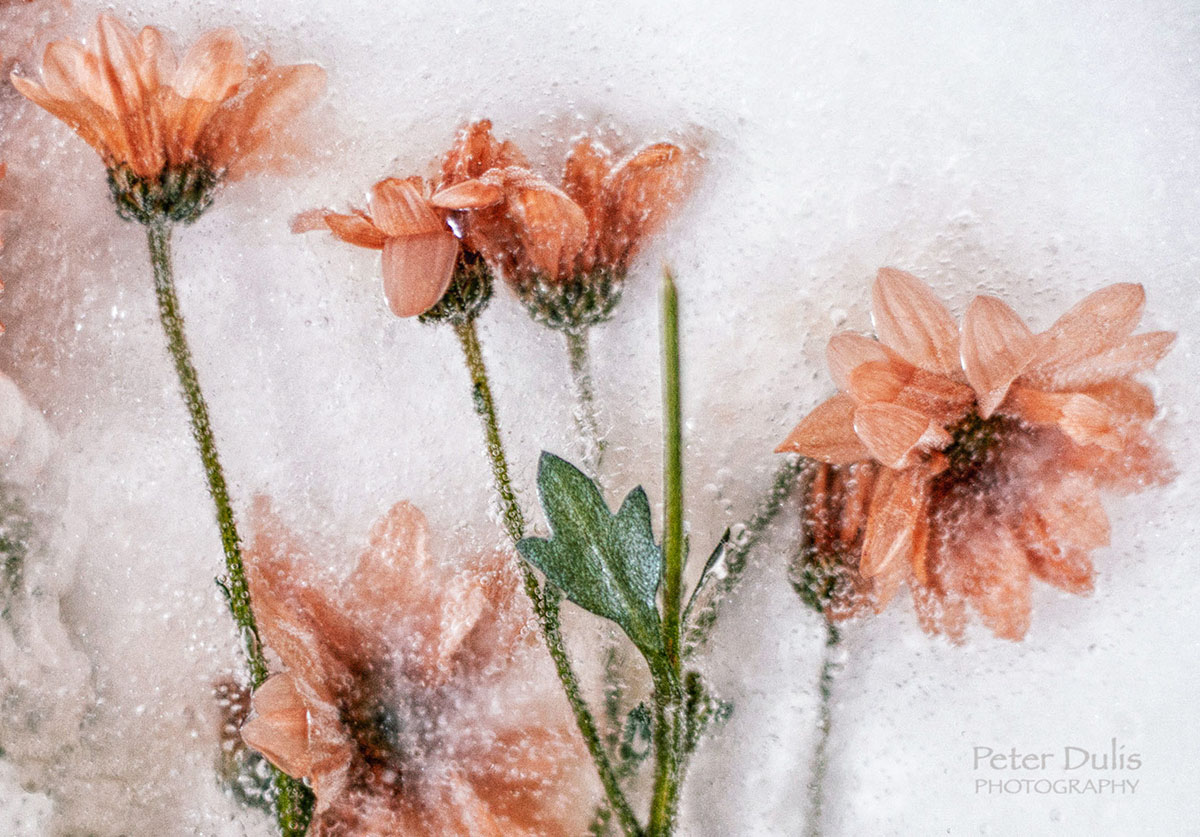
- Pro tip: freezing slowly creates clearer ice; rapid freezing traps bubbles.
- Freeze Time: Freezing your flowers completely can take up to 24 hrs or more, depending on the size of your container. Freeze it the day before you want to photograph it. Sometimes I use the garage outside as my fridge in winter.
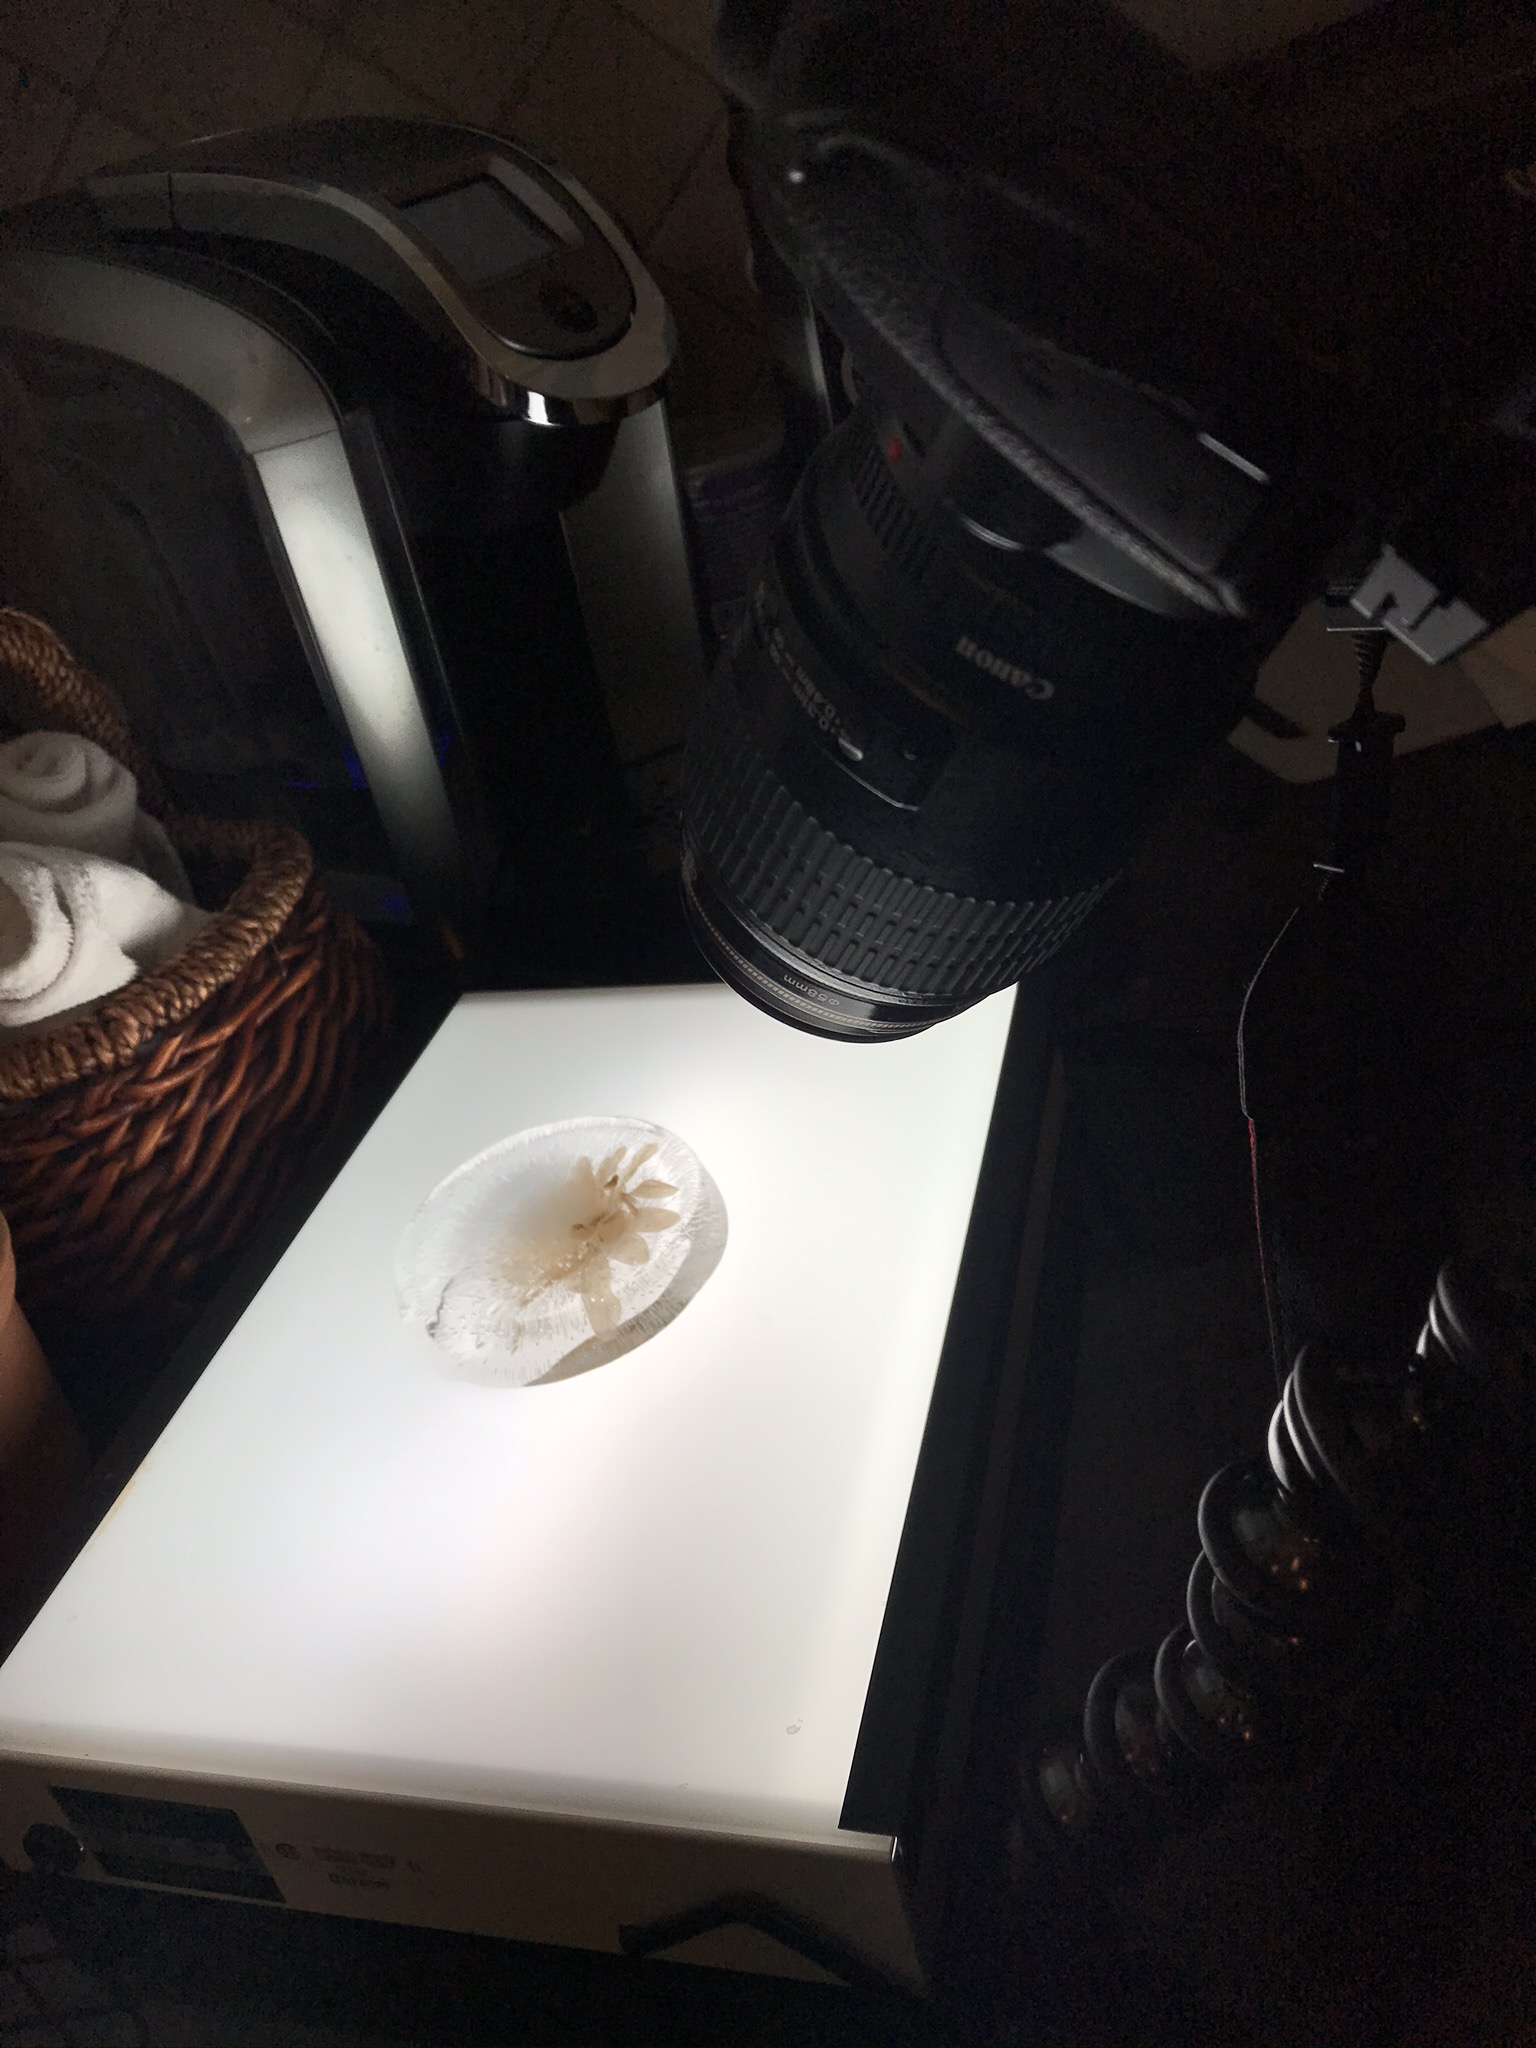
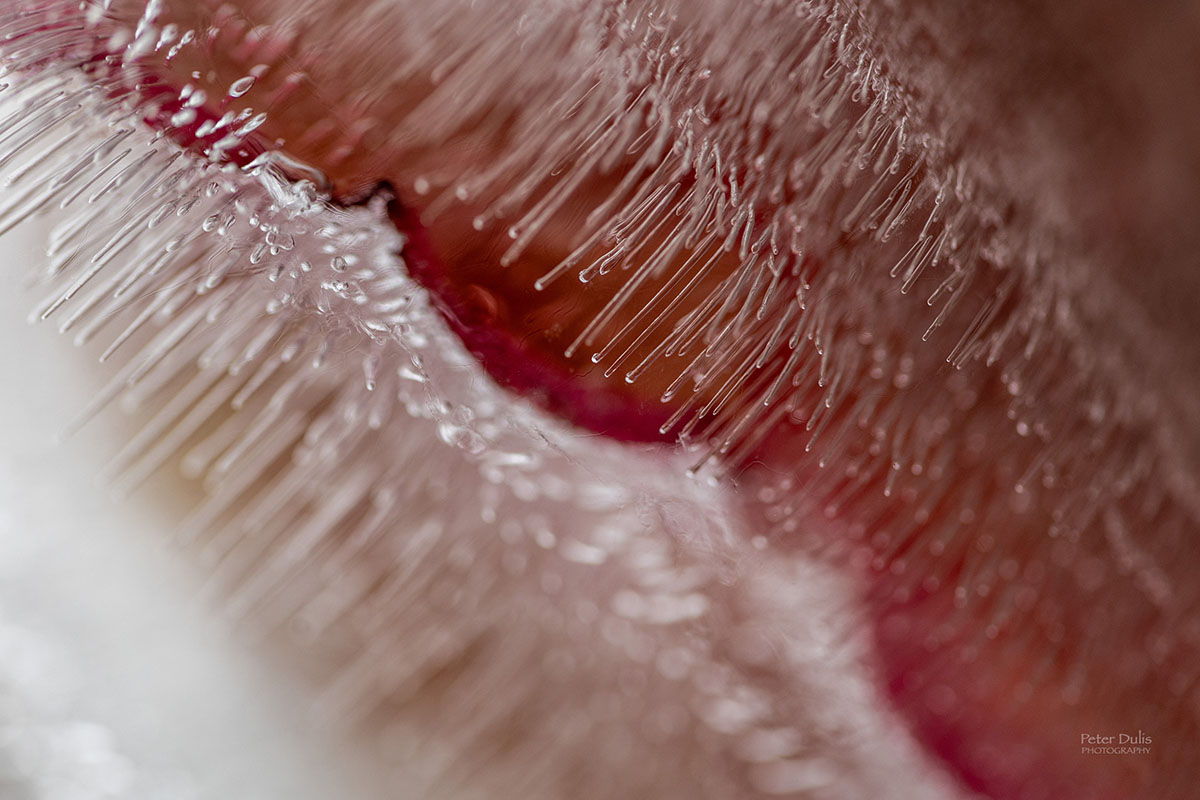
4. Light Is Everything
Ice is basically a natural light modifier. I like to use Backlighting to reveal texture, cracks, and bubbles. Sometimes Side lighting enhances depth and structure, so I use a small LED light for side lighting. Avoid harsh direct light unless you want bold contrast. I also use a home-made light box made from a cardboard box and white linen cloth which acts as a soft light box with lights positioned outside the box.
- ProTip: Natural window light works beautifully. A small reflector or white card can lift shadows.
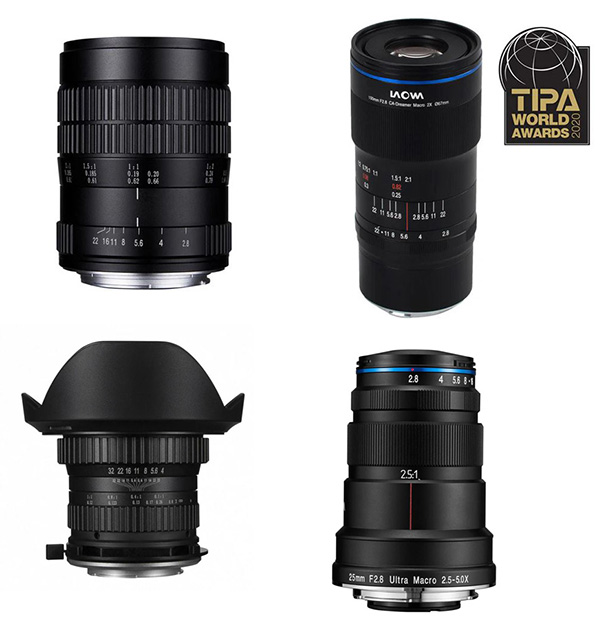
5. Camera & Lens Choices
For this frozen flower project, I like to use my 100mm Macro lens to capture frost detail. A shallow depth of field is often what I use to blur the background and focus the viewer’s attention on the flowers and ice, enhancing their delicate appearance. But you can also use an Aperture: f/8–f/16 for depth and clarity. A Tripod is essential to capture the details. I like to use a small flexible tripod with manual focusing on the camera to hone in on the intricacies of the frozen flower.
- ProTip: keep ISO low to preserve smooth tones in ice
- Focus manually—autofocus can struggle with reflective ice.
6. Background Matters
Keep it simple: Black or dark backgrounds give you high drama. White or pastel background gives you an airy, fine-art look. A textured surface (wood, stone) adds warmth and contrast. It’s what you like!
- ProTip: Distance the background to avoid distractions and unwanted reflections.

7. Editing Your Images
I edit in my images in Photoshop, but the slider settings in Lightroom are essentially the same. Adjust contrast & clarity to bring out ice textures. Enhance colours: slightly boost vibrancy for frozen petals. Sharpen details for frost patterns. Optionally, desaturate slightly for a soft, ethereal look. There’s no right or wrong!
Conclusion
Now that you’ve grasped some basic techniques, feel free to experiment with various combinations of flowers, containers, backgrounds, and more. With just a few simple utensils from the kitchen, you can quickly start crafting beautiful works of art. Let your creativity flow and enjoy the process!
The Finishing Touch
For this “Frozen Flower” collection, I decided to use the Hahnemühle Bamboo Gloss Baryta paper. The natural white paper comes in a pleasant, warm shade of white and contains no optical brighteners. Combined with its lightly textured surface, Hahnemühle Bamboo Gloss Baryta offers a natural-looking aesthetic with the look and feel of an analogue baryta paper. The high-gloss premium inkjet coating delivers outstanding print results I loved the results – why not give it a try!
Discussed Items
ABOUT THE AUTHOR

Peter Dulis is a Canadian photographer and visual storyteller living in Toronto, Ontario. His work has been published in a number of magazines such as Graphic Arts Magazine, Visual Wilderness, Luminous Landscape, Photo News and has been recognized for photography excellence. Peter offers photo workshops in southern Ontario and can be reached at info@photographyAdventures.ca
Peter shares many of his tips and techniques in his monthly newsletter – PhotographyAdventures.ca and PeterDulisPhotography.com