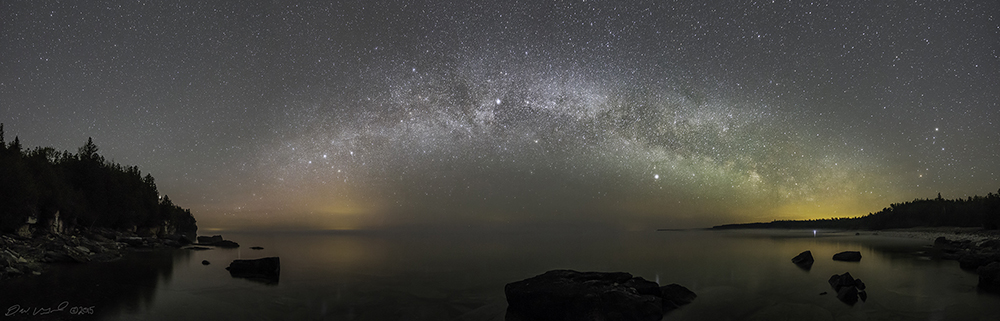
Truly dark skies are found in fewer and fewer locations on Earth.
That is one of the reasons that I have become a Landscape Astrophotographer.
Photographing the beauty of our night skies gives me the chance to share the beauty with people. Also, it helps to raise awareness to the light pollution that is slowly destroying our view of the heavens above. Unfortunately, this means that I have to travel away from the lights of the “Big Cities” to escape the star-killing light pollution. Lucky for me that some of the darkest skies in Canada are also some of its most iconic locations for Daytime Landscape Photography.
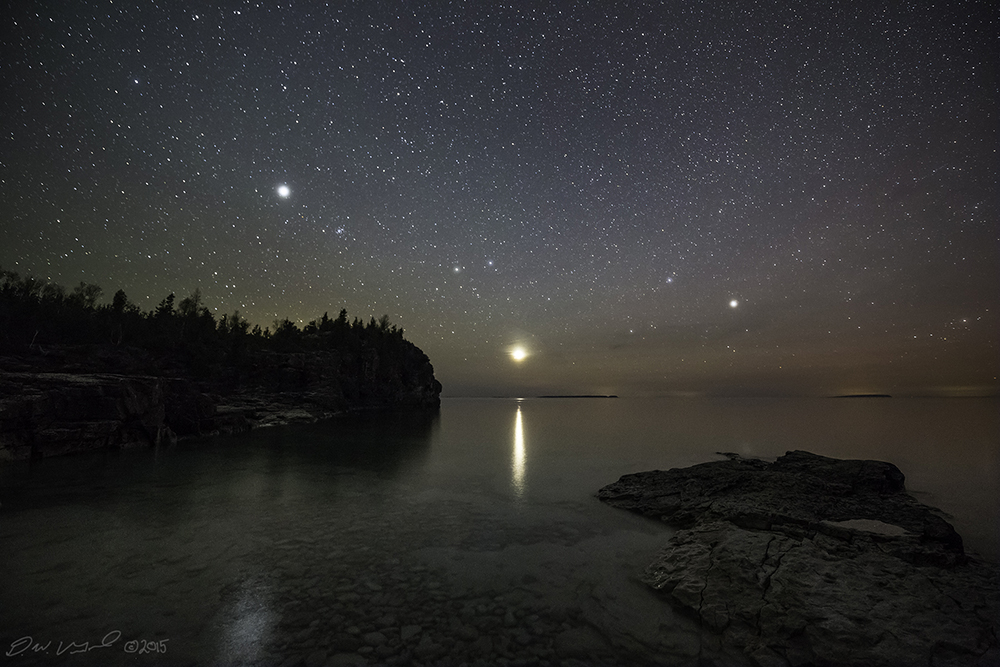

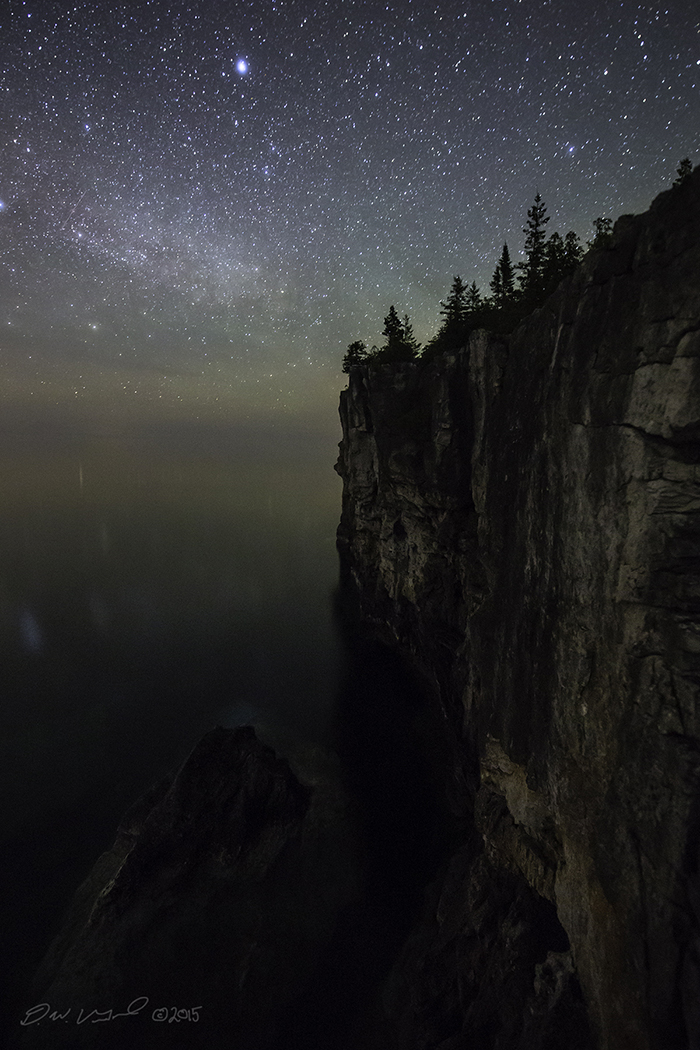
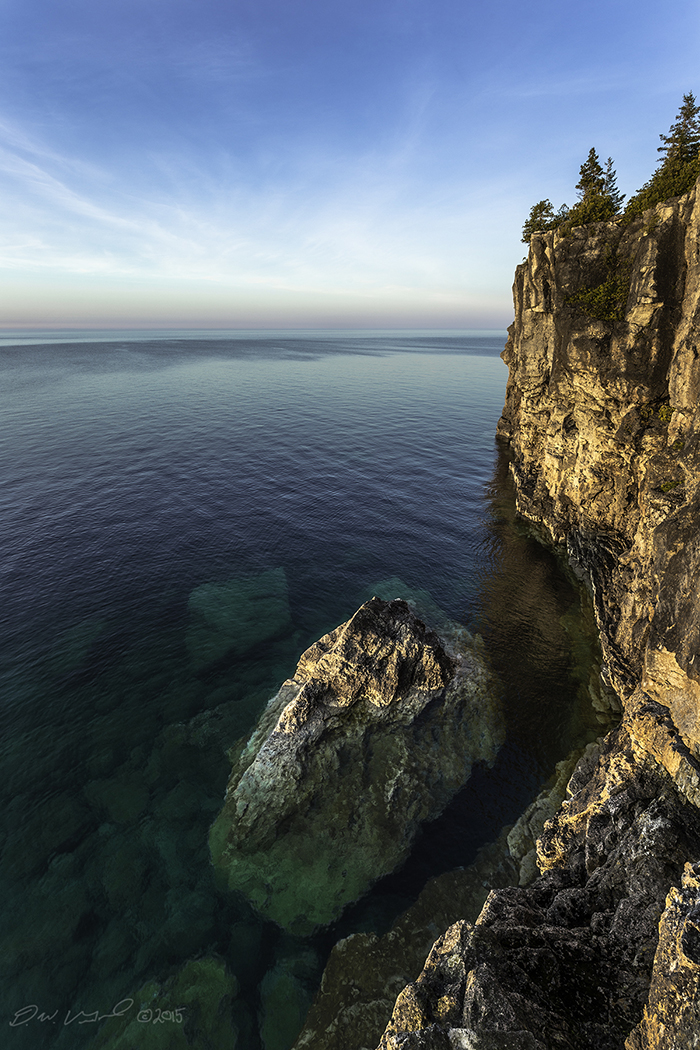
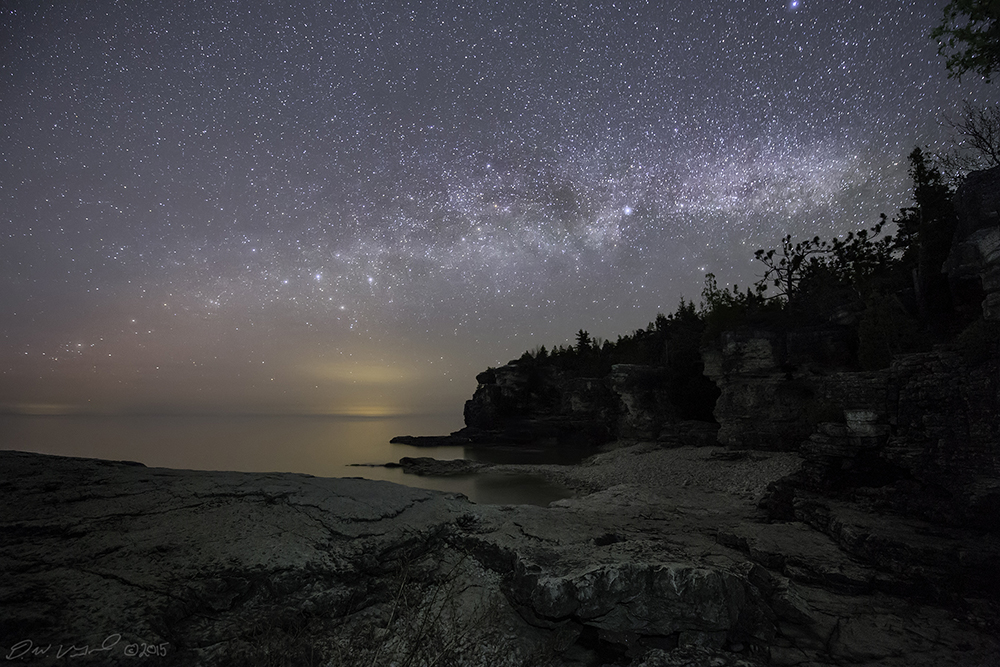
The focus of this shoot is Bruce Peninsula National Park. It is a rugged 156 square kilometers located inside the United Nations Educational, Scientific and Cultural Organization’s (UNESCO) Niagara Escarpment World Biosphere Reserve.
Dispelling Misconceptions
Many belief that it is extremely difficult to photograph at night. One of my goals as a “mentor photographer” is to show the ease of just how easy it can be to shoot in the dark.
Your most important tool is a wide, fast lens. For this shoot, I had the pleasure of shooting with the new Tamron 15-30 mm f/2.8 Di VC USD lens. It has quickly become my favorite night photography lens due to its wide field of view, low distortion (even in the corners), and optical superiority to lenses that are significantly more expensive.
Equipment Needed
This list is pretty standard when it comes to landscape astrophotography.
My “goto” tools consist of:
- Camera
- Wide and “Fast” Lens
- Tripod
- Headlamp or Good Flashlight
- Flashlight or Headlamp with a Red Light
- Knowledge of Area and of Your Equipment

Settings
Unfortunately, there are no magical settings that will work every single time. The good news is there are some guidelines that will help you get on your way.
The first rule is that your camera should be in manual mode. You need full control over shutter speed, lens aperture, white balance and focus.
The ISO settings should be as high as you can while still getting an image that isn’t too noisy for your liking.
The exposure setting will be dependent on the lens and camera combination. Do an internet search for the “Rule of 600”. If you’re in an area with light pollution, you may have to set the exposure lower so that you don’t “blow out” the highlights.
Also, I photograph stars with the White Balance set to around 4000K. This gives the sky a blue tint instead of the “Muddy” look of the Auto White Balance.
Focus should be set to infinity so that the stars are nice and crisp.
A good photo editing program will assist you in getting better images and you can learn techniques online to help you in this area.
Safety First
Please remember that at night, our vision is obviously not as acute as it is in daylight. All you need to do is miss your footing by half an inch and you can find yourself stepping into a pothole, into a river, or even off the edge of a sheer cliff. None of the previous options would be much fun! The way to be safest (you are never 100% safe) is to know your location. I will do this by scouting a location or even setting up before the sun goes down. This will have the bonus of allowing you to photograph some pretty sweet sunsets.
About the Author
Darryl Van Gaal is an astro-photographer from Waterford, ON whose images have appeared on NASA APOD as well as on Google+, Facebook. See more of Darryl’s at www.darkclearskies.com